

Photography Part 3
Light and Exposure
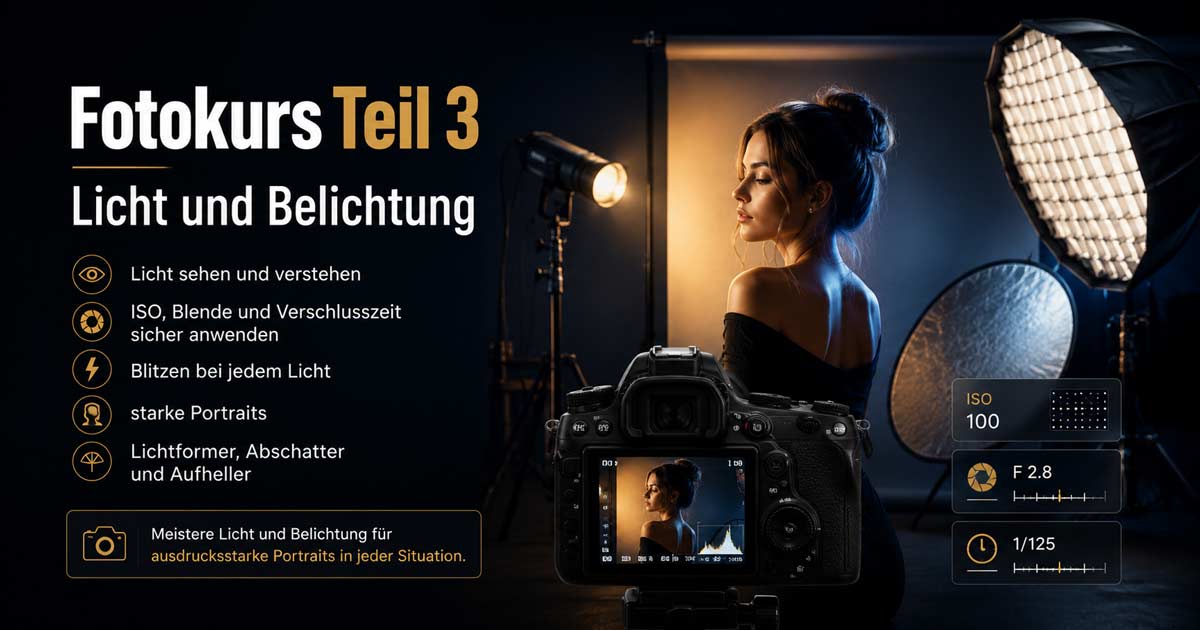
Available light, reflectors, flags, system flash, wireless systems, studio, portable, light shapers, exposure and flash exposure compensation. See and understand light and exposure.
The fundamentals of portrait photography.
Your Photo Instructor
Johann Dirschl
Recap
In Photography Part II, we briefly showed that there's a significant difference between talking about light and exposure. Since this topic is only partially achievable with a built-in flash, I developed this course for everyone who already uses a swivel system flash or plans to purchase one.
The minimum requirements for this course are therefore slightly higher. Participants should have already understood Course I and II, meaning they can operate the camera in AV (A), TV (S), P, and M modes, and have also understood the camera's focusing system.
You should definitely bring a camera with a hot-shoe mounted system flash.
If you do not yet own a system flash and work with a Canon or Sony system, I will gladly provide a Canon EX580II or a Godox vS1 for Sony for this course. I also have suitable wireless solutions for both systems for testing.
This course sheds light on dark situations and ensures the best possible results in poor lighting conditions using just one system flash, reflector, or flag. You will also learn about advanced flash techniques with light shapers and wireless solutions.
What is Light?
Light is everything that is already present in the situation we are photographing. However, this can vary greatly if different light sources are present. Essentially, it ranges from no light to a very bright room. The available light can be made brighter with a higher ISO value or a wider aperture. This doesn't have to be an entire room; it could also be just a candle, lamp, or other light source. If you lower the ISO value towards 100, the entire room becomes darker, and the lights are also significantly dimmed.
The effect is also quite impressive when comparing a shadow photographed once at ISO 100 and once at ISO 1600. Here, the shadow is significantly brighter at a high ISO value.
TIP: The higher the ambient brightness in the subject, the less flash is needed. Ambient brightness can be adjusted with a higher ISO or a wider aperture. Shutter speed, however, doesn't necessarily help us, as extending it might expose parts of the image already, making it visible in the picture. Therefore, I usually keep the shutter speed at 1/200.
Since the amount of light is negotiated via ETTL during flashing, you can simply set 1/200 in Manual mode (M) and start shooting. Usually, when flashing, you are in the same room under the same lighting conditions, so little adjustment is needed. We can therefore fully concentrate on correct focusing.
The System Flash
is a hot-shoe flash that can communicate with the camera via the contacts in the hot shoe. These contacts facilitate the exchange of ETTL (TTL) protocol data, ensuring consistently perfect exposure.
The flash angle (spread) is controlled by the focal length used. For the flash to function, it recharges immediately after each firing. Recharging is automatic and, depending on the model, may be accompanied by an audible sound. Modern flashes do not make a charging sound; if the batteries are empty, they simply stop firing.
Recharging requires a certain amount of time, which limits how quickly you can fire. To reduce this time, some flashes offer a connection for an additional battery pack, allowing for shorter recycling times. If you only flash individual photos selectively, this is certainly not relevant.
Batteries and Chargers
Flashes require a lot of power. However, this power consumption is offset by a tremendous amount of light output. All photography forums recommend using rechargeable batteries with low self-discharge. Sanyo's Eneloop batteries are particularly well-suited for this. These can be ordered in practical storage boxes. Since you can fire approximately 300 flashes per battery set and flash power, it may be advisable to keep a few spare batteries on hand.
AF Assist Light / Grid Pattern / Modeling Light
To enable focusing in the dark, built-in fill flashes utilize a modeling light or stroboscopic assist light.
Modern system flashes project a grid pattern that the camera's hardware focusing system can focus on, even in complete darkness, using both cross-type and line sensors. Due to the infrared cut-off filter in front of the camera sensor, this grid currently only works with DSLRs. Manufacturers of mirrorless cameras may use an assist light, or residual light may be required for focusing.
Wide-Angle Diffuser
Most system flashes feature a built-in wide-angle diffuser designed to spread the light more evenly. However, this will not provide improvements when bouncing the flash, so it is usually not used. I only use it when I want to flash a specific color tone with color gels. I ordered a collection of sample gels from Lee Filters that are perfectly sized for the flash head.
Catchlight Panel
In addition to the wide-angle diffuser, a white catchlight panel can also be pulled out of the flash head. This serves to restrict the light spread, for example, to prevent brown ceilings or colored walls from being illuminated, or to maintain consistent illumination when using multiple flashes.
Diffusers
Using a diffuser that only covers the flash head is completely ineffective. It only reduces light output, which you can hardly ever have enough of anyway. At best, it's suitable for securely attaching a color gel to the flash, but this comes with significant light loss. Therefore, I recommend working without a diffuser.
Using Multiple Flashes
To double the light output of a system flash, it is always possible to trigger two flashes simultaneously.
However, from the third flash onwards, you no longer get this same increase, but only 2.5 times the light, and so on. Since this becomes not only expensive but also unwieldy, it's not a good idea just for the light output.
System flashes always fire with the same power. Only the flash durations are halved at 1/2 power, etc... So, if you want very short flash durations, you should consider using many system flashes, each with low power. However, these are specialized applications for freezing very fast movements, such as in droplet photography, etc...
Portable Solutions with Even More Power
Even a system flash with a guide number of 58 quickly reaches its limits, especially for outdoor use. Portable flashes with 200 to 1000 Watt/sec provide a solution here. This is approximately 3 to 20 times the light output. These devices are more expensive and unwieldy, but they can also replace a studio setup and be used with large light modifiers. Meanwhile, many manufacturers offer them at more affordable prices, and increasingly with radio and ETTL capabilities.
Alternative Lighting (Panel Lights)
Panel lights can certainly also be used for photography. However, their light output is not as high as that of flashes. The setup time is roughly comparable to that of a studio flash system. If you don't also need them for video, you don't need panel lights. If in doubt, I would have some available for rent.
LED Flash Lights
They are now affordable and practical. The advantage is that you immediately see the subject in the light, which saves time and is convenient. Furthermore, they can also be used for video recording. From today's perspective, LED lights are definitely worth a try.