Experimental Photography
Microphotography and Photomicrography with Polarized Light
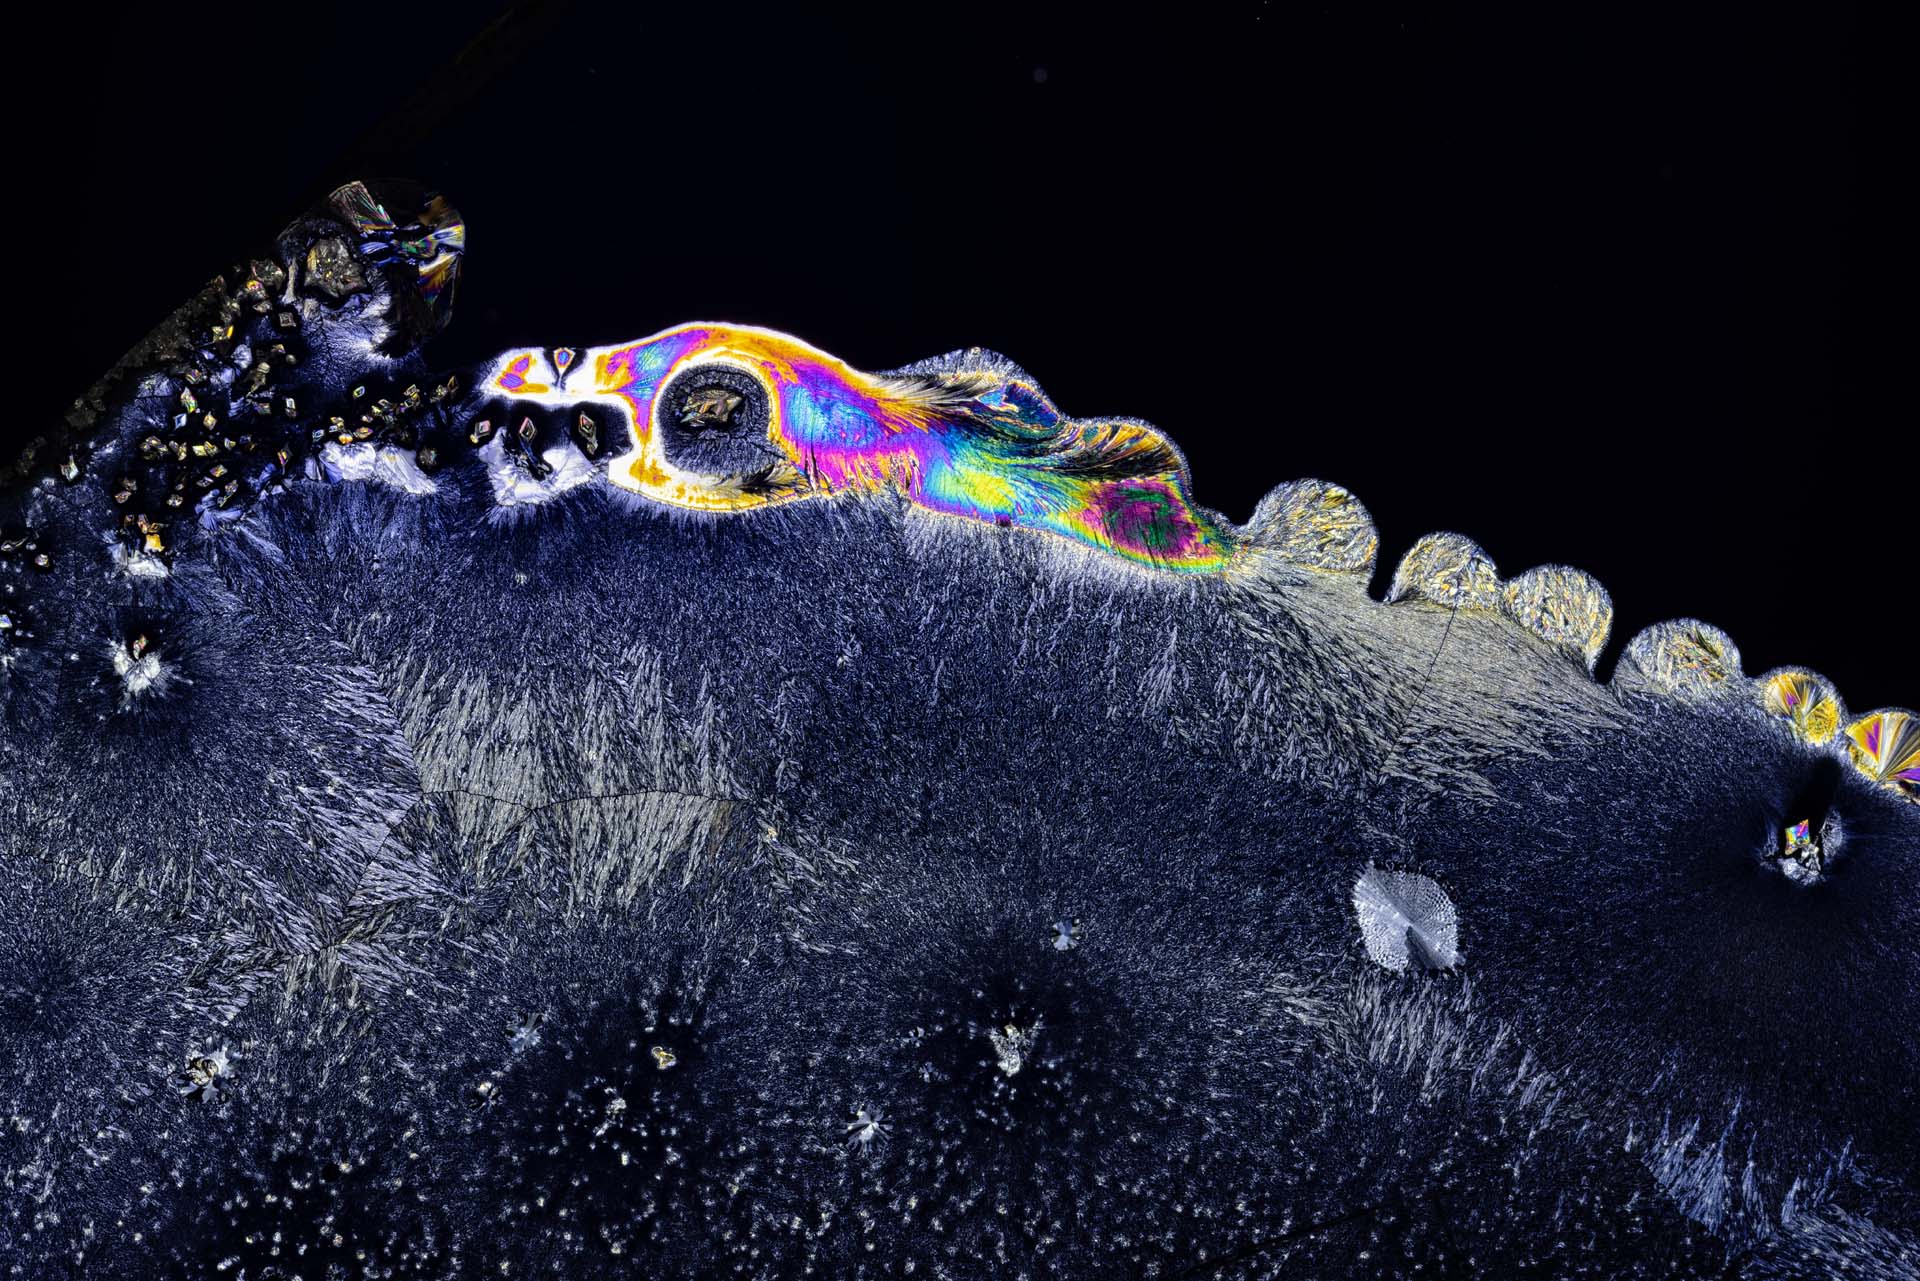
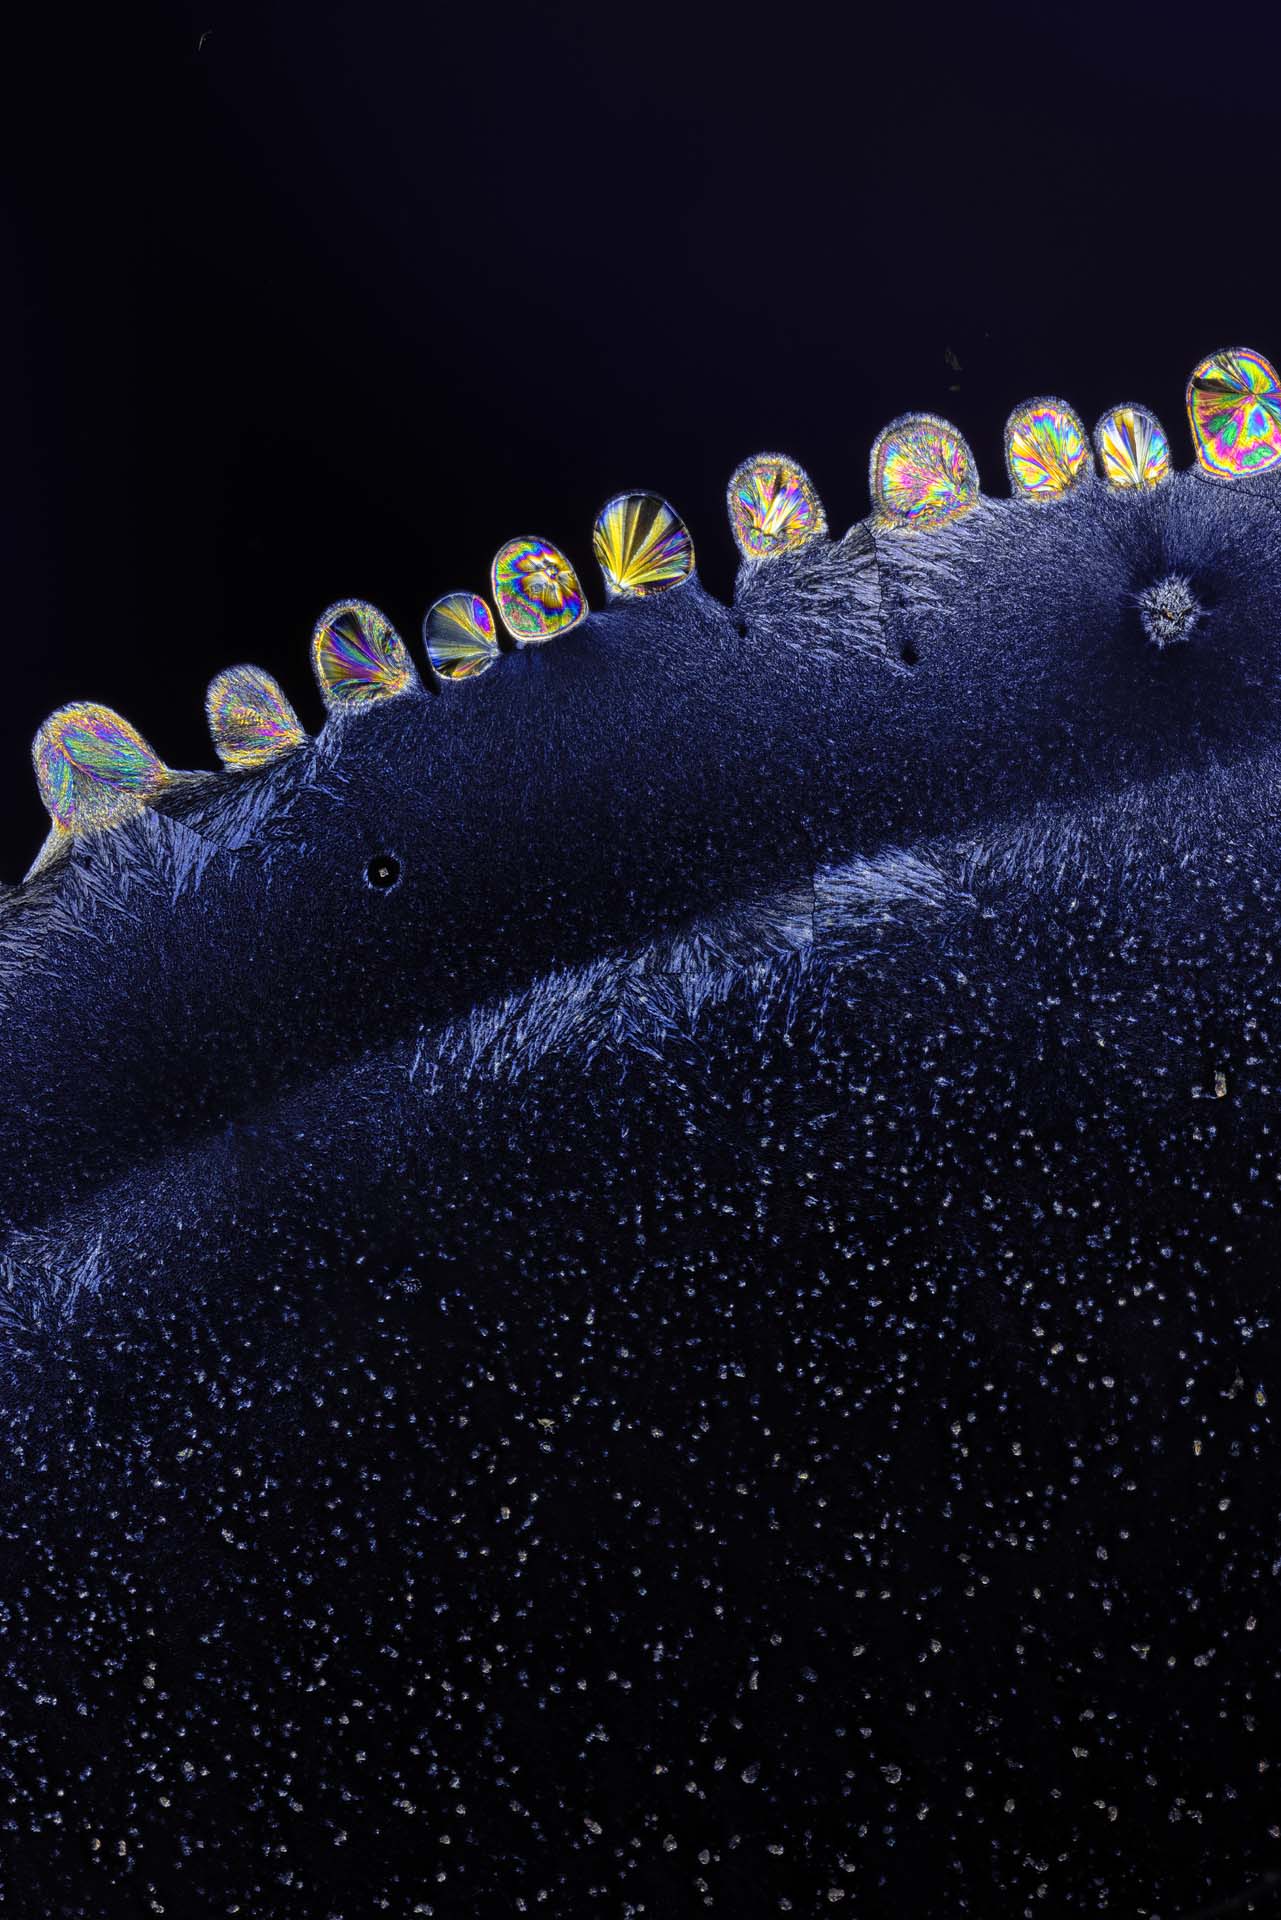
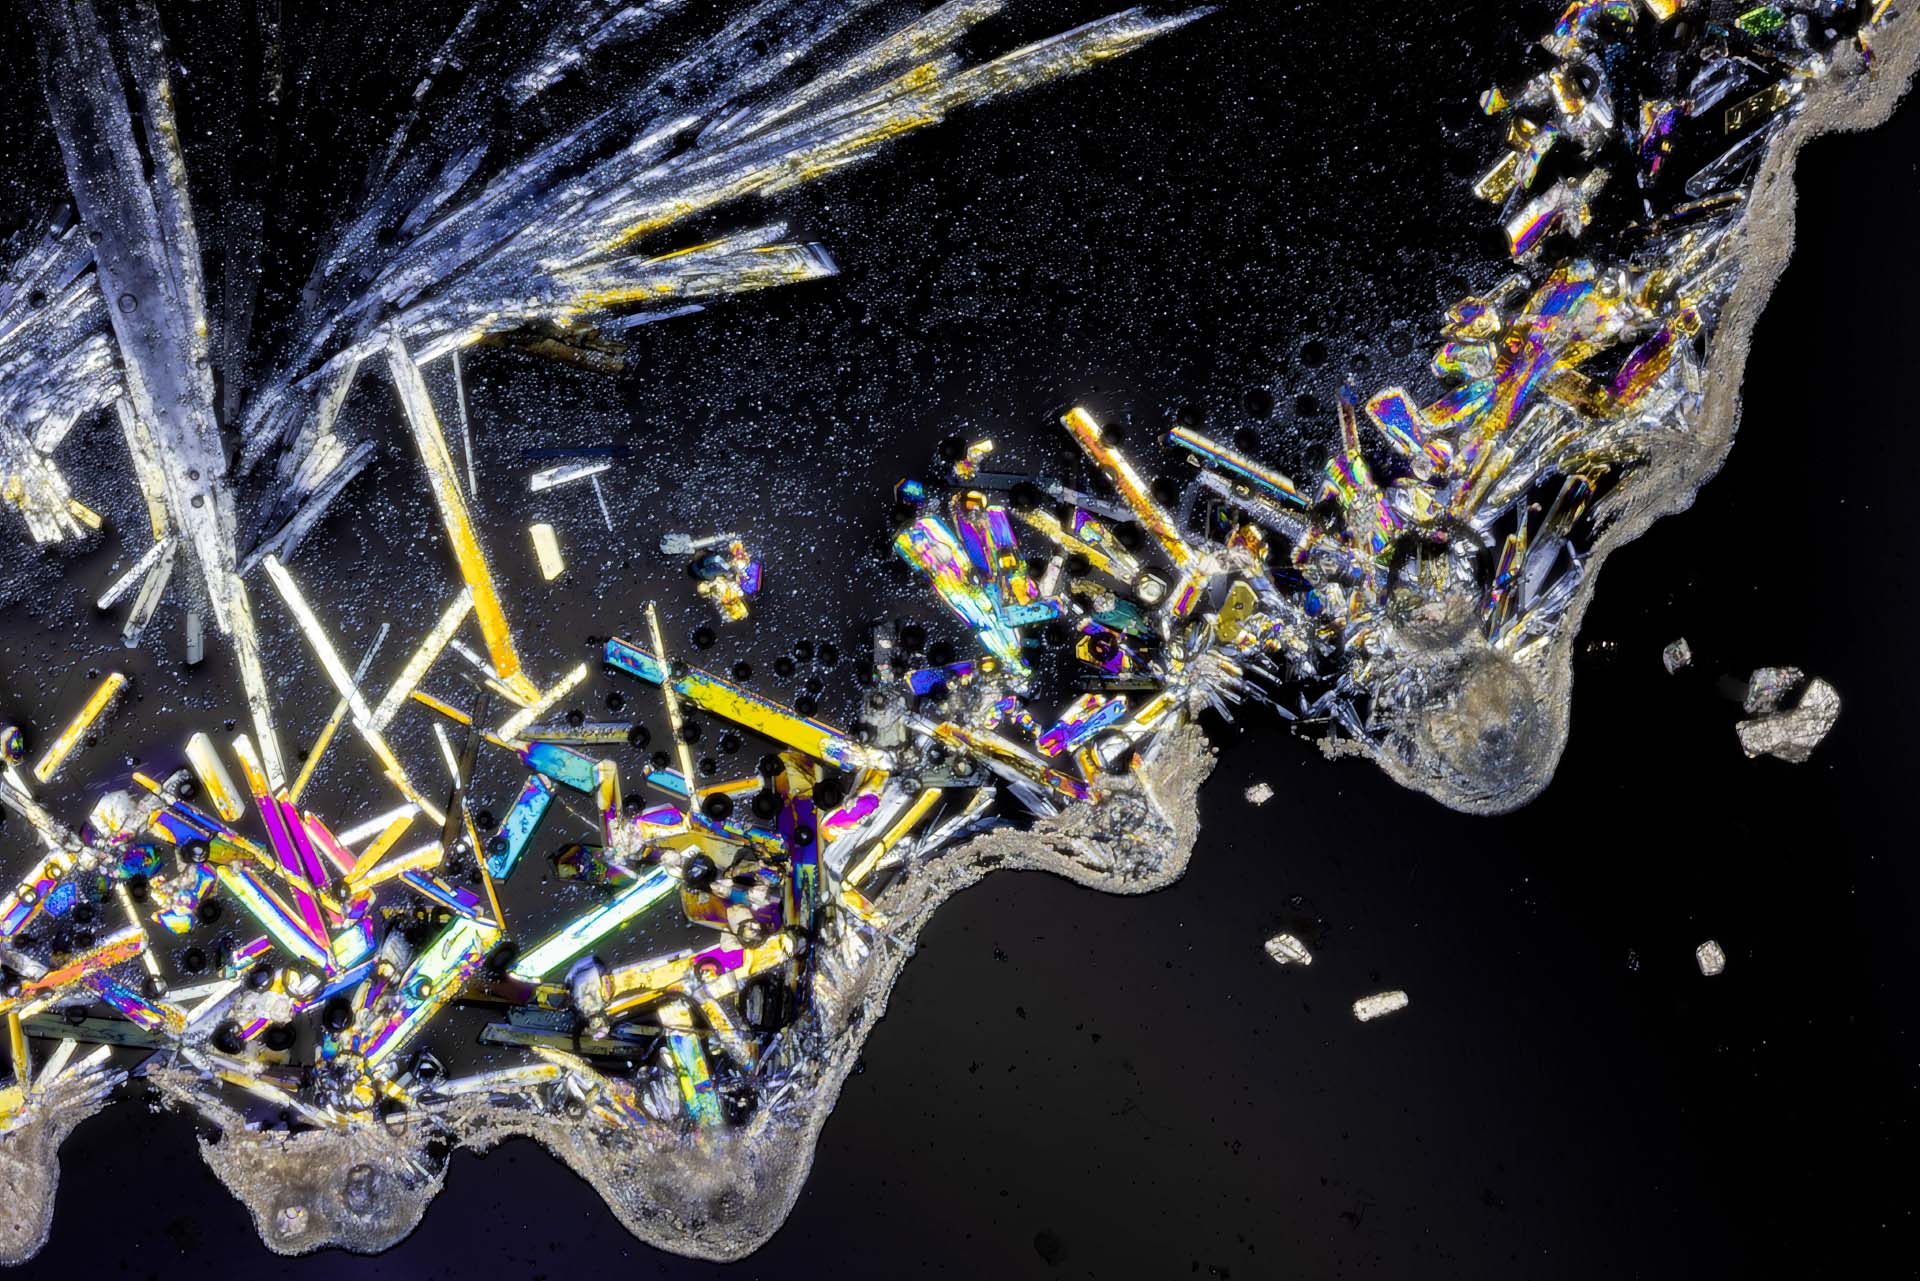
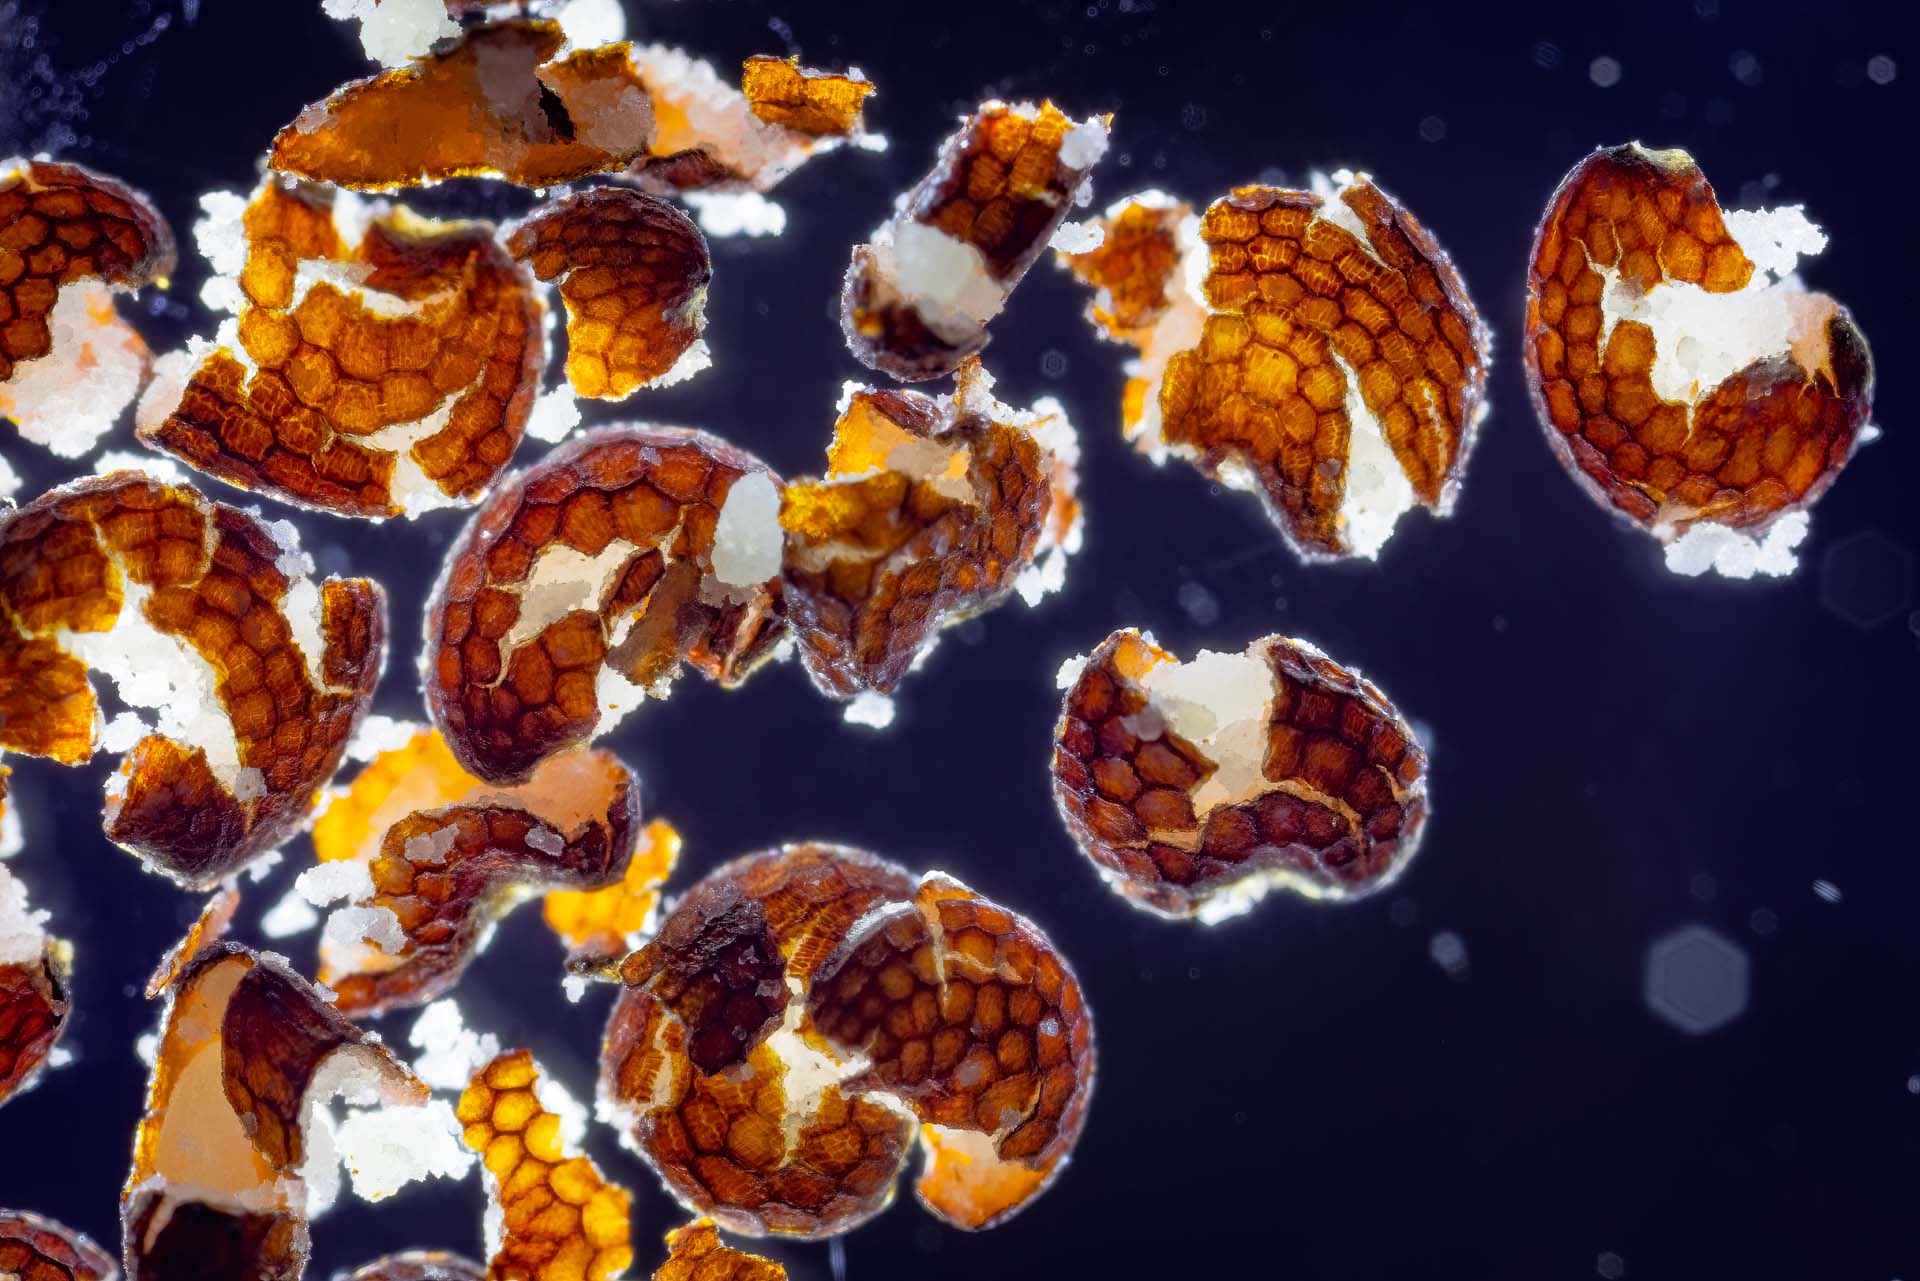
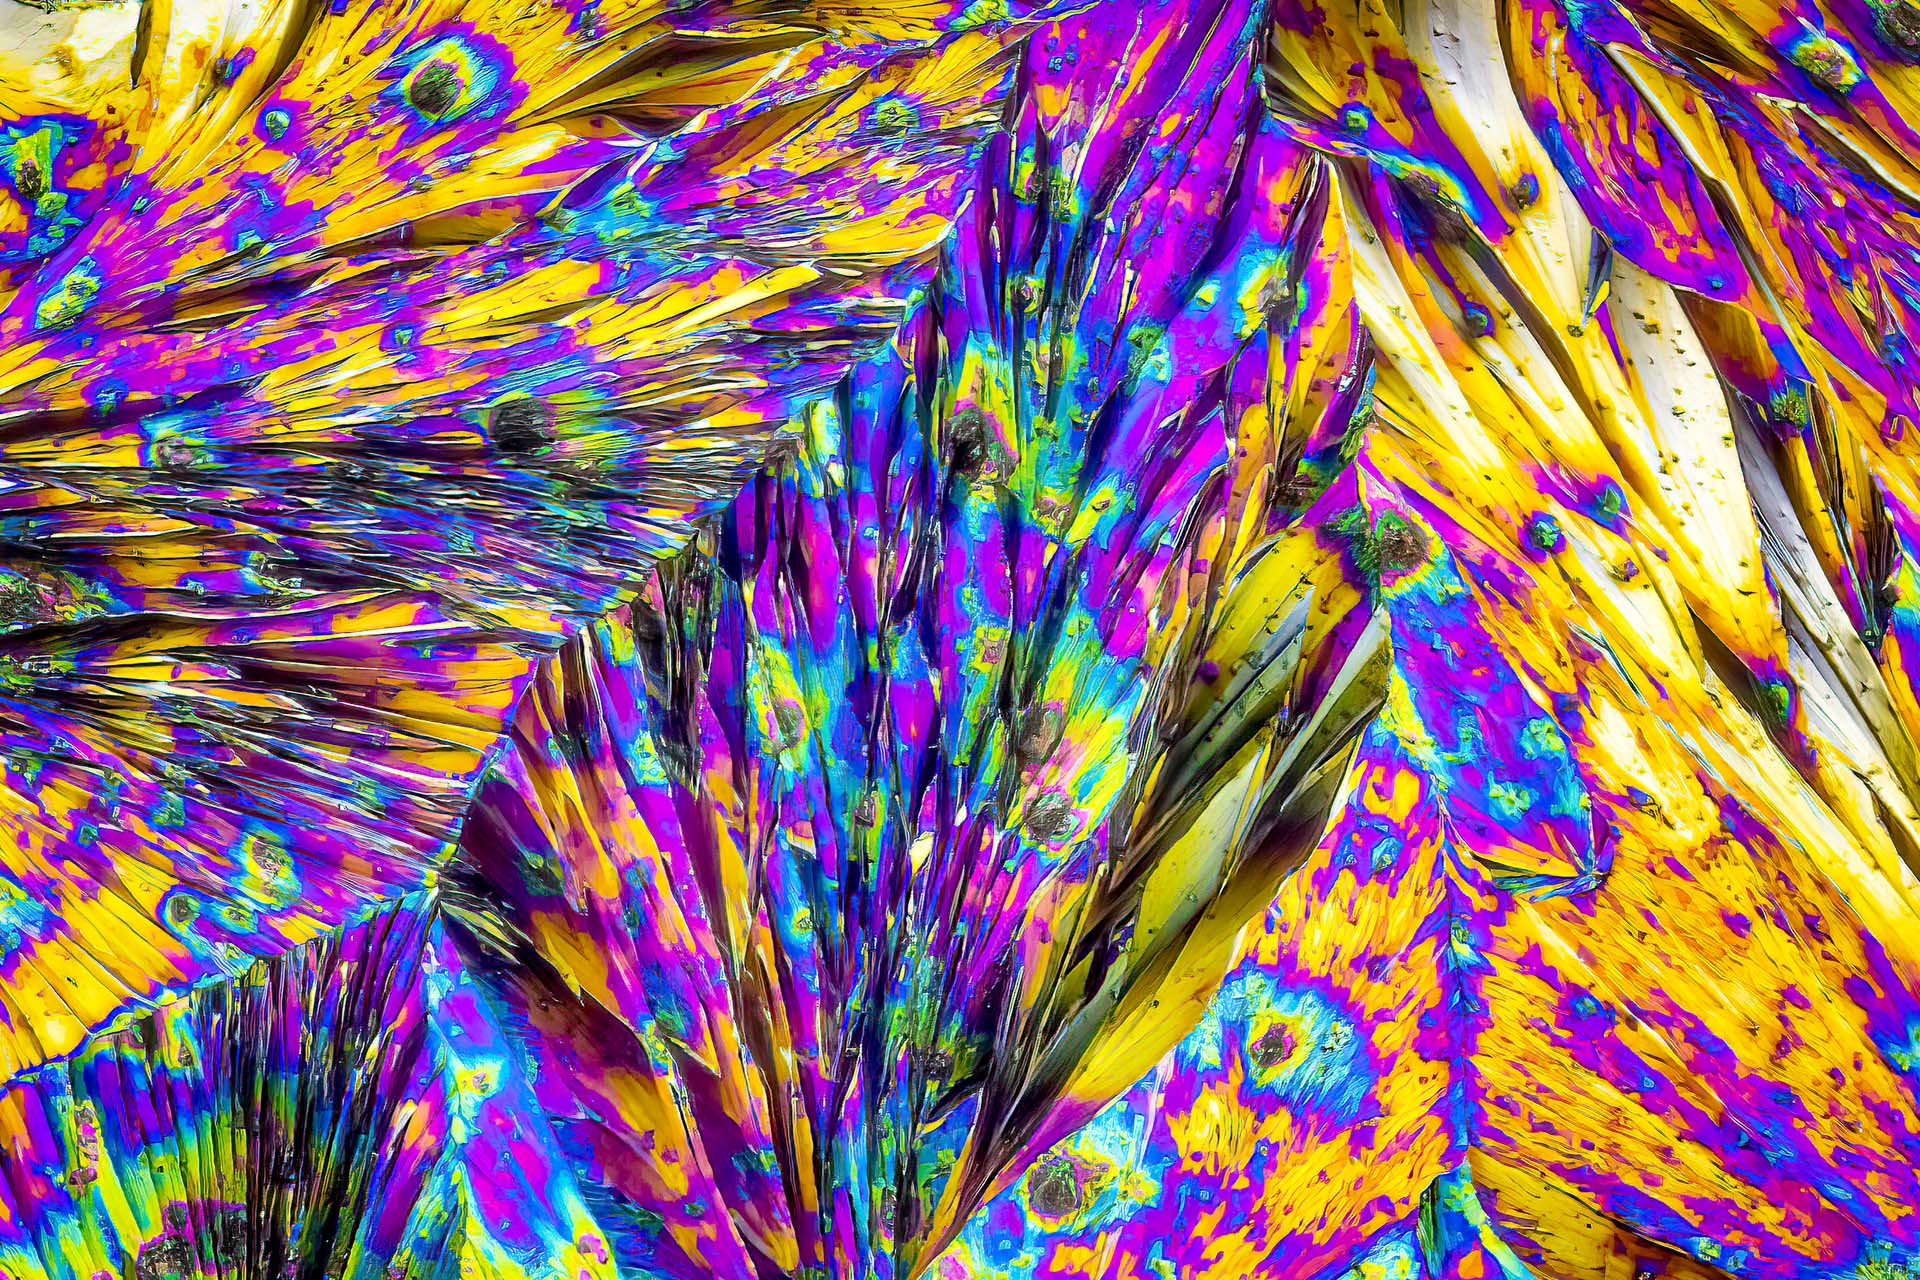
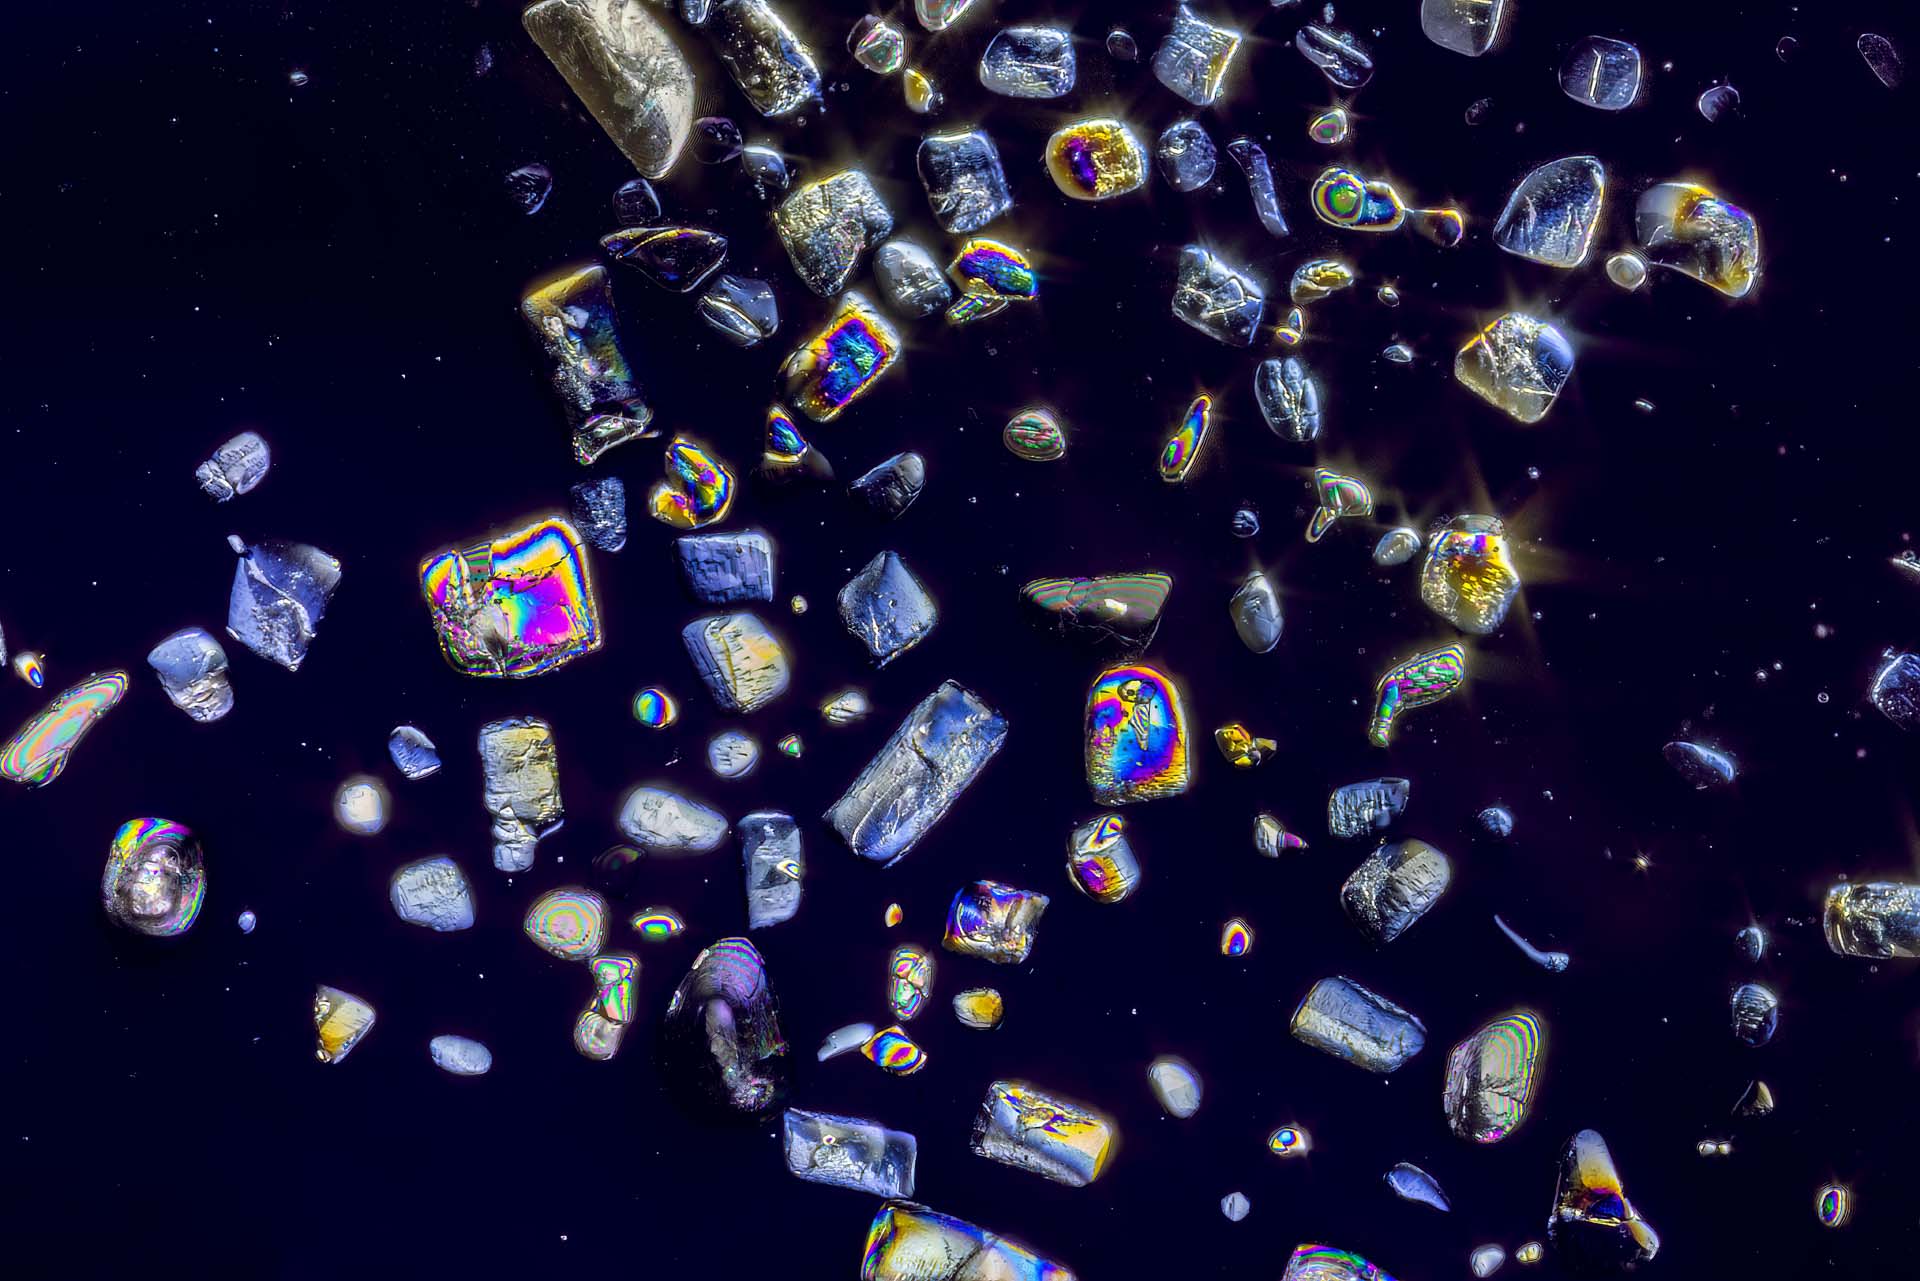
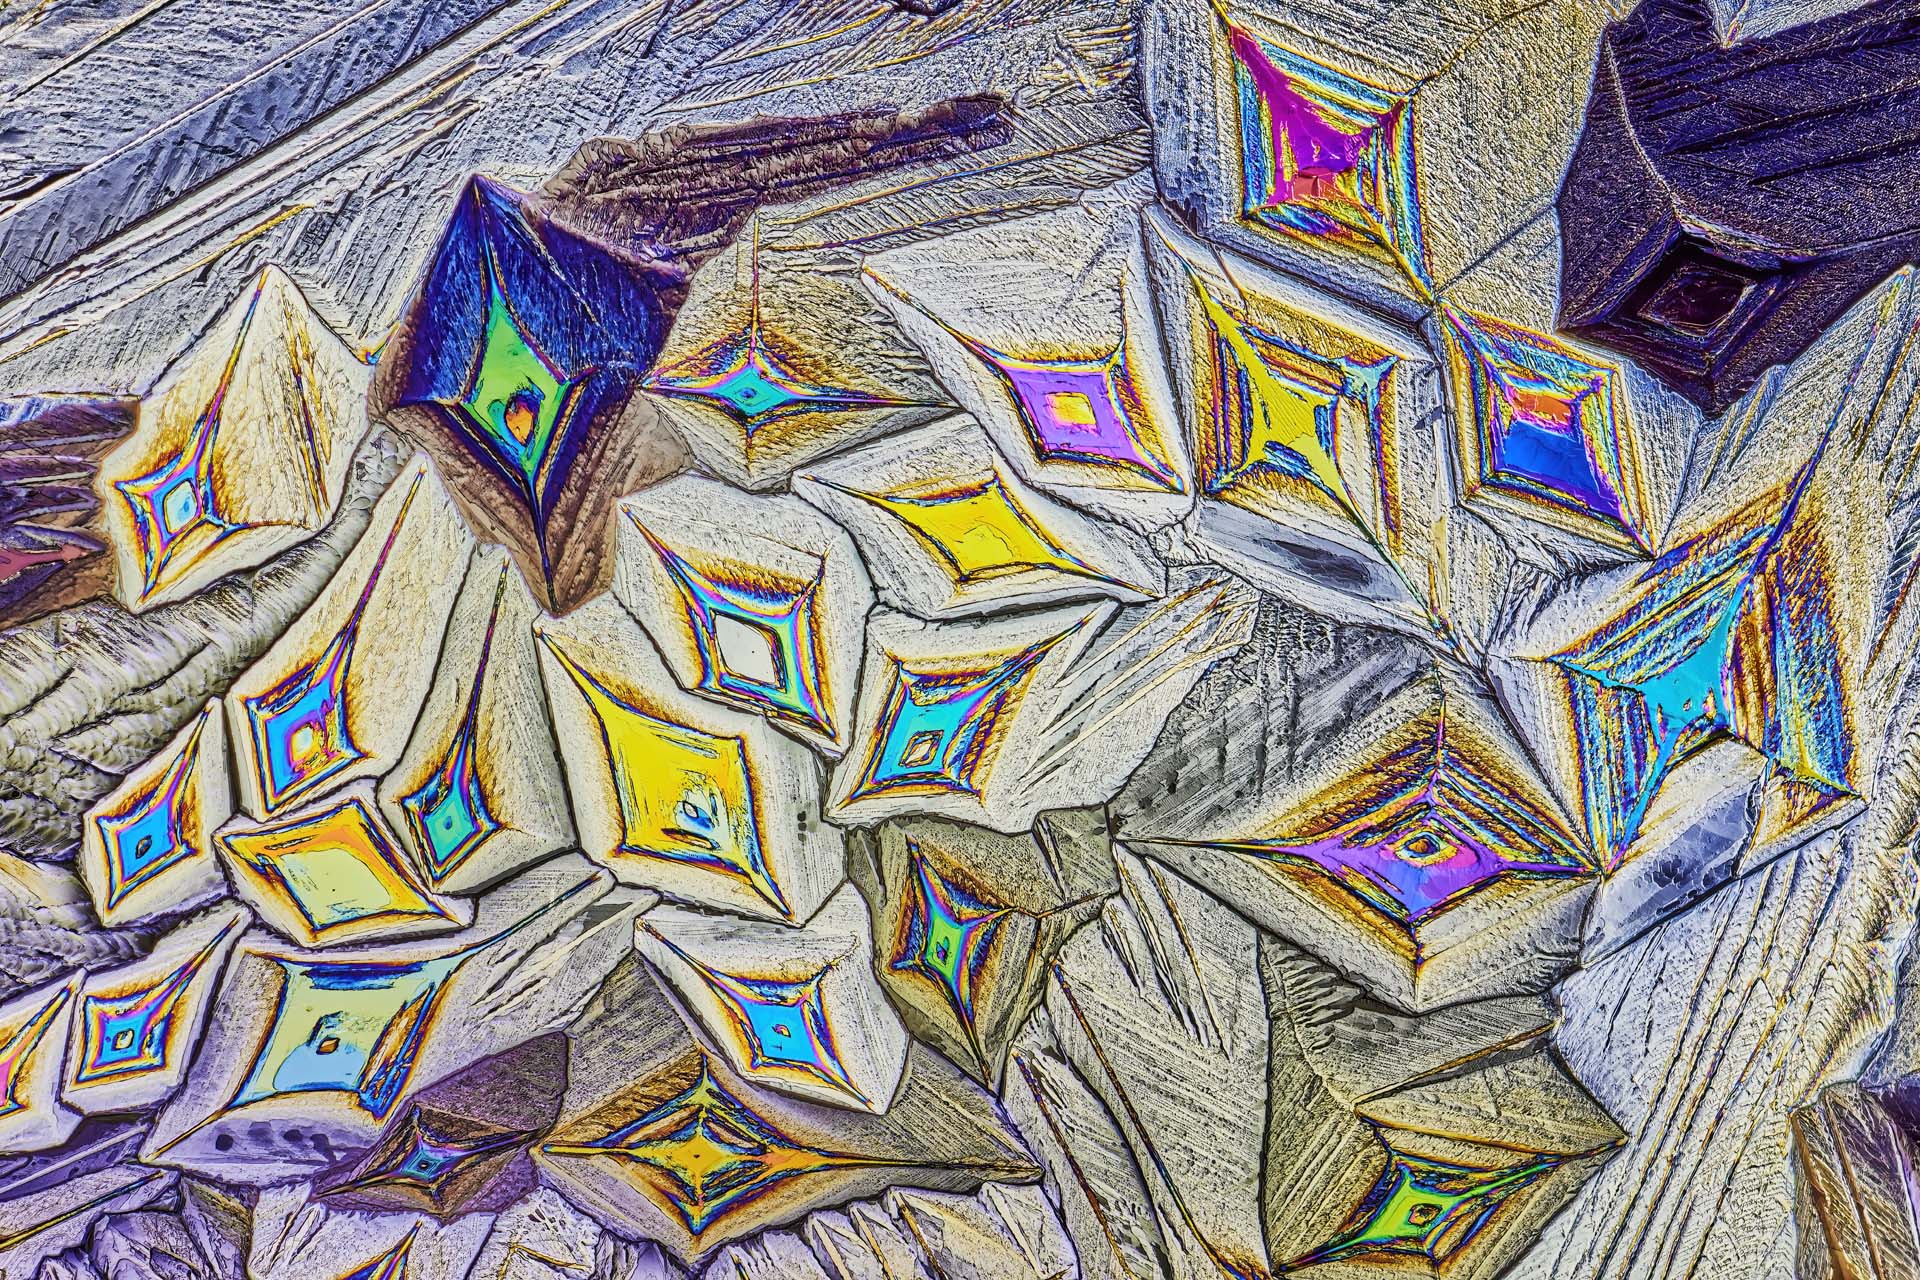
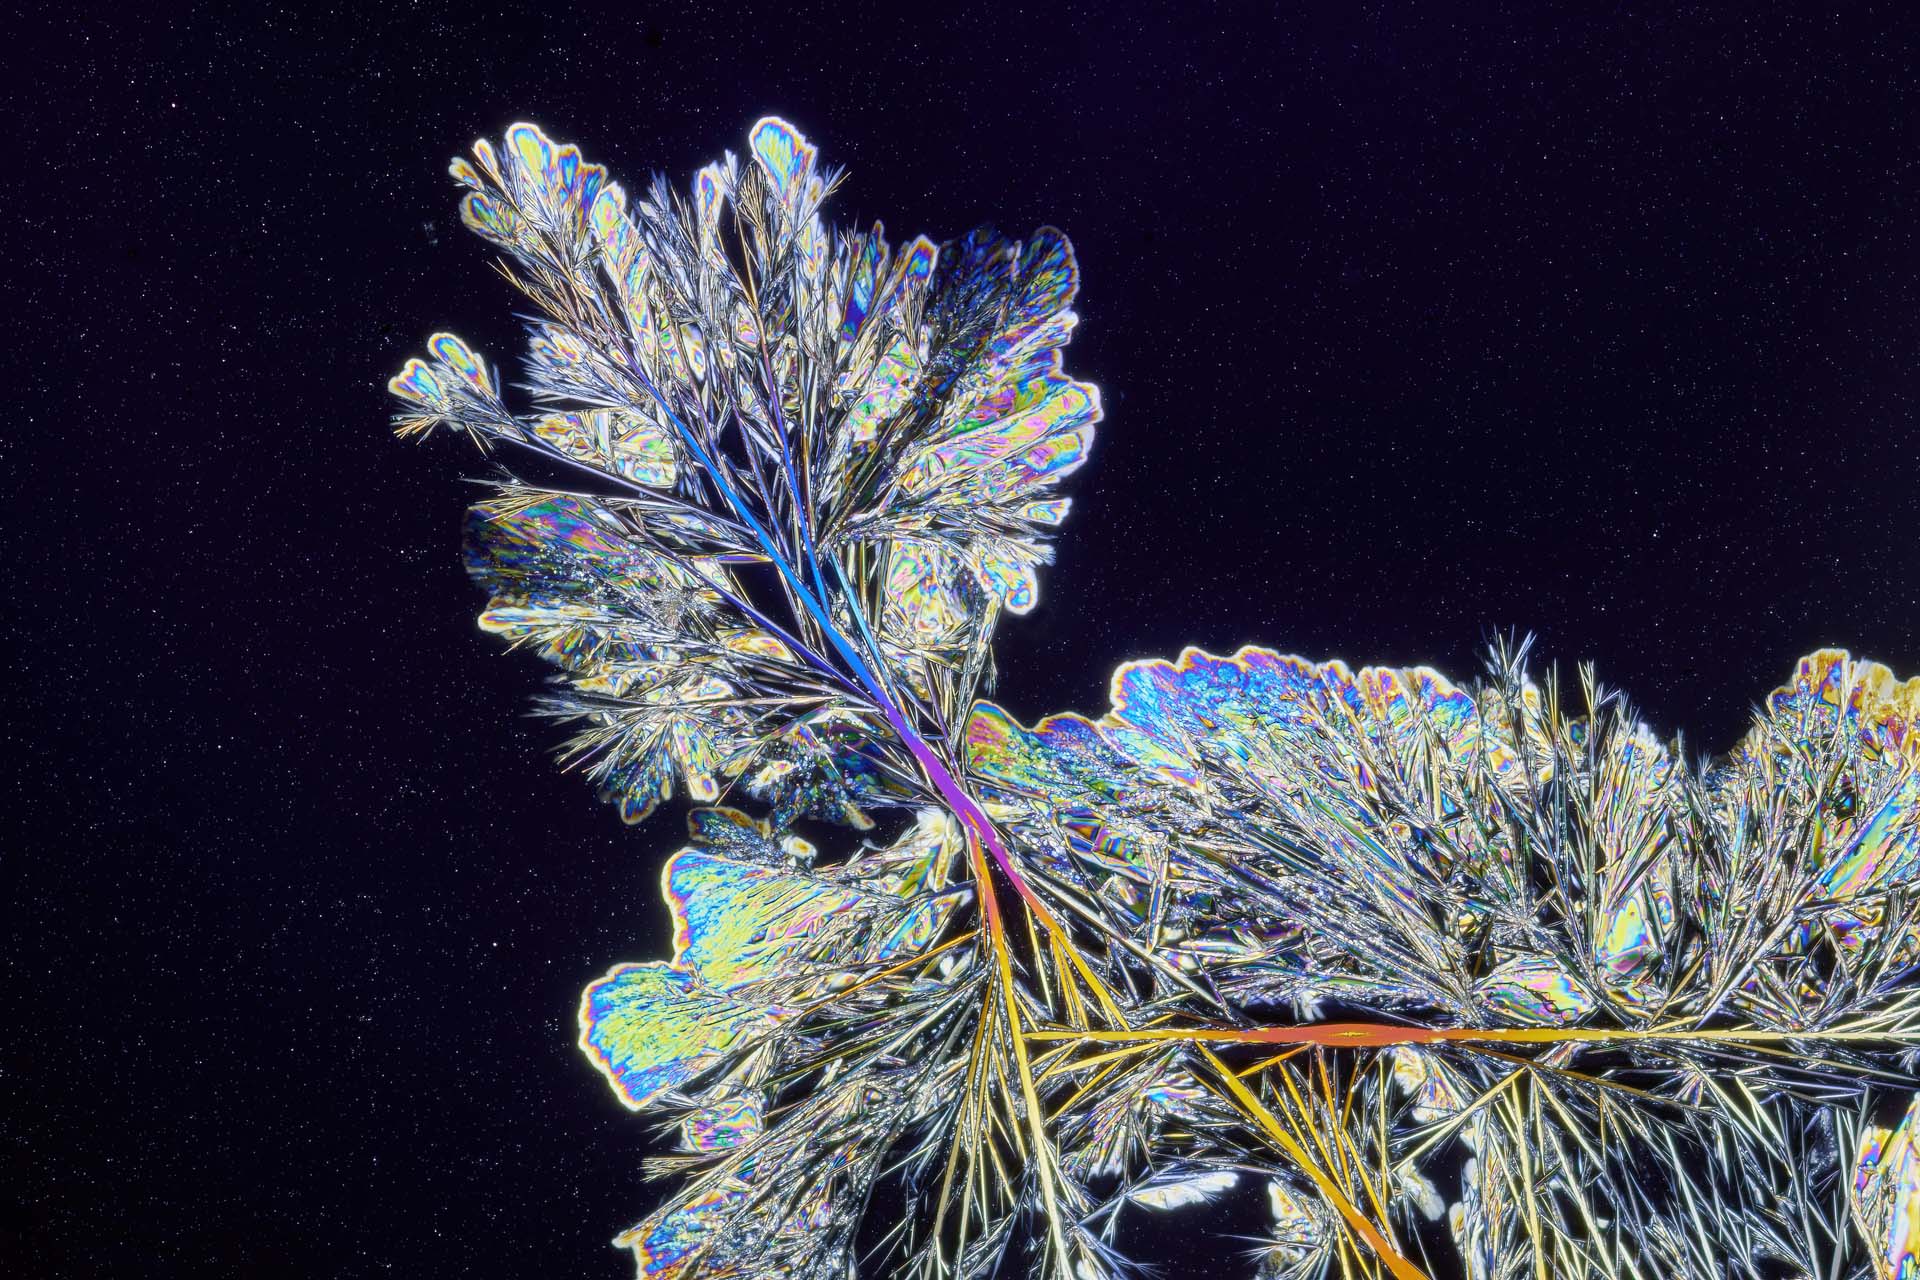
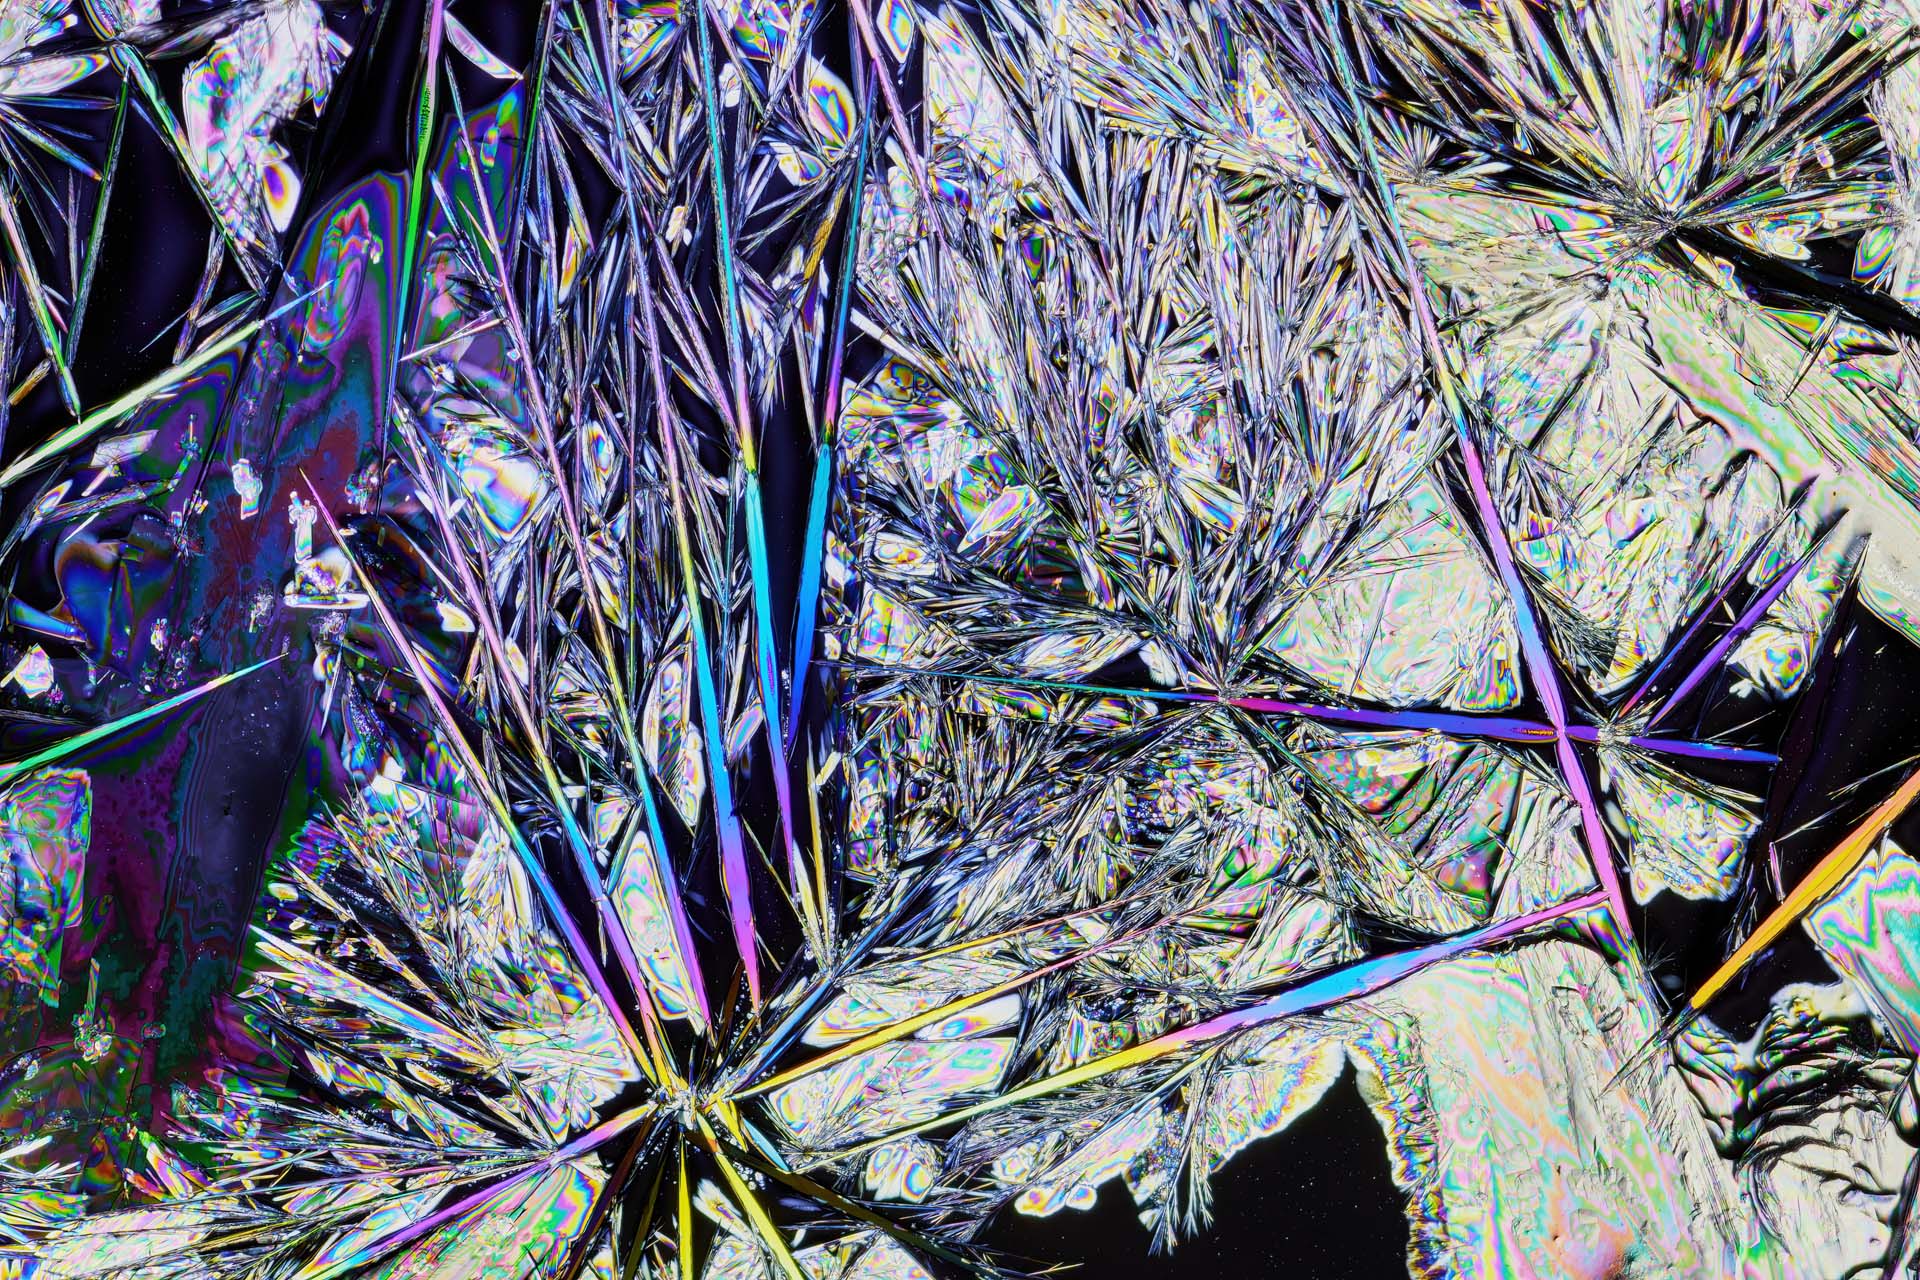
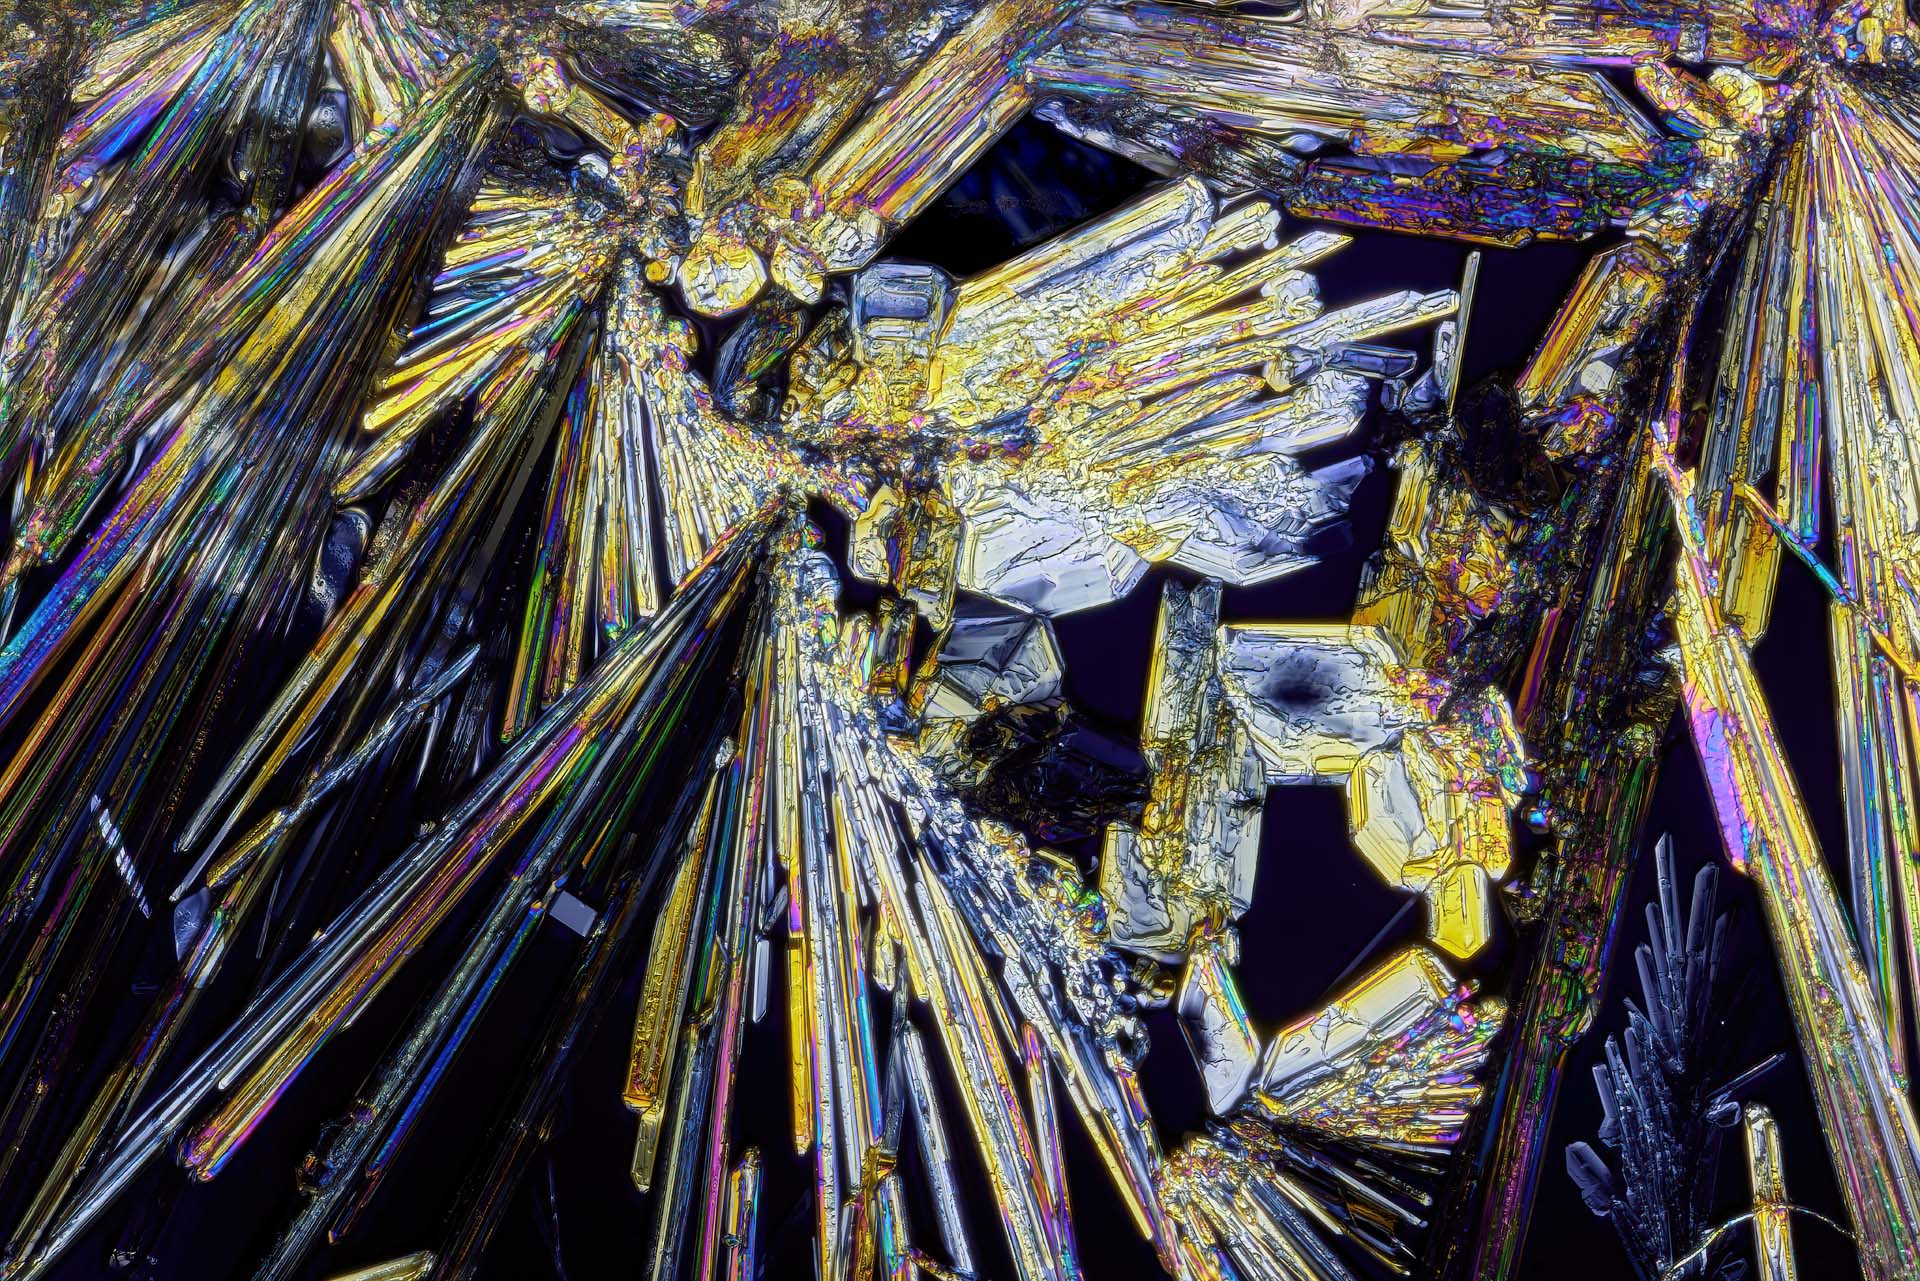
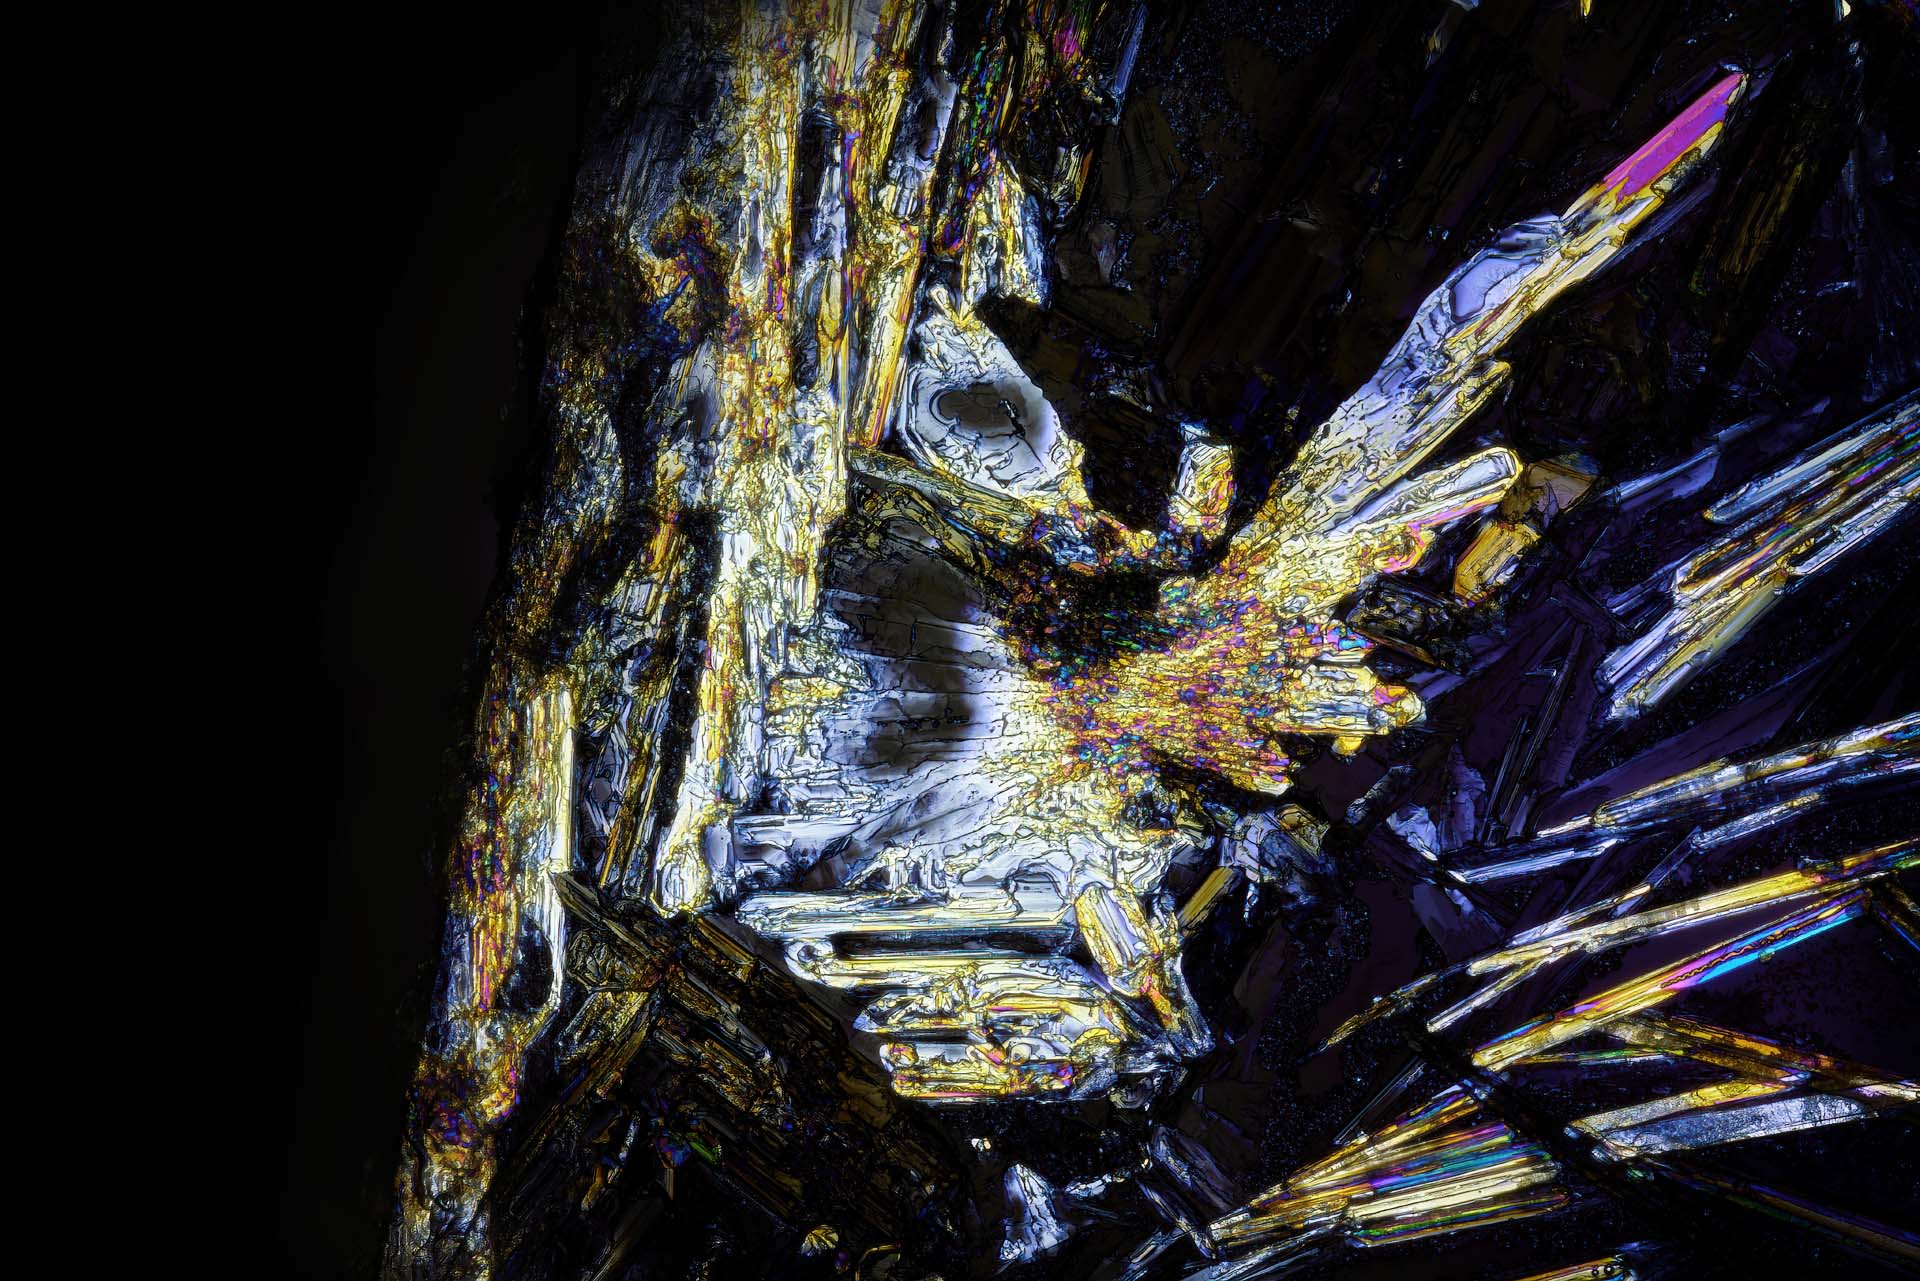
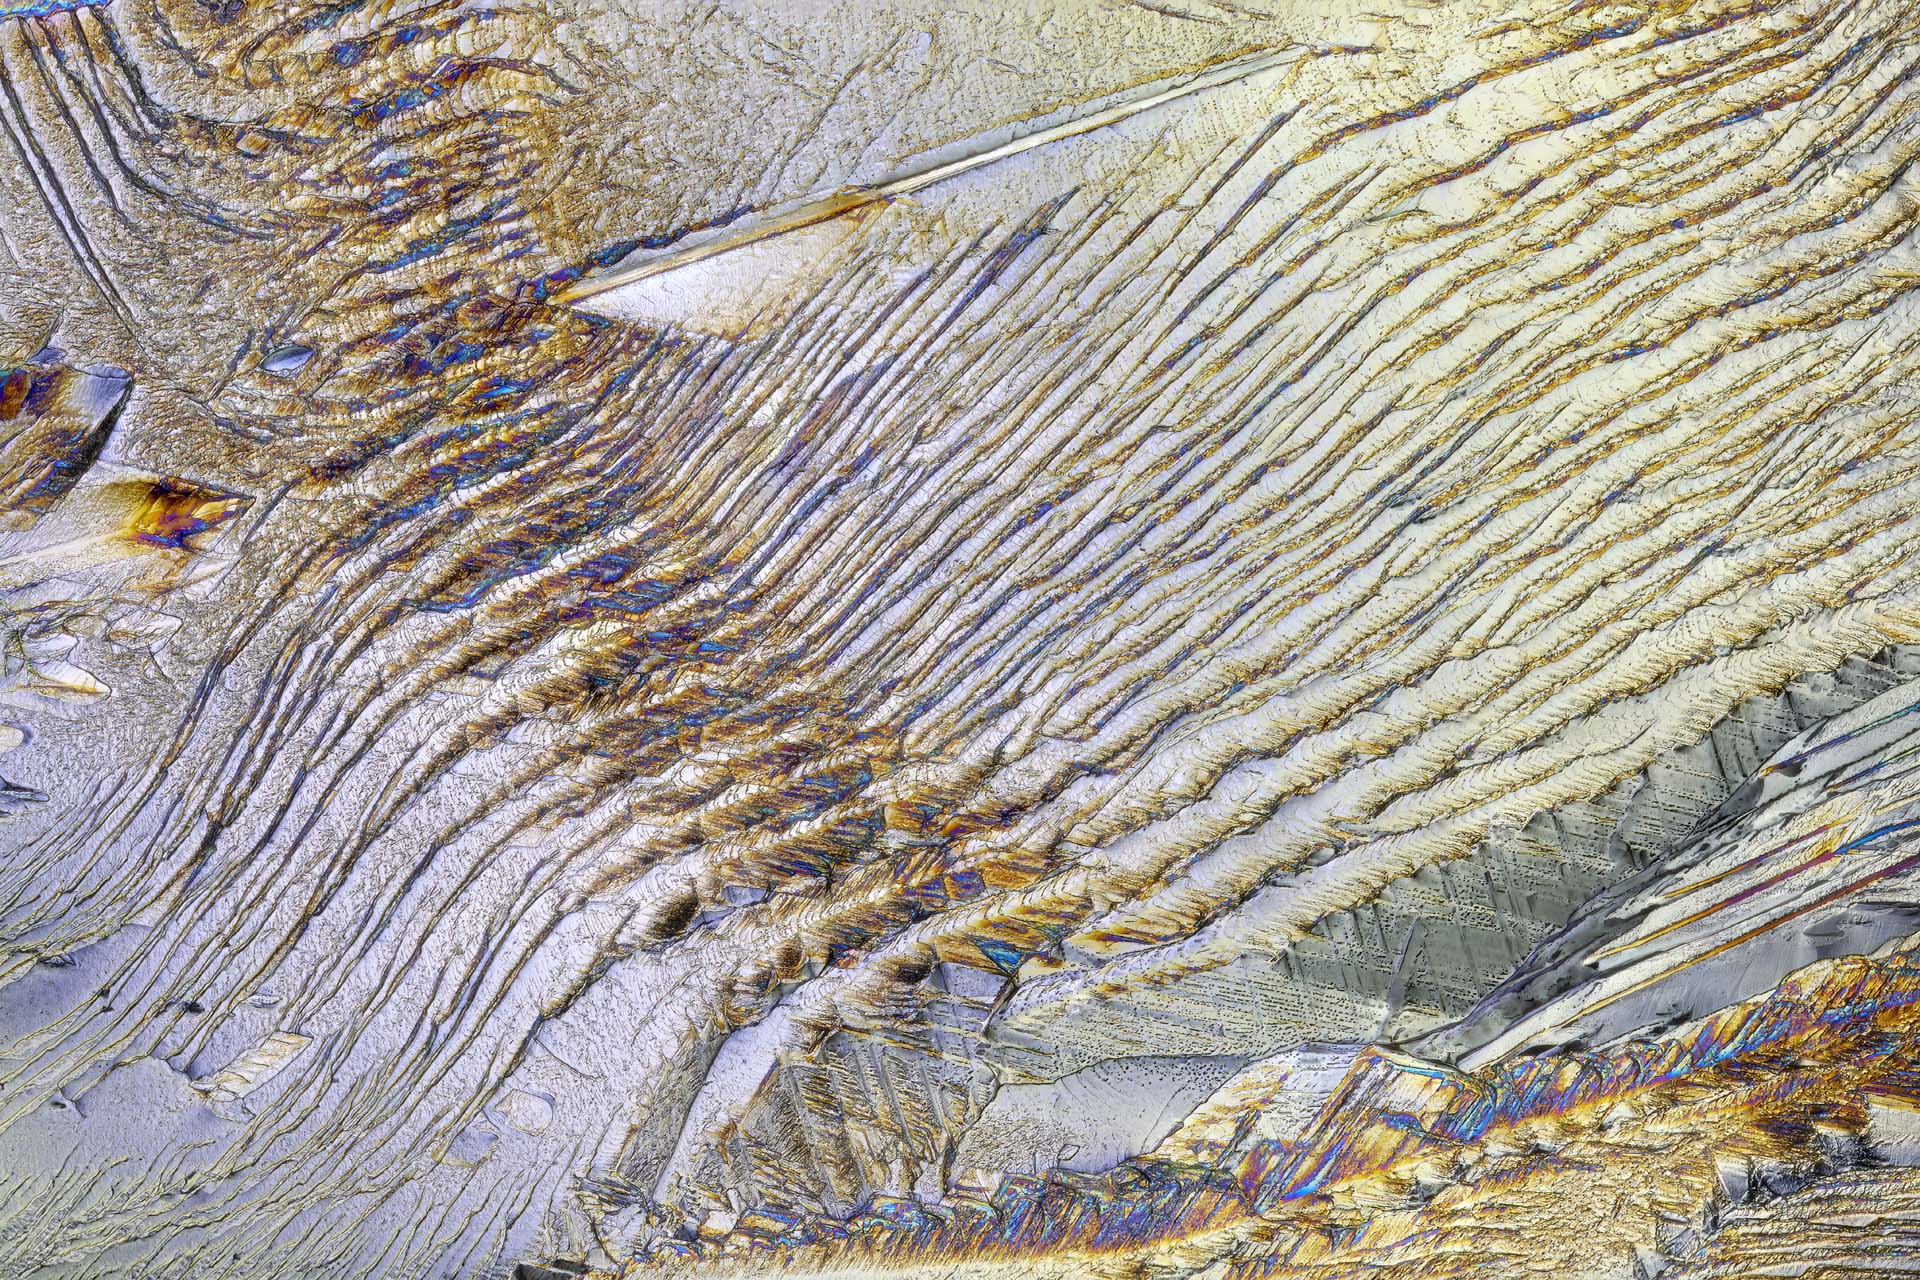
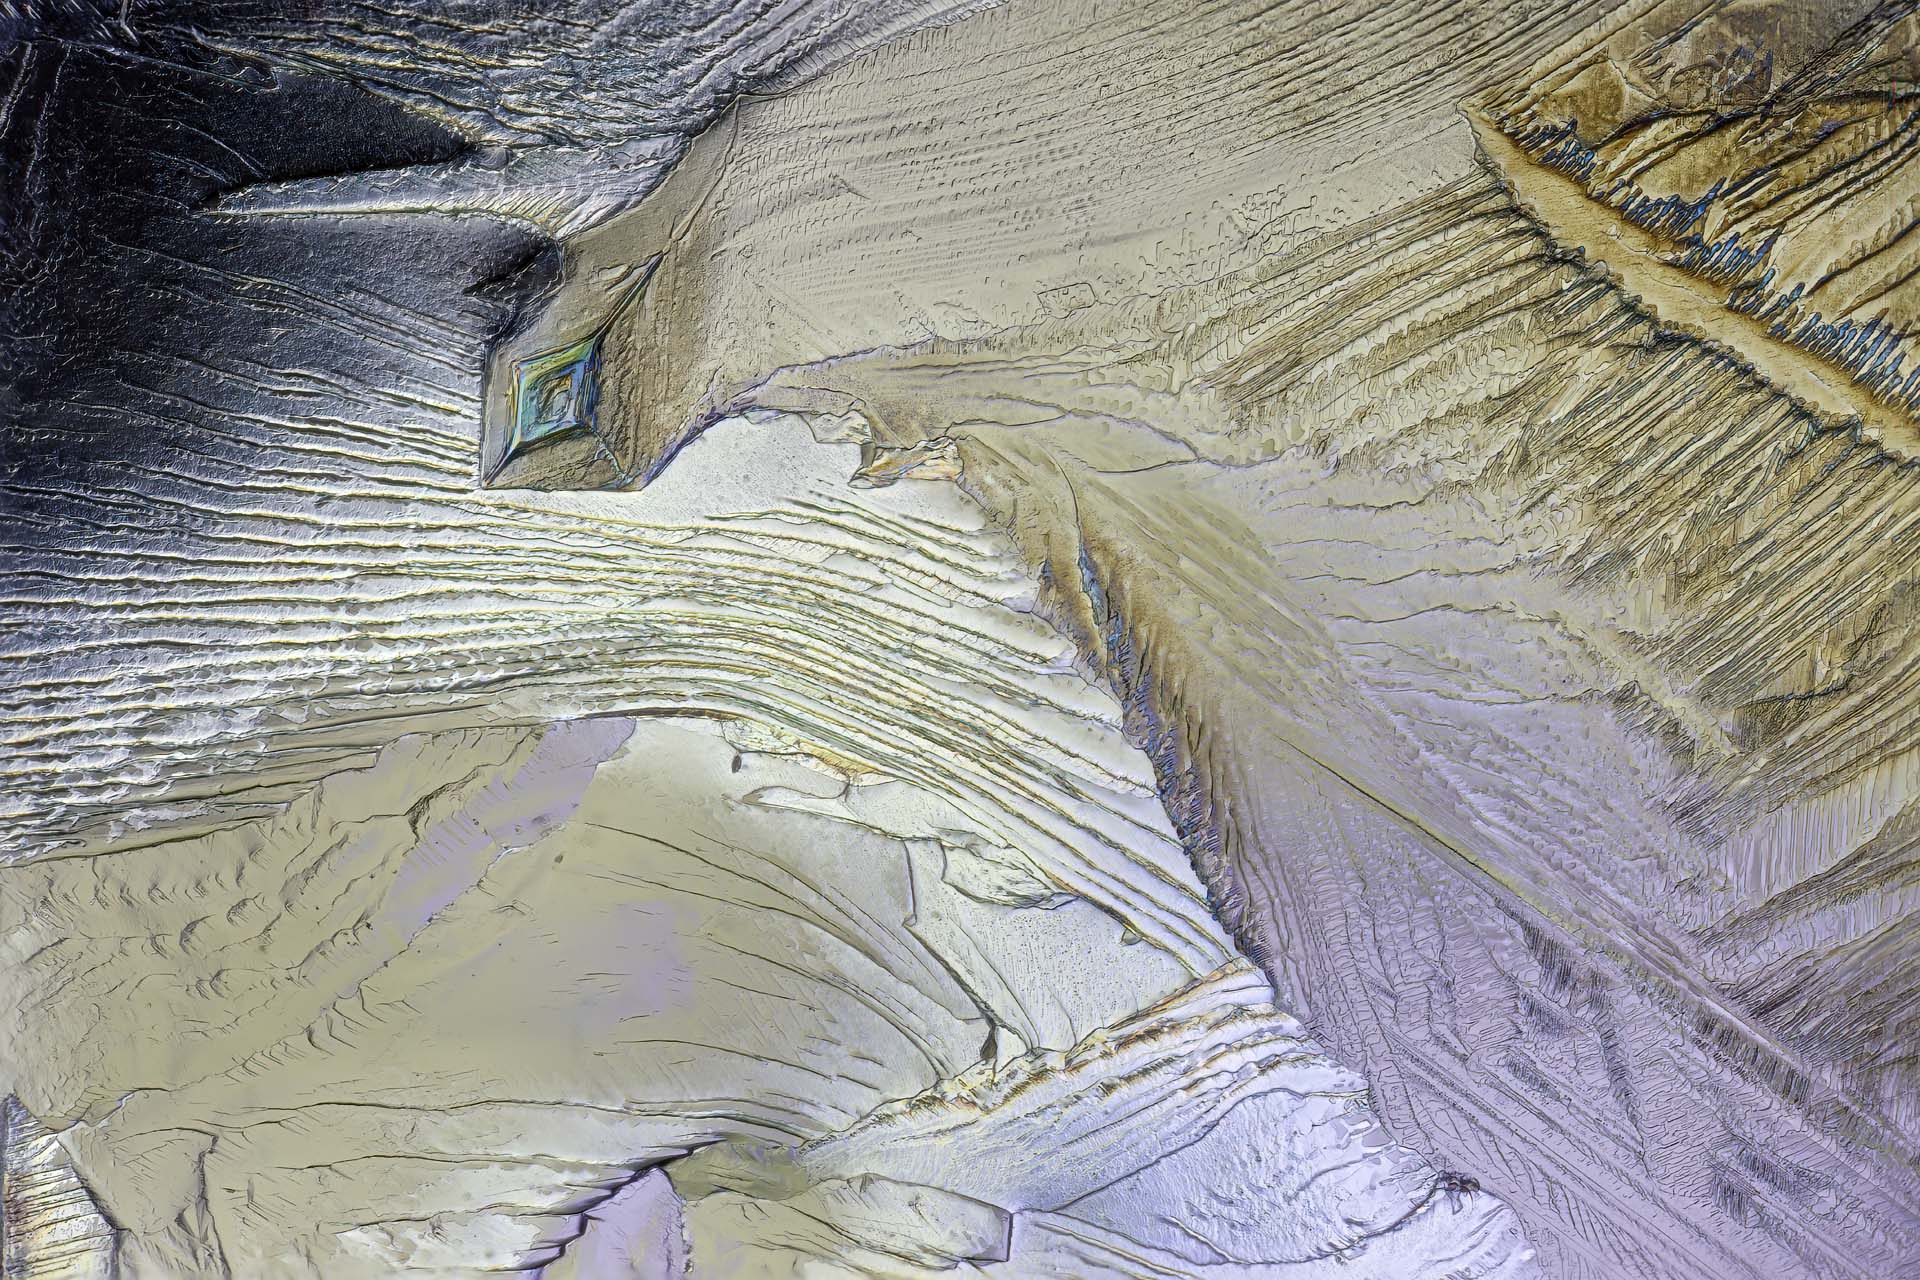
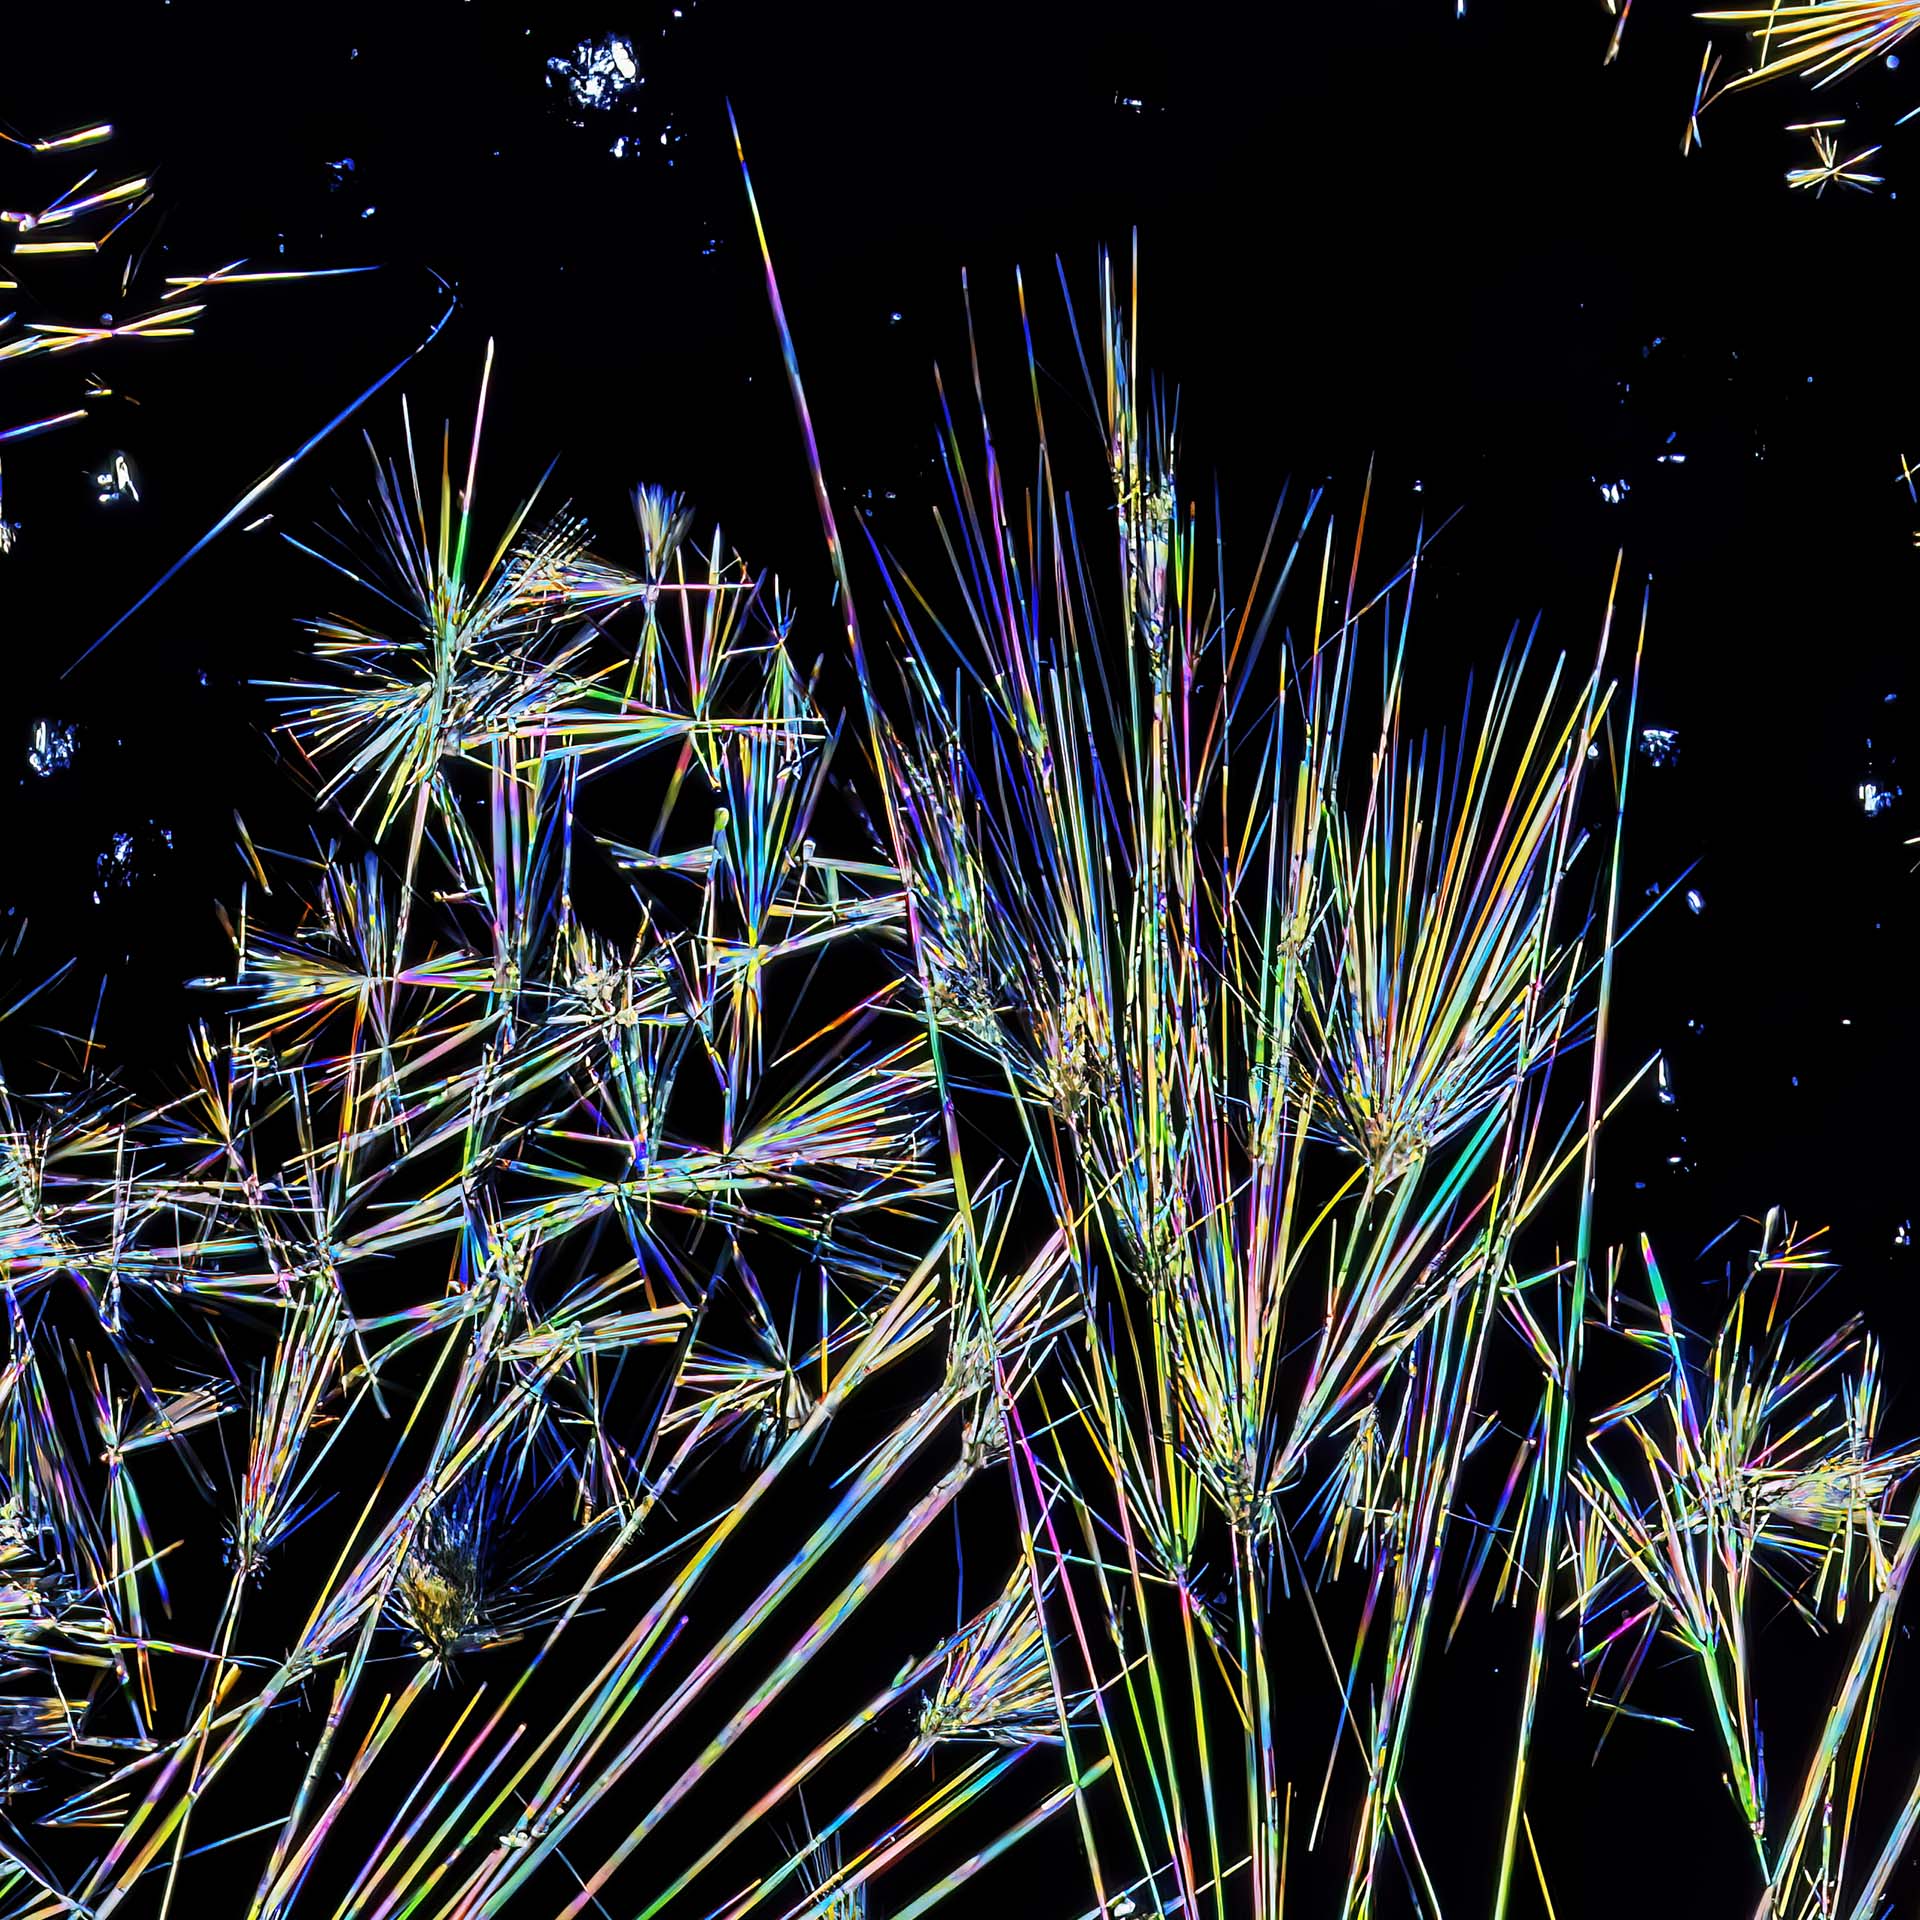
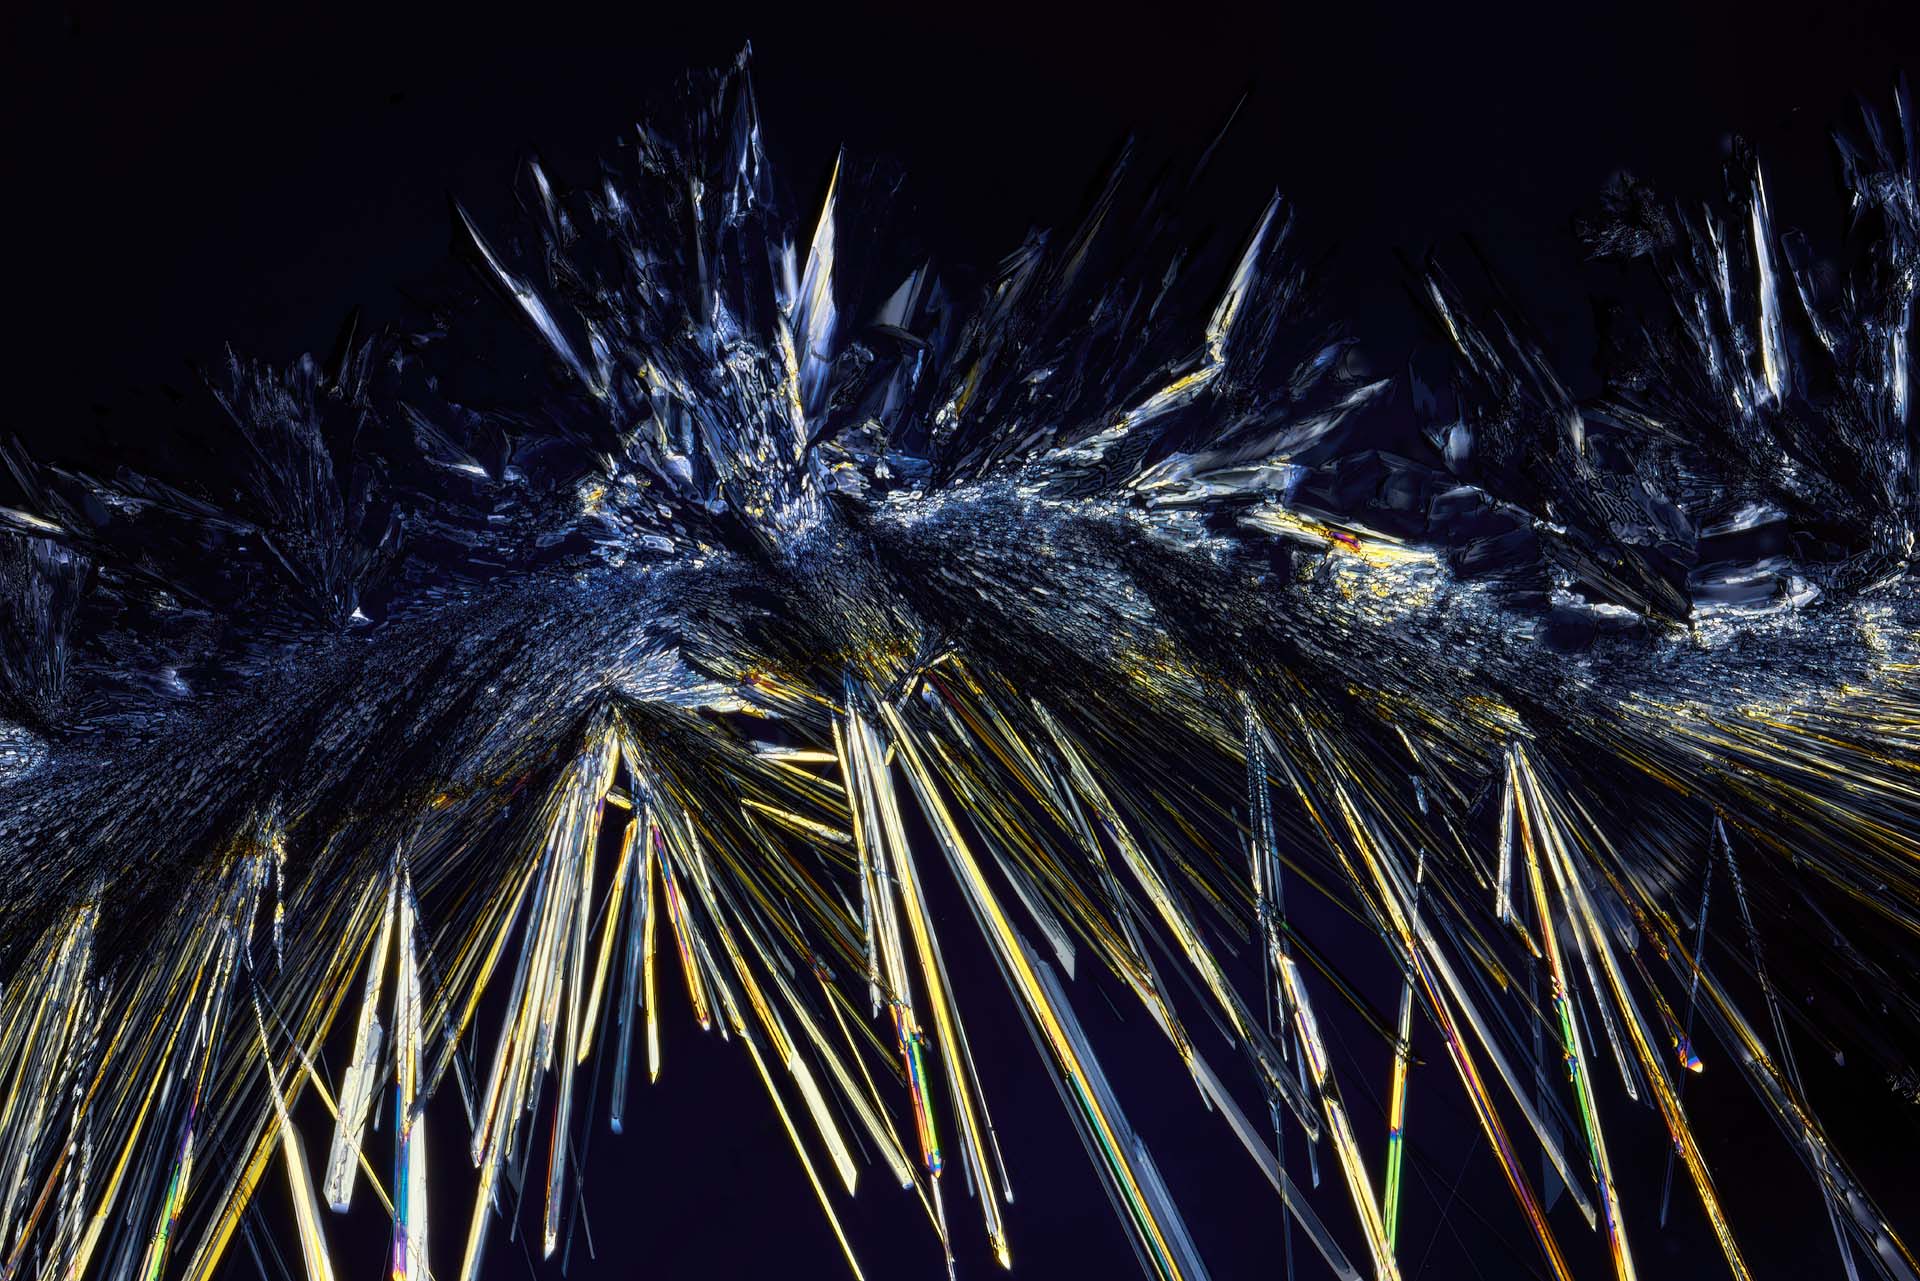
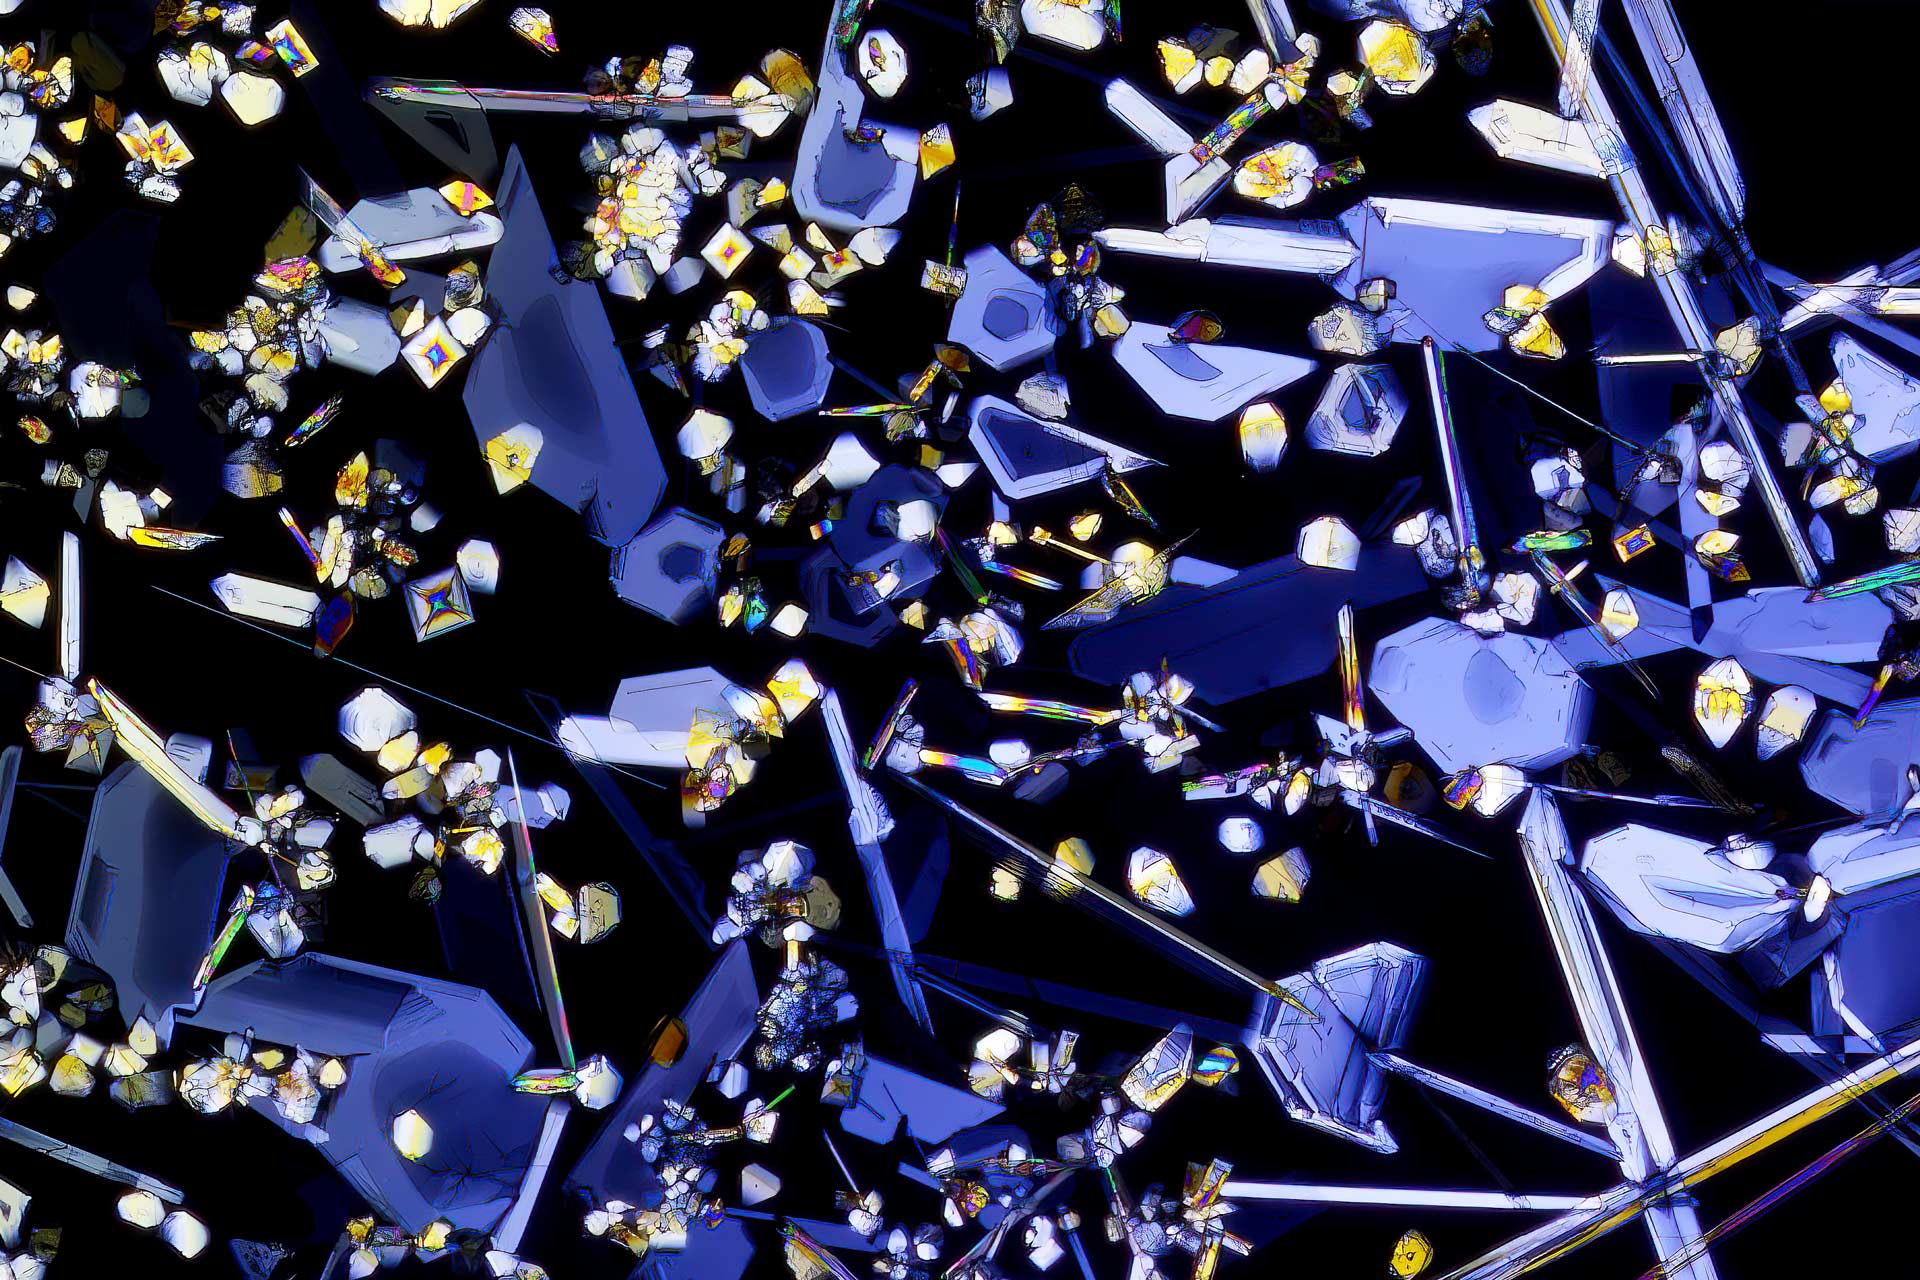
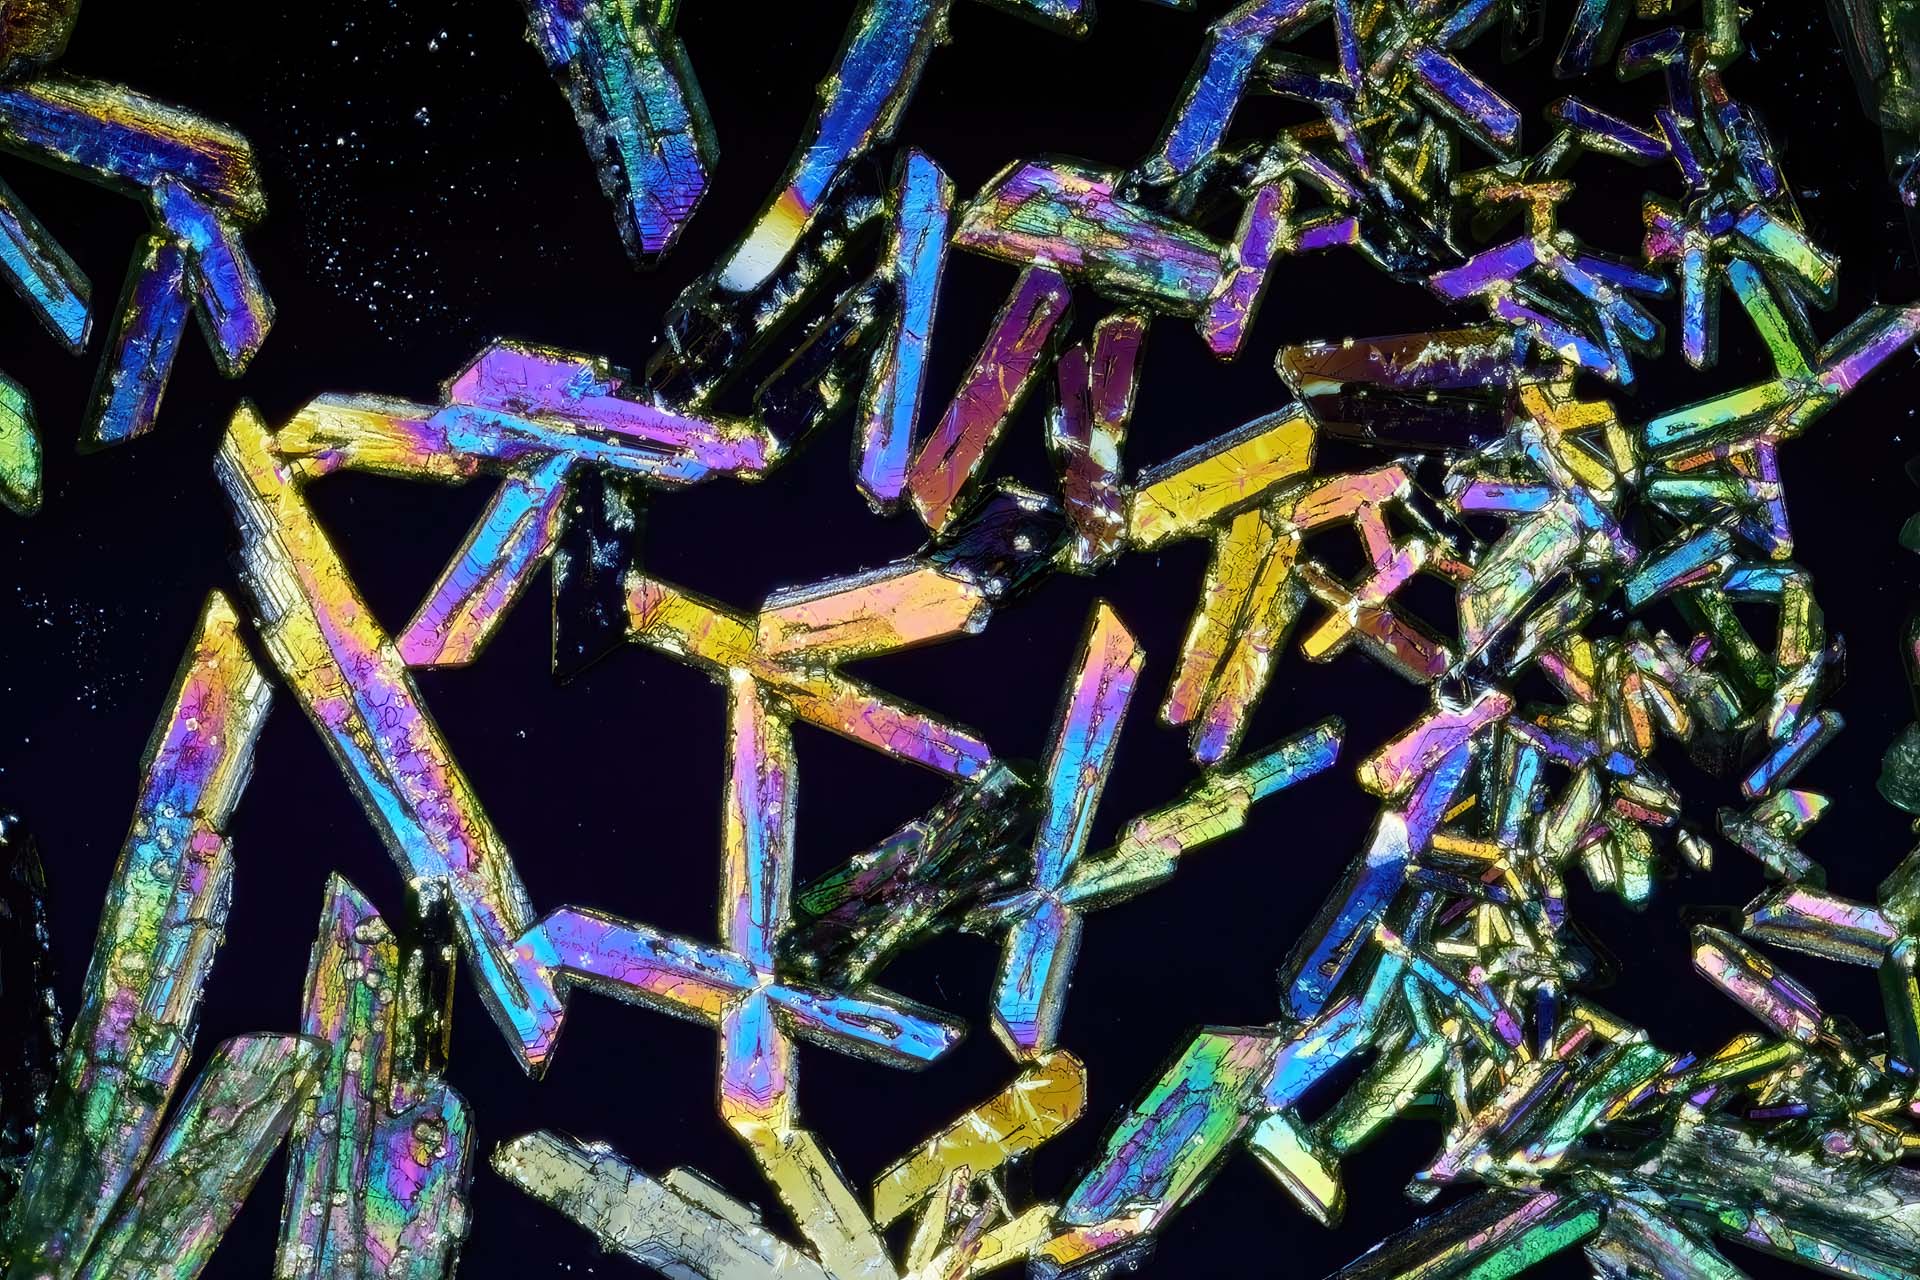
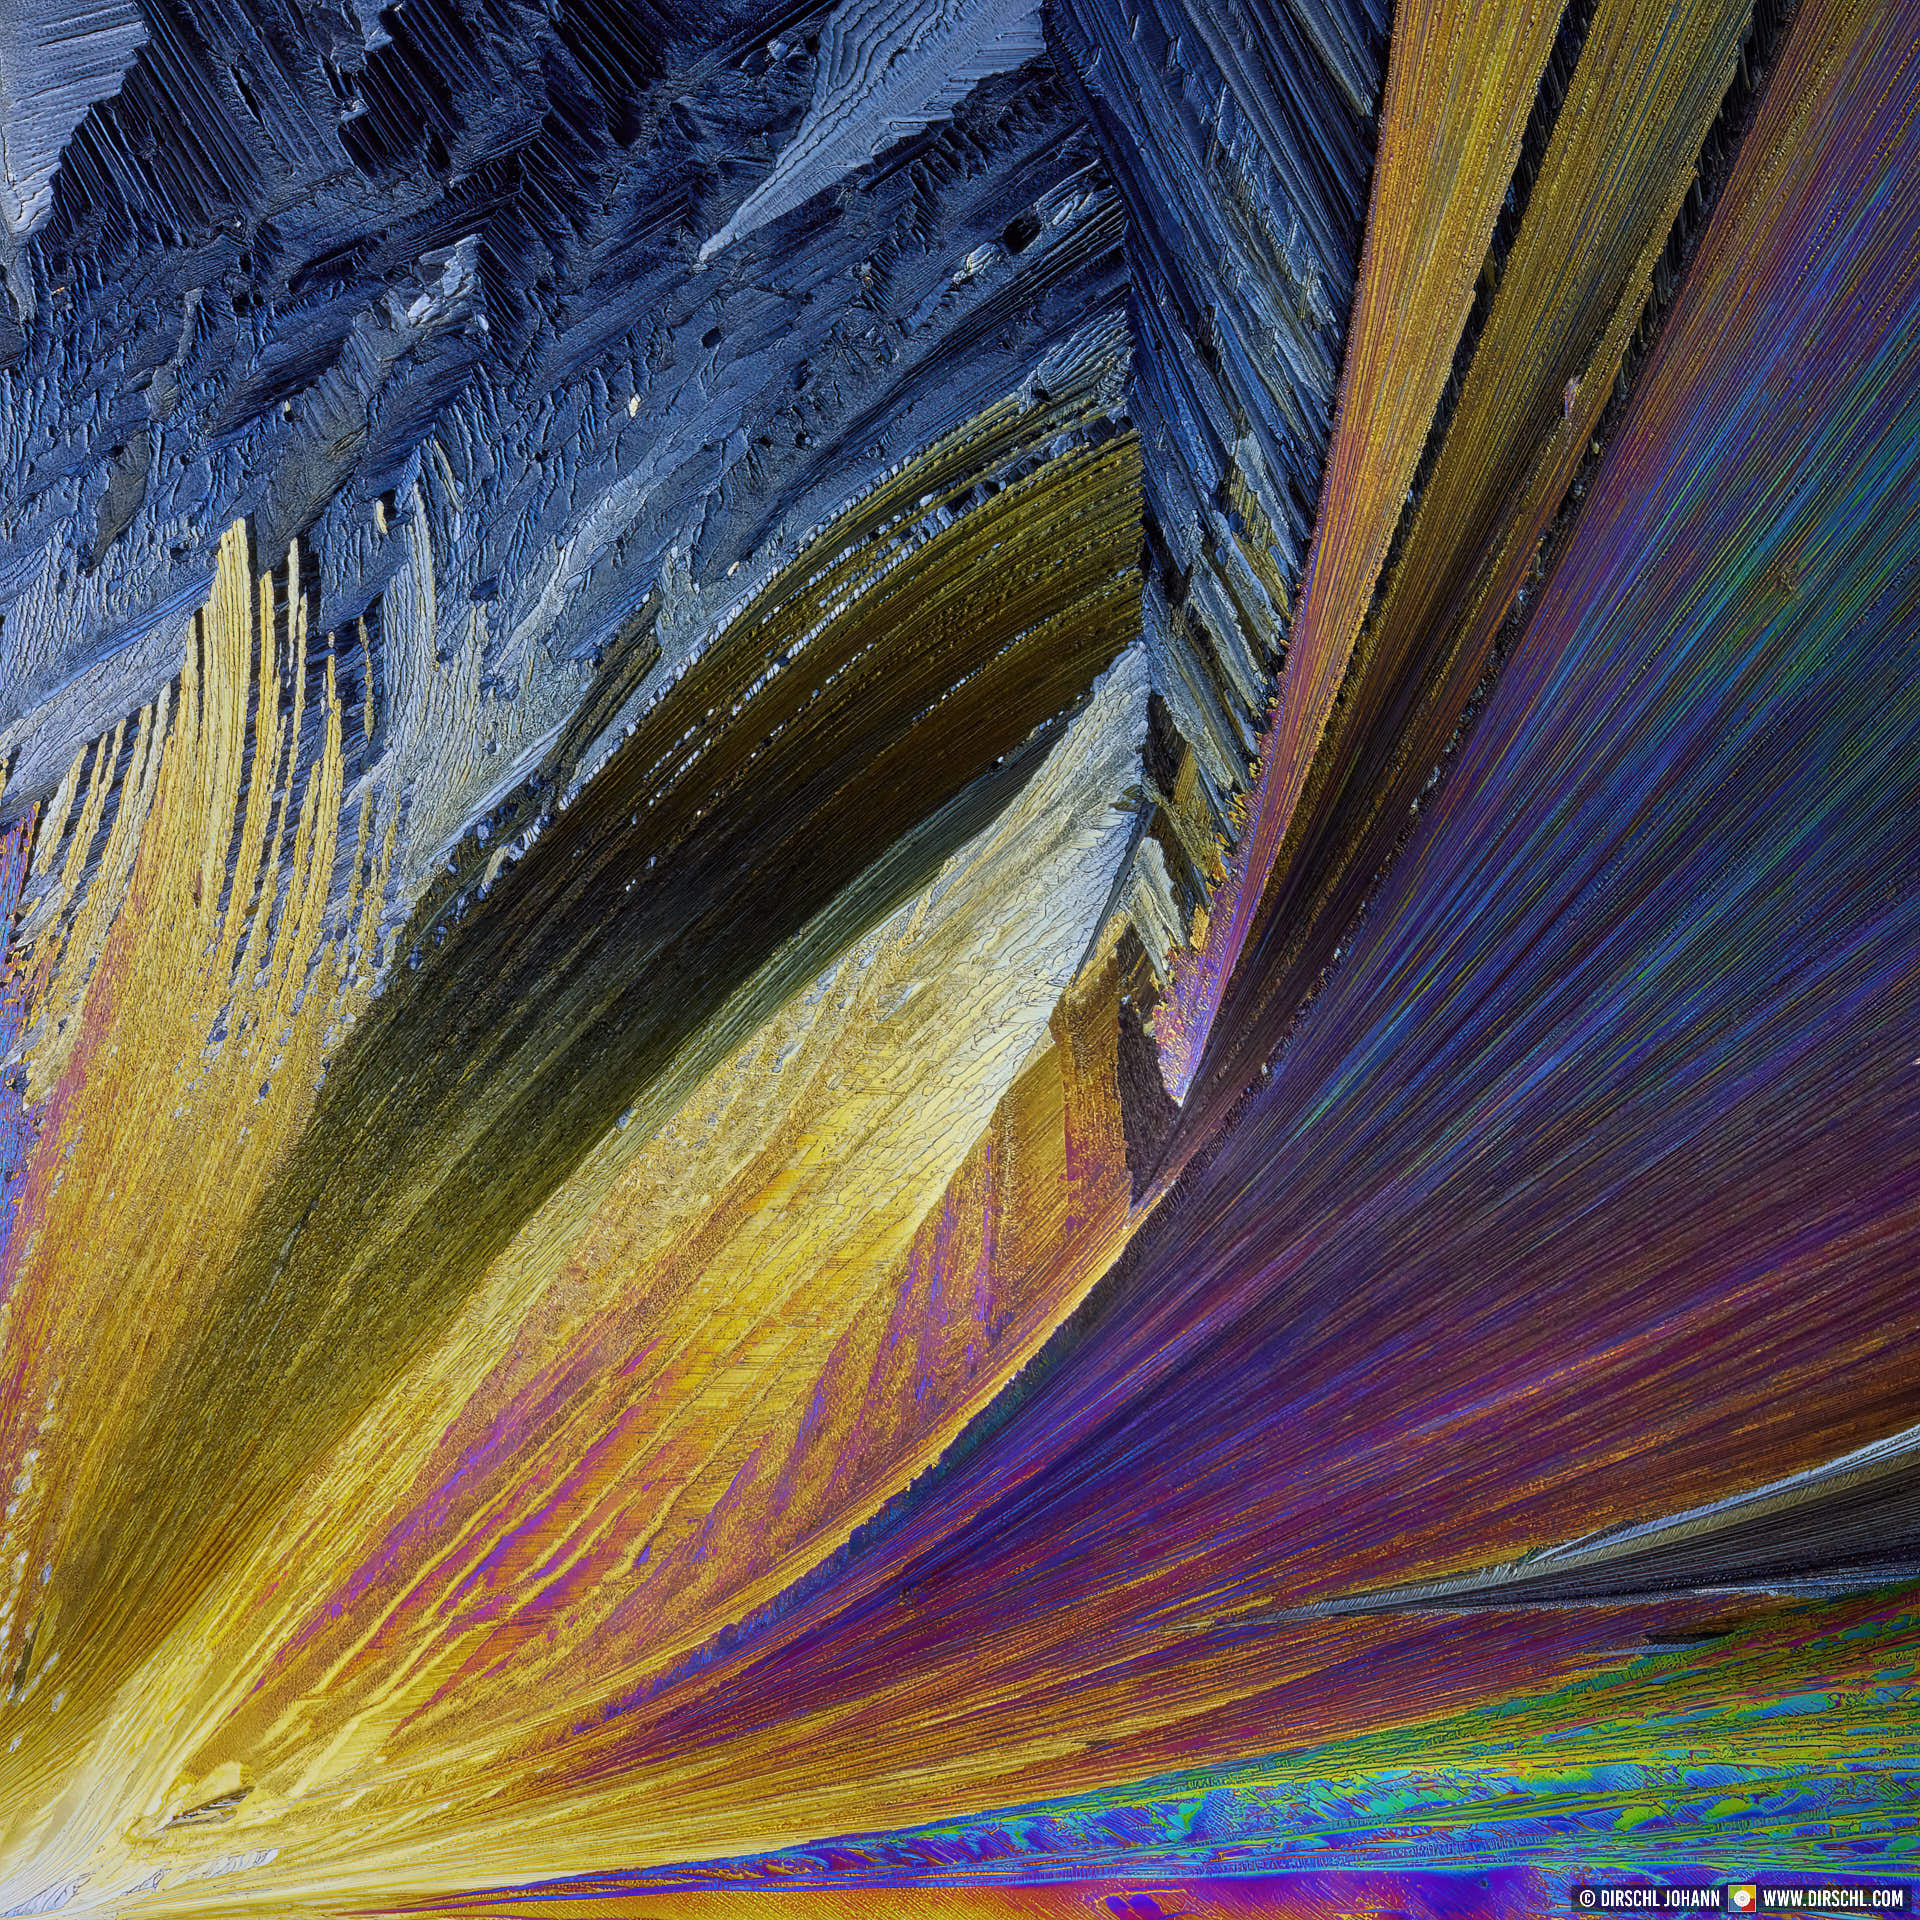
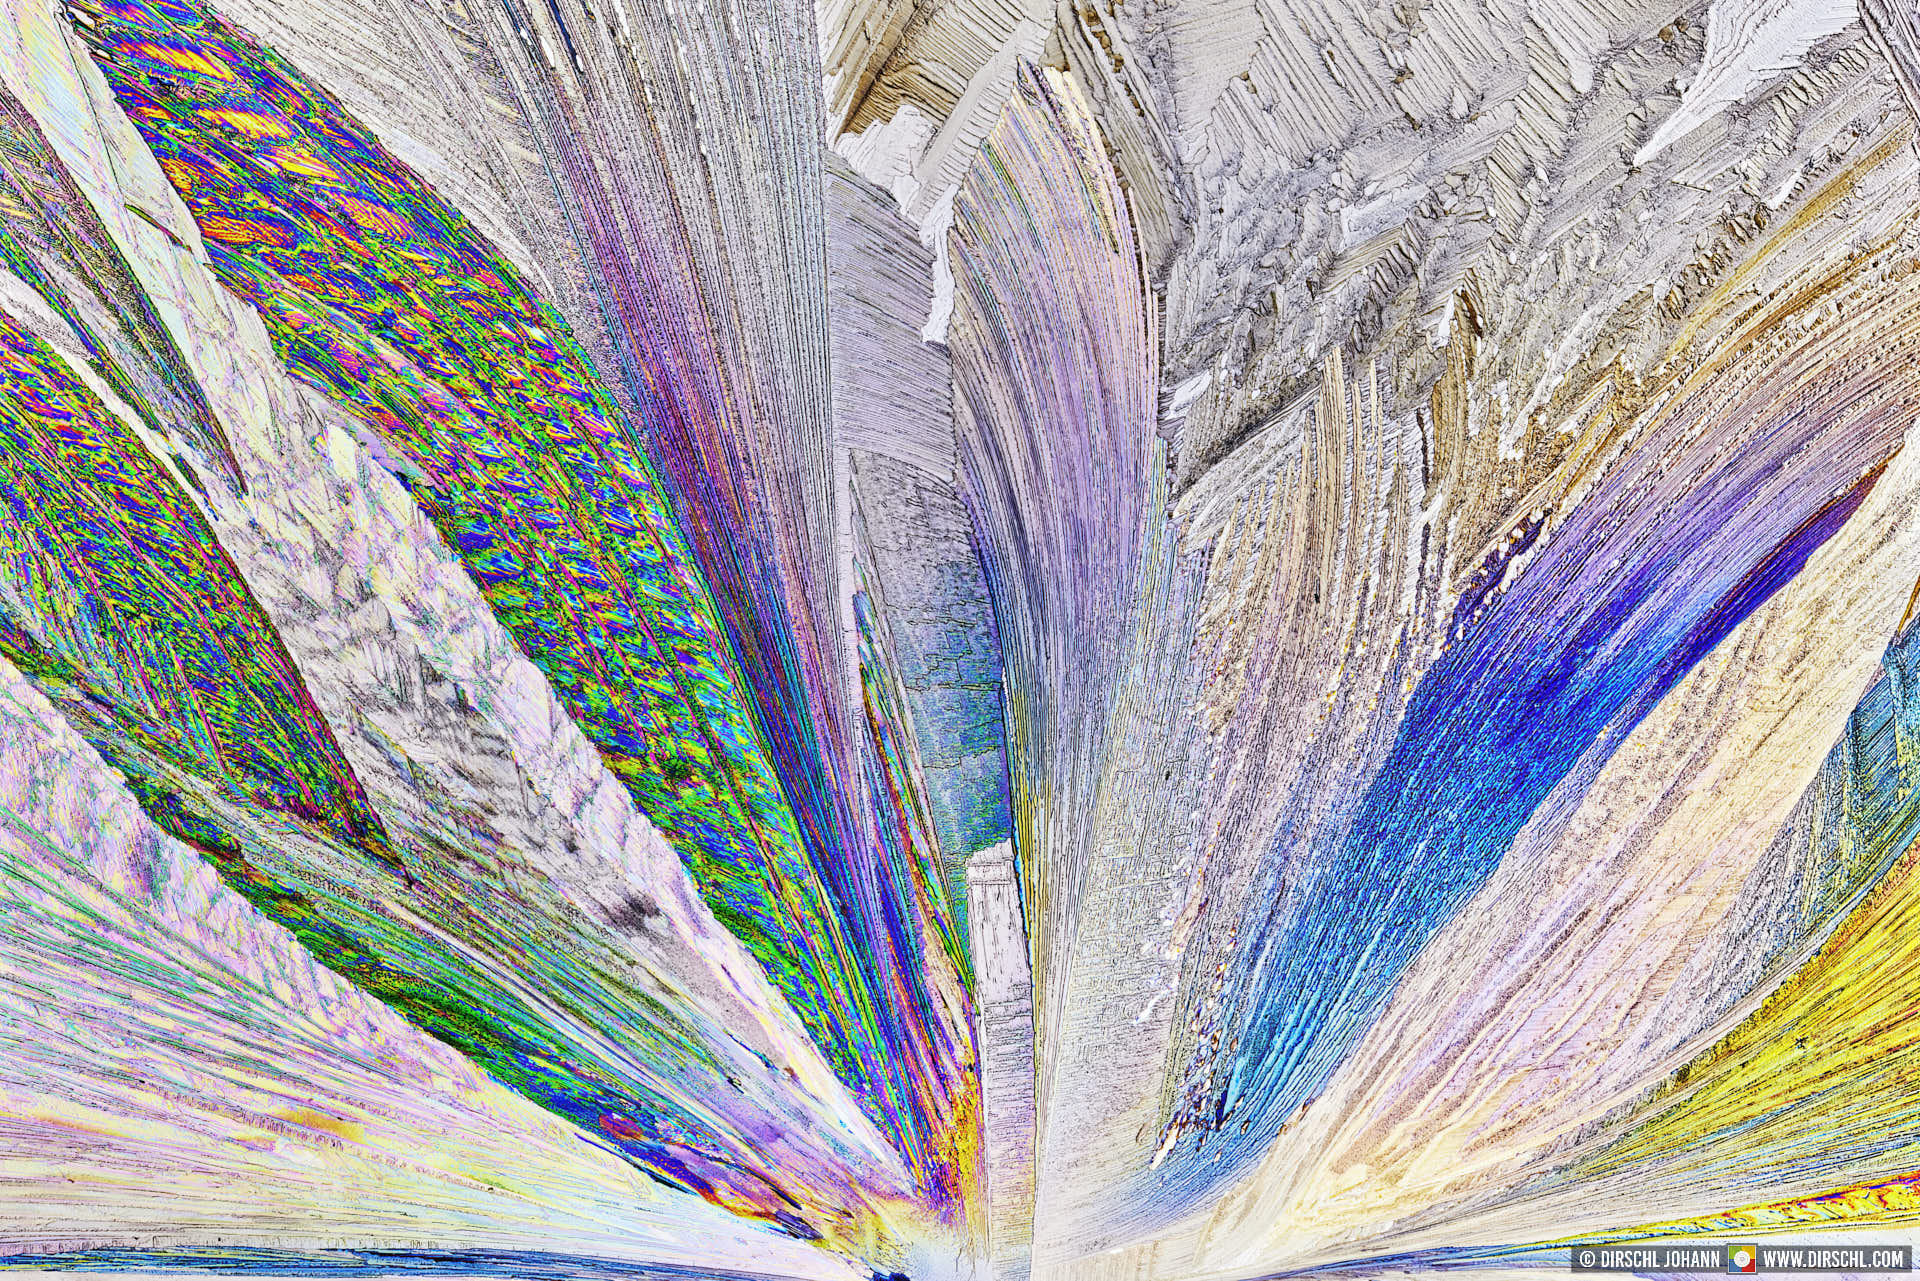
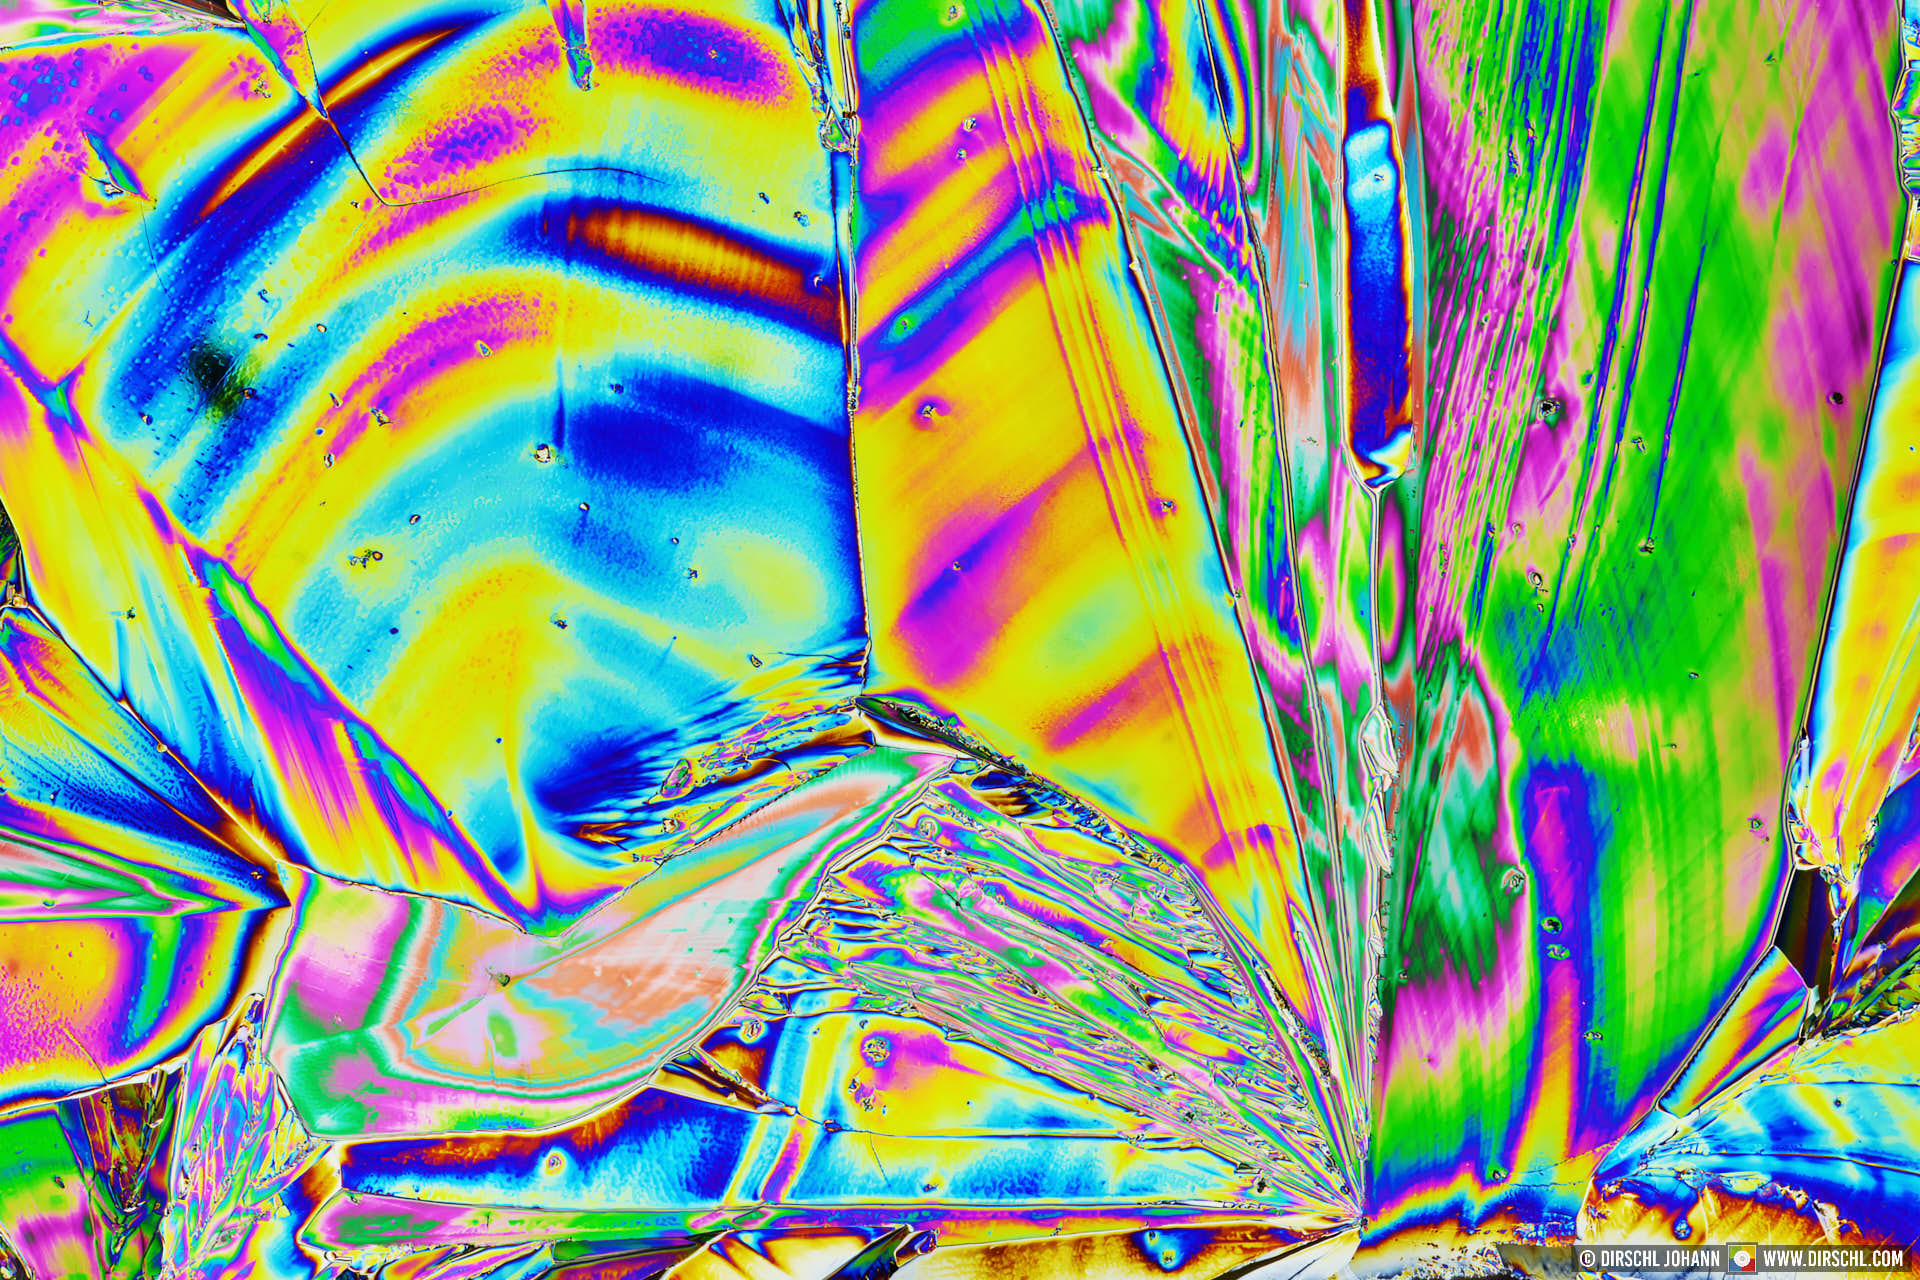
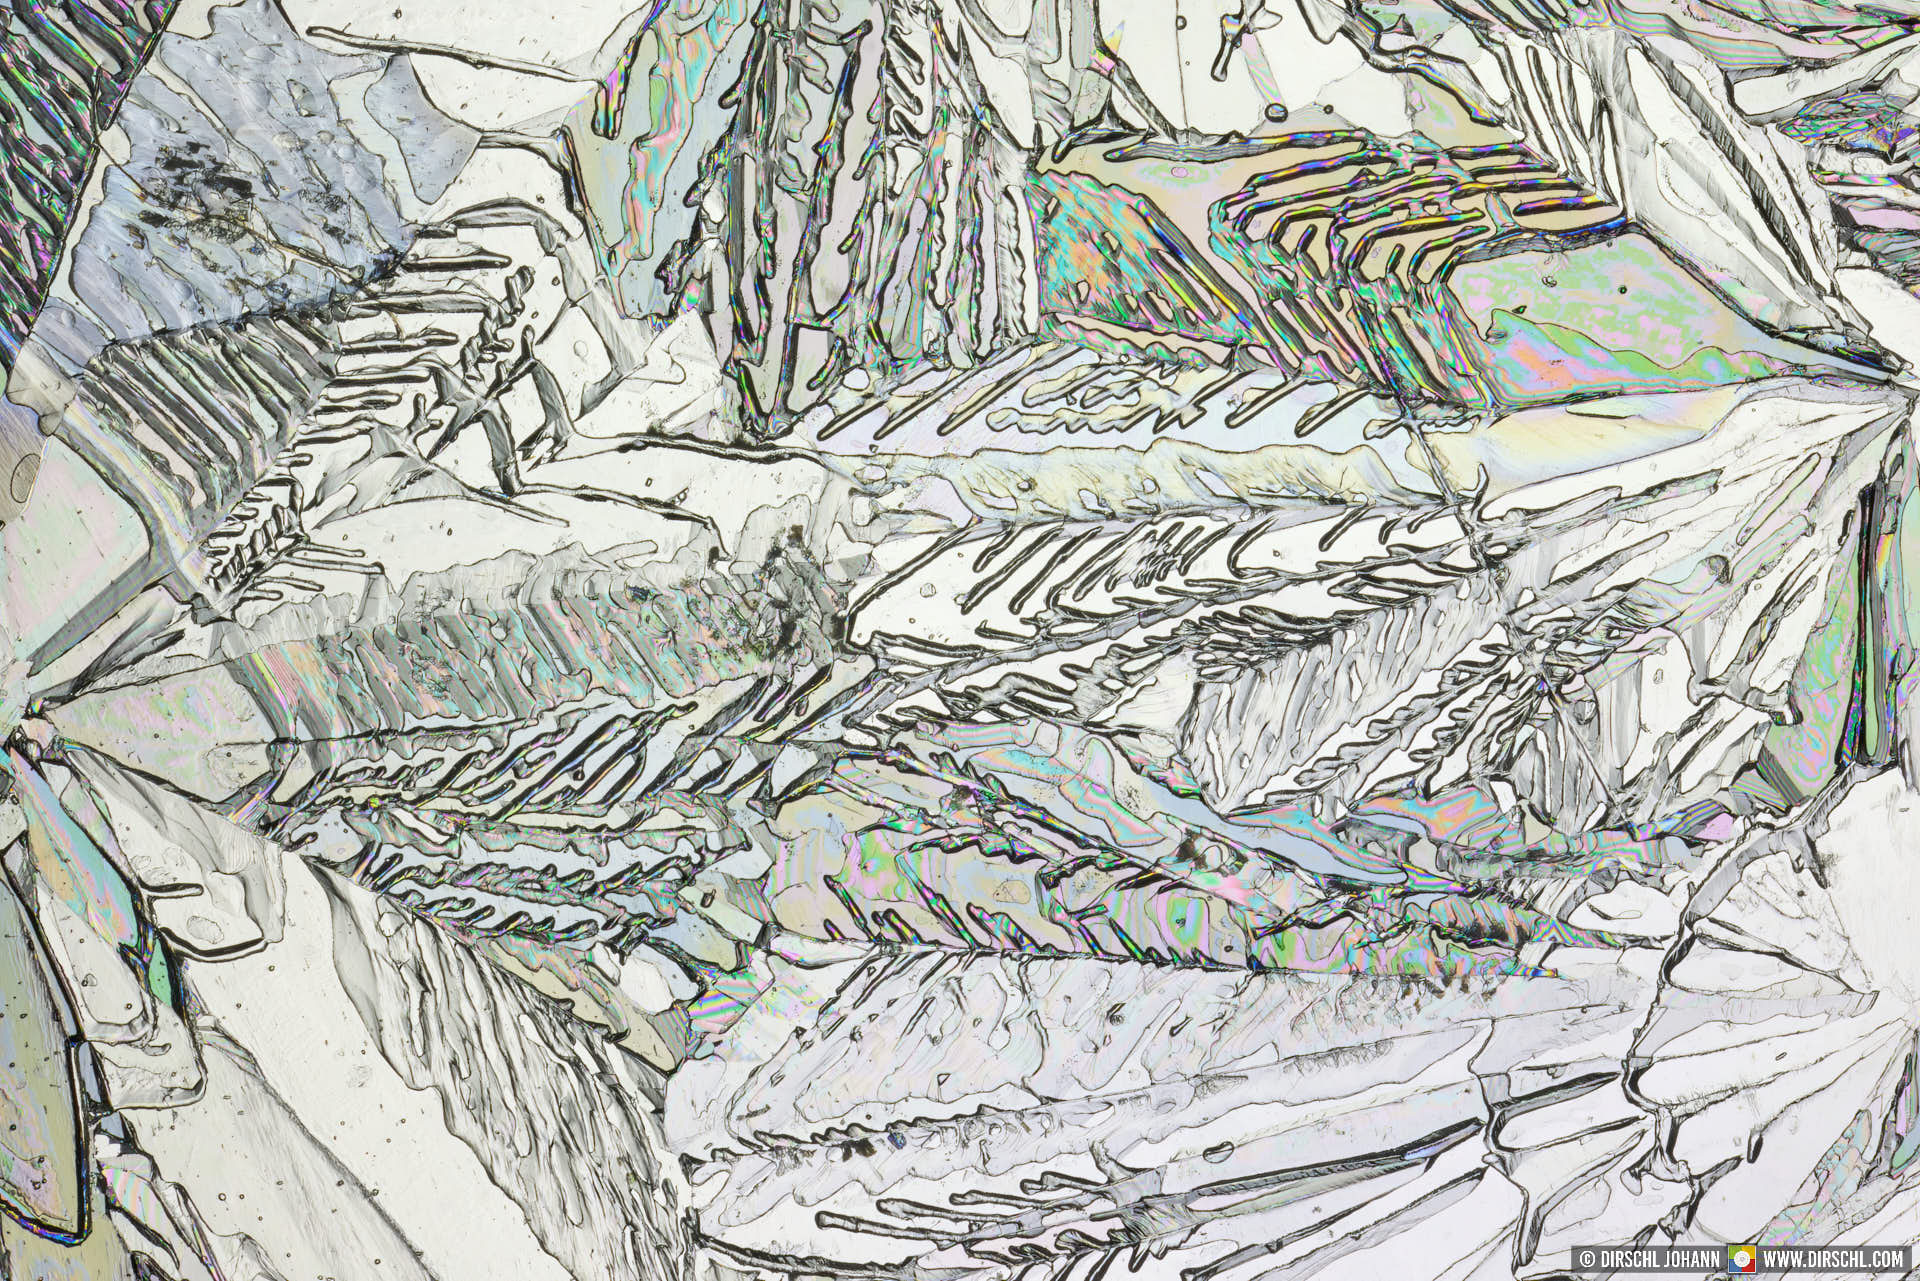
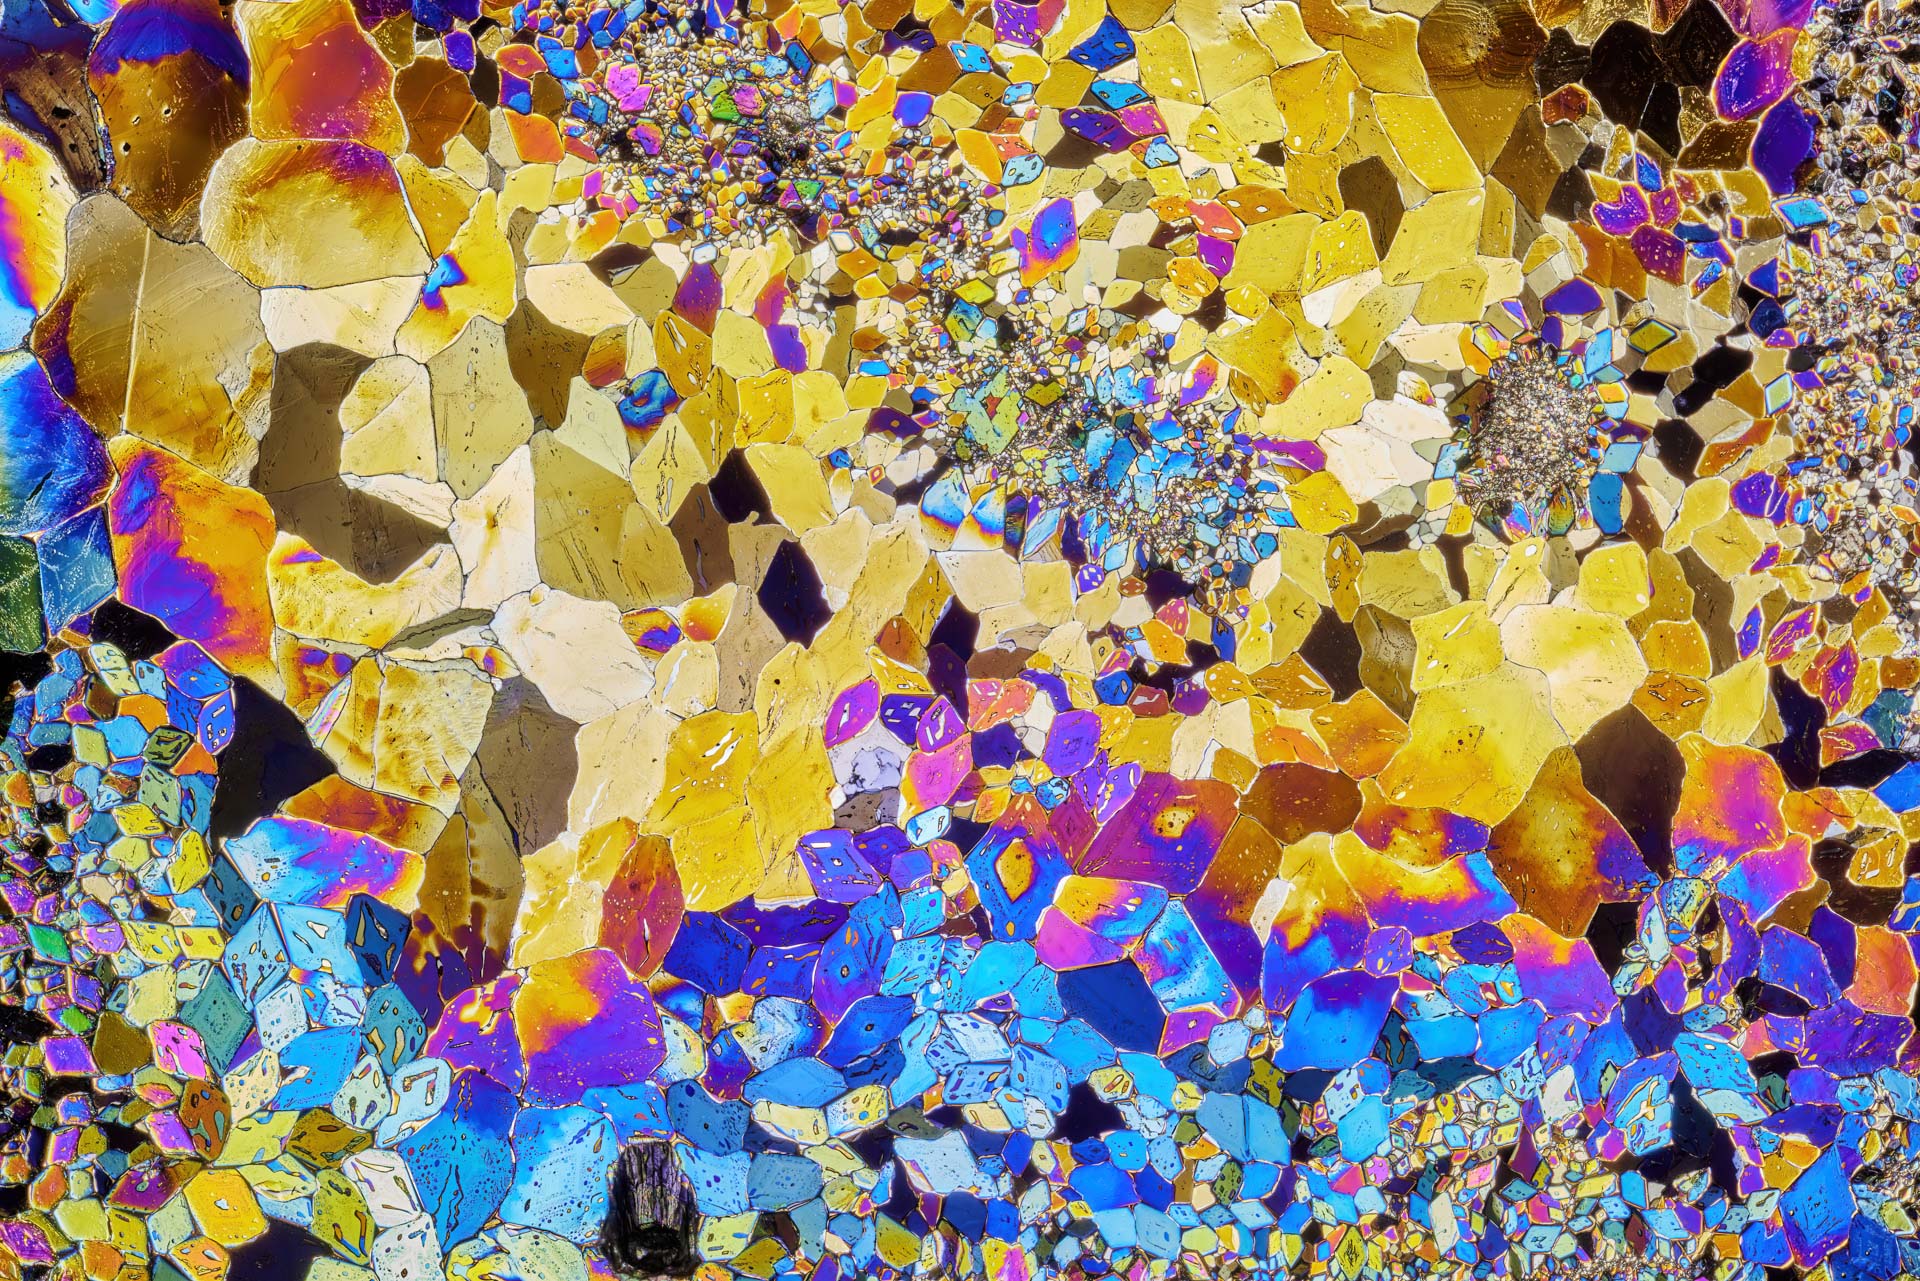
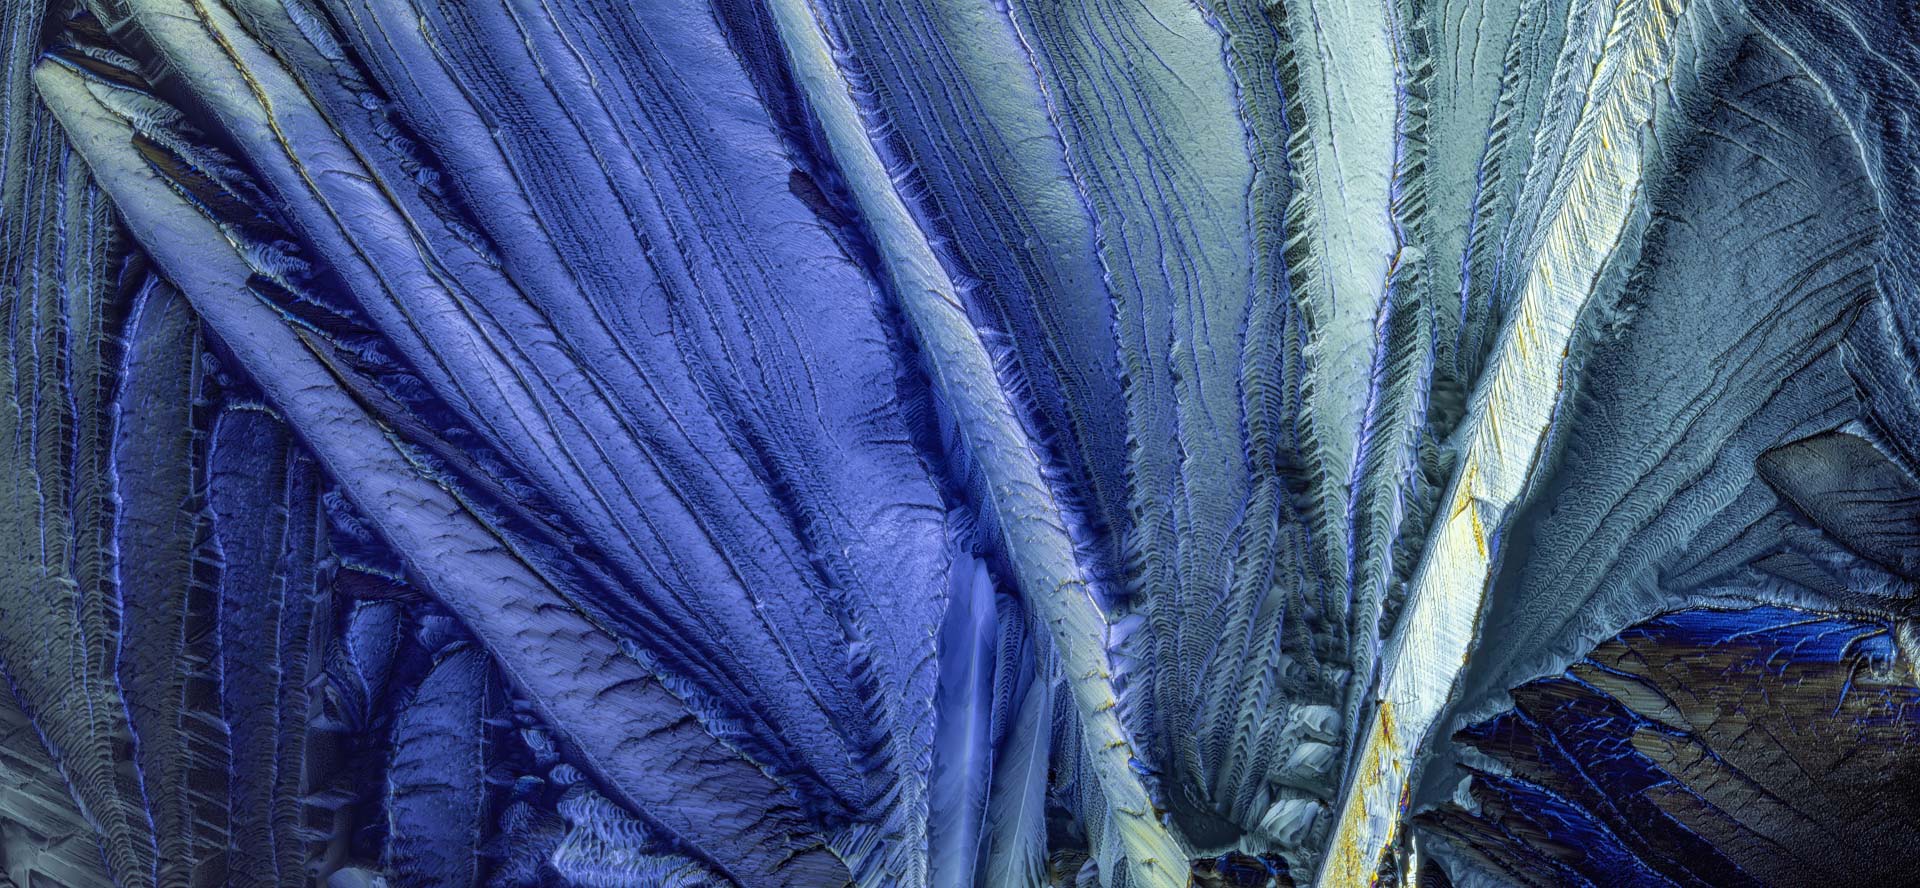
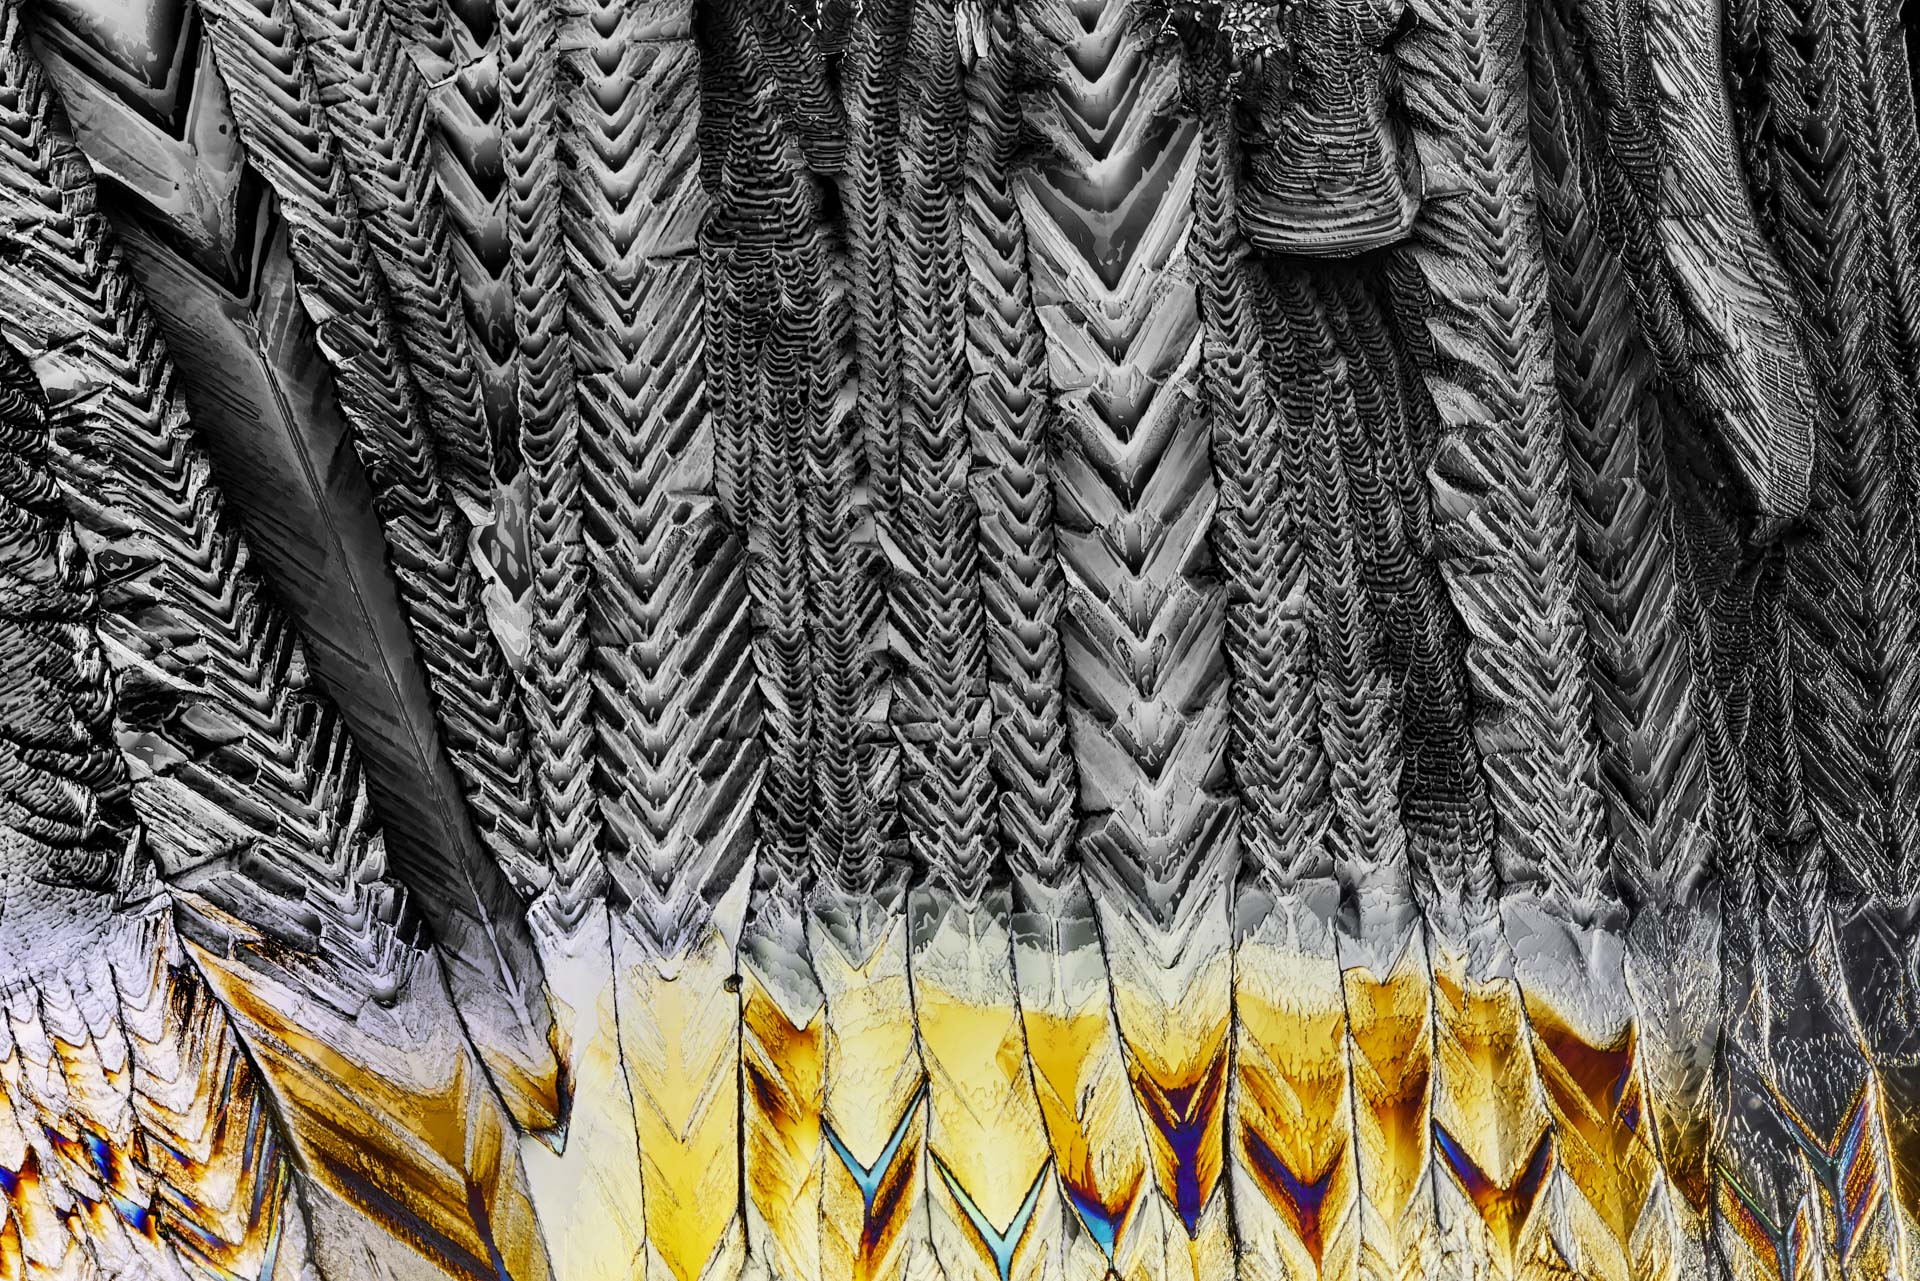
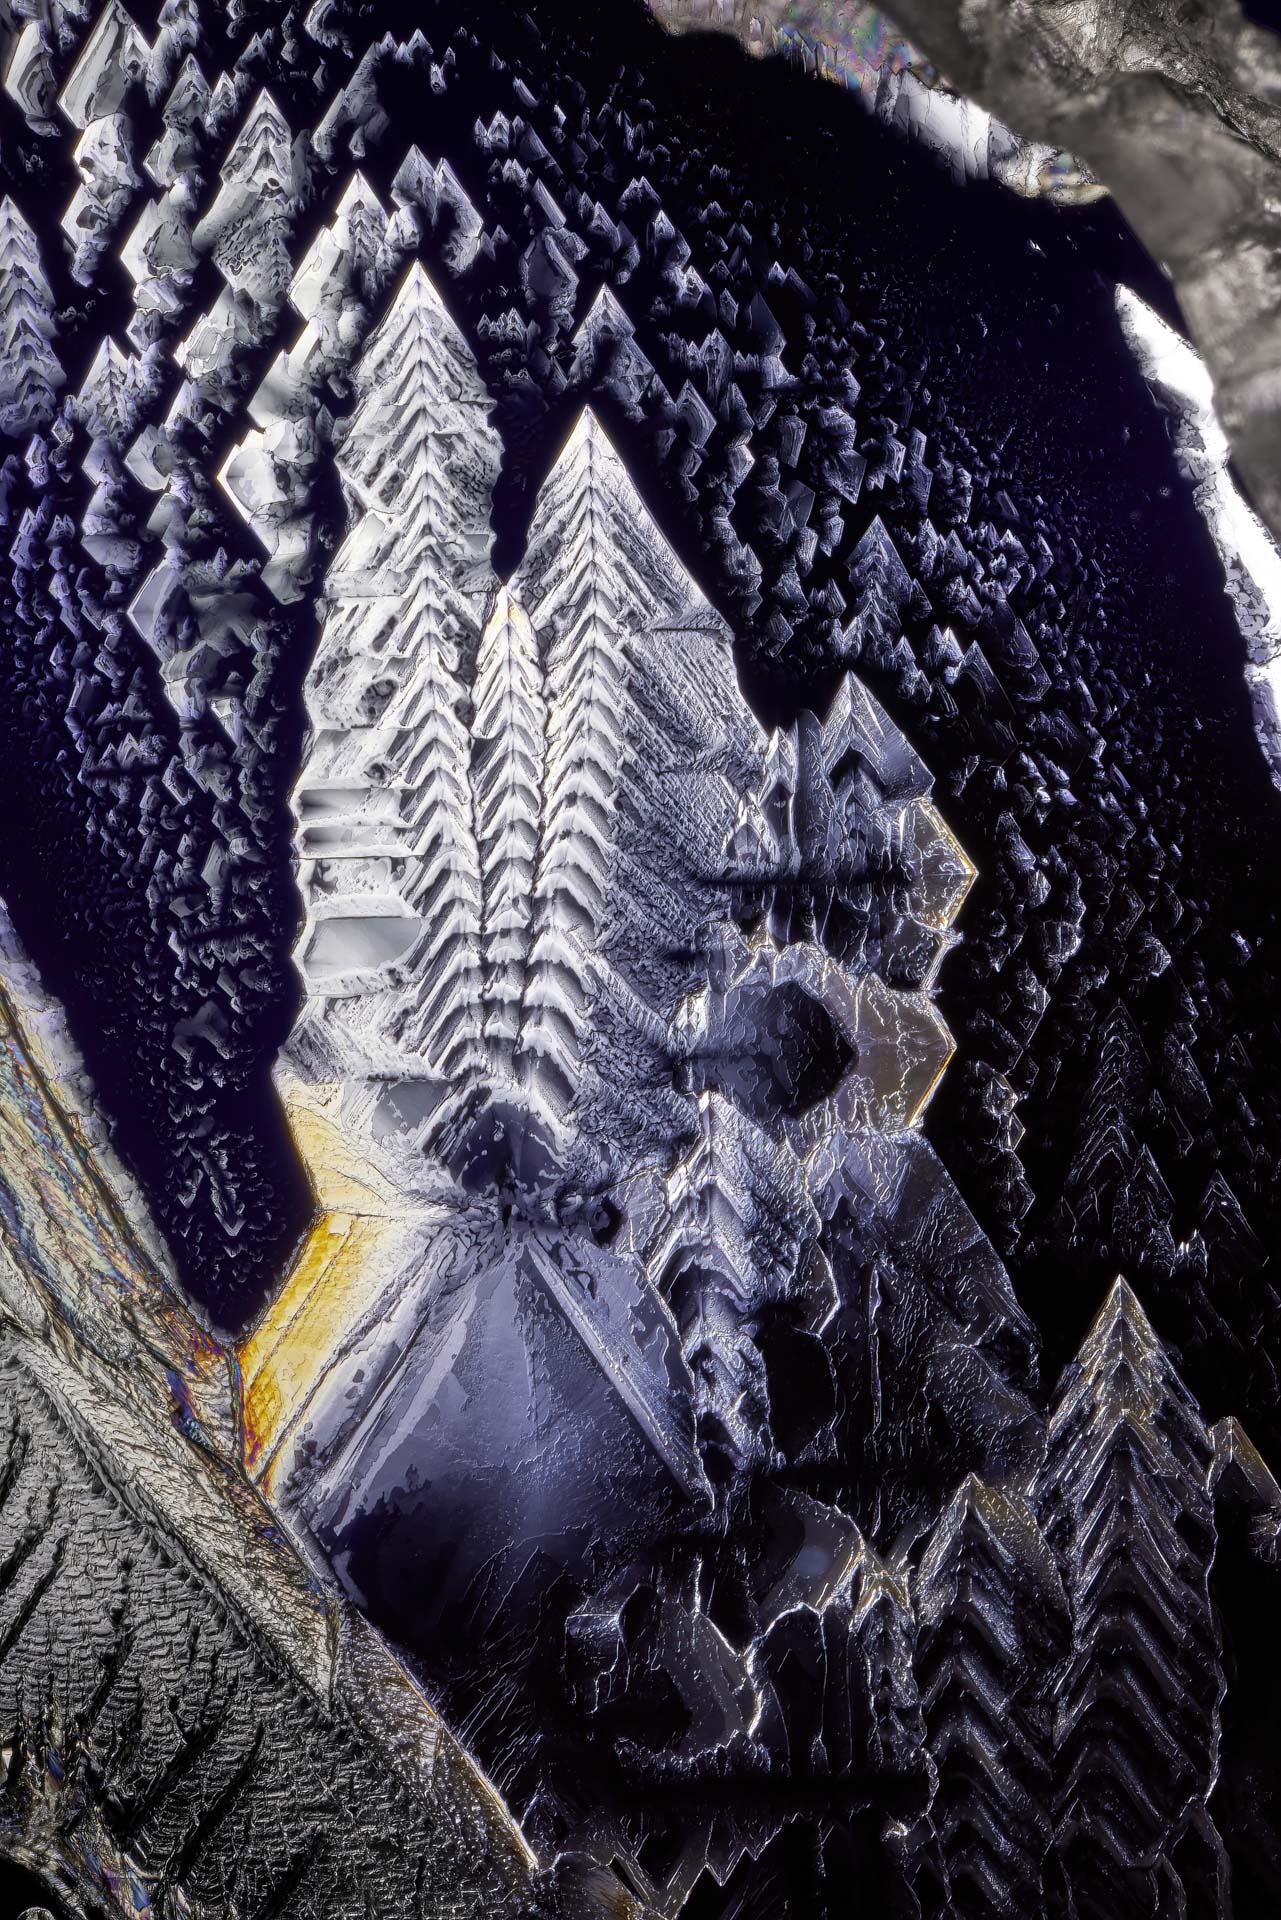
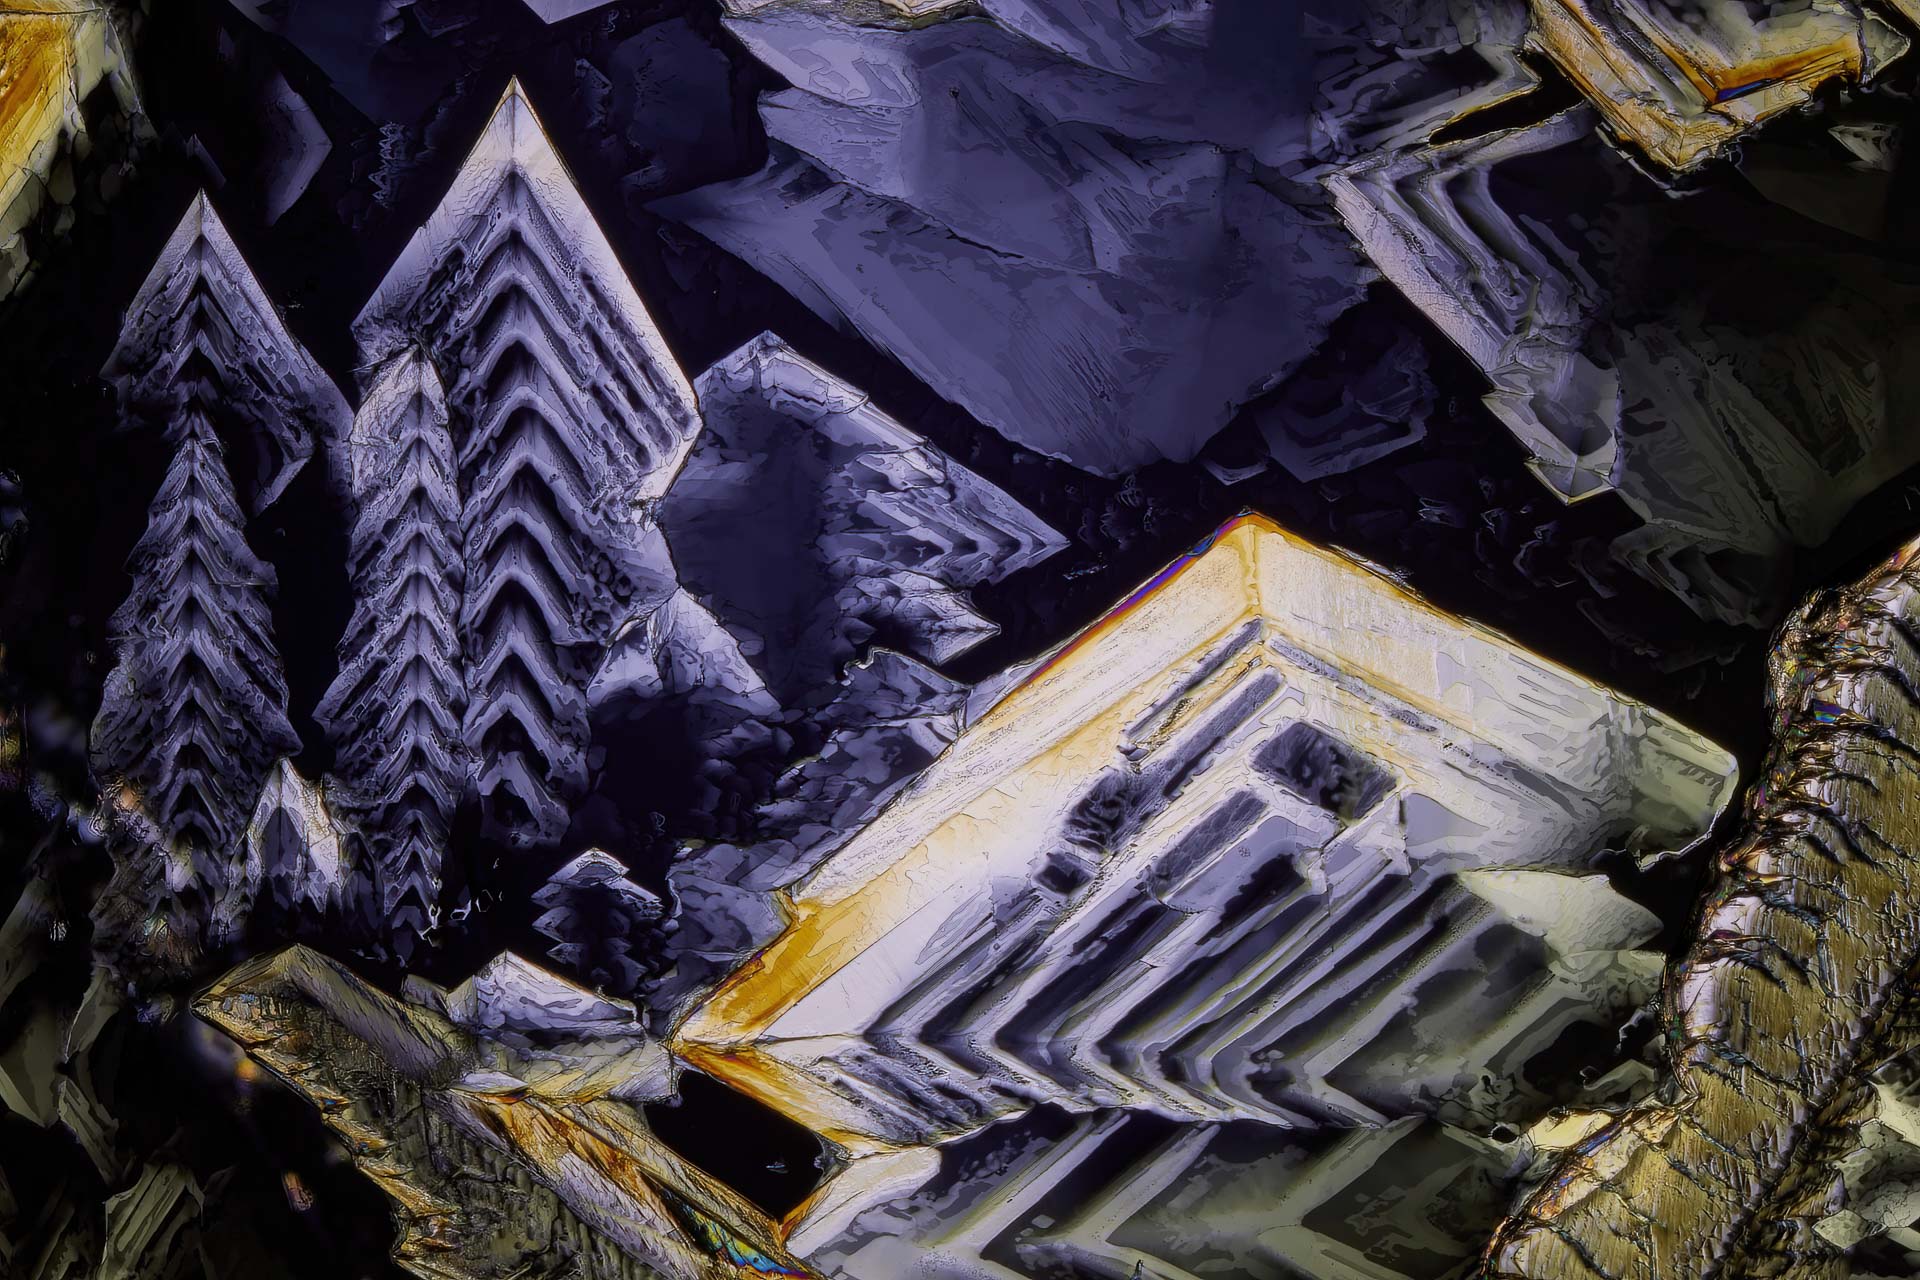
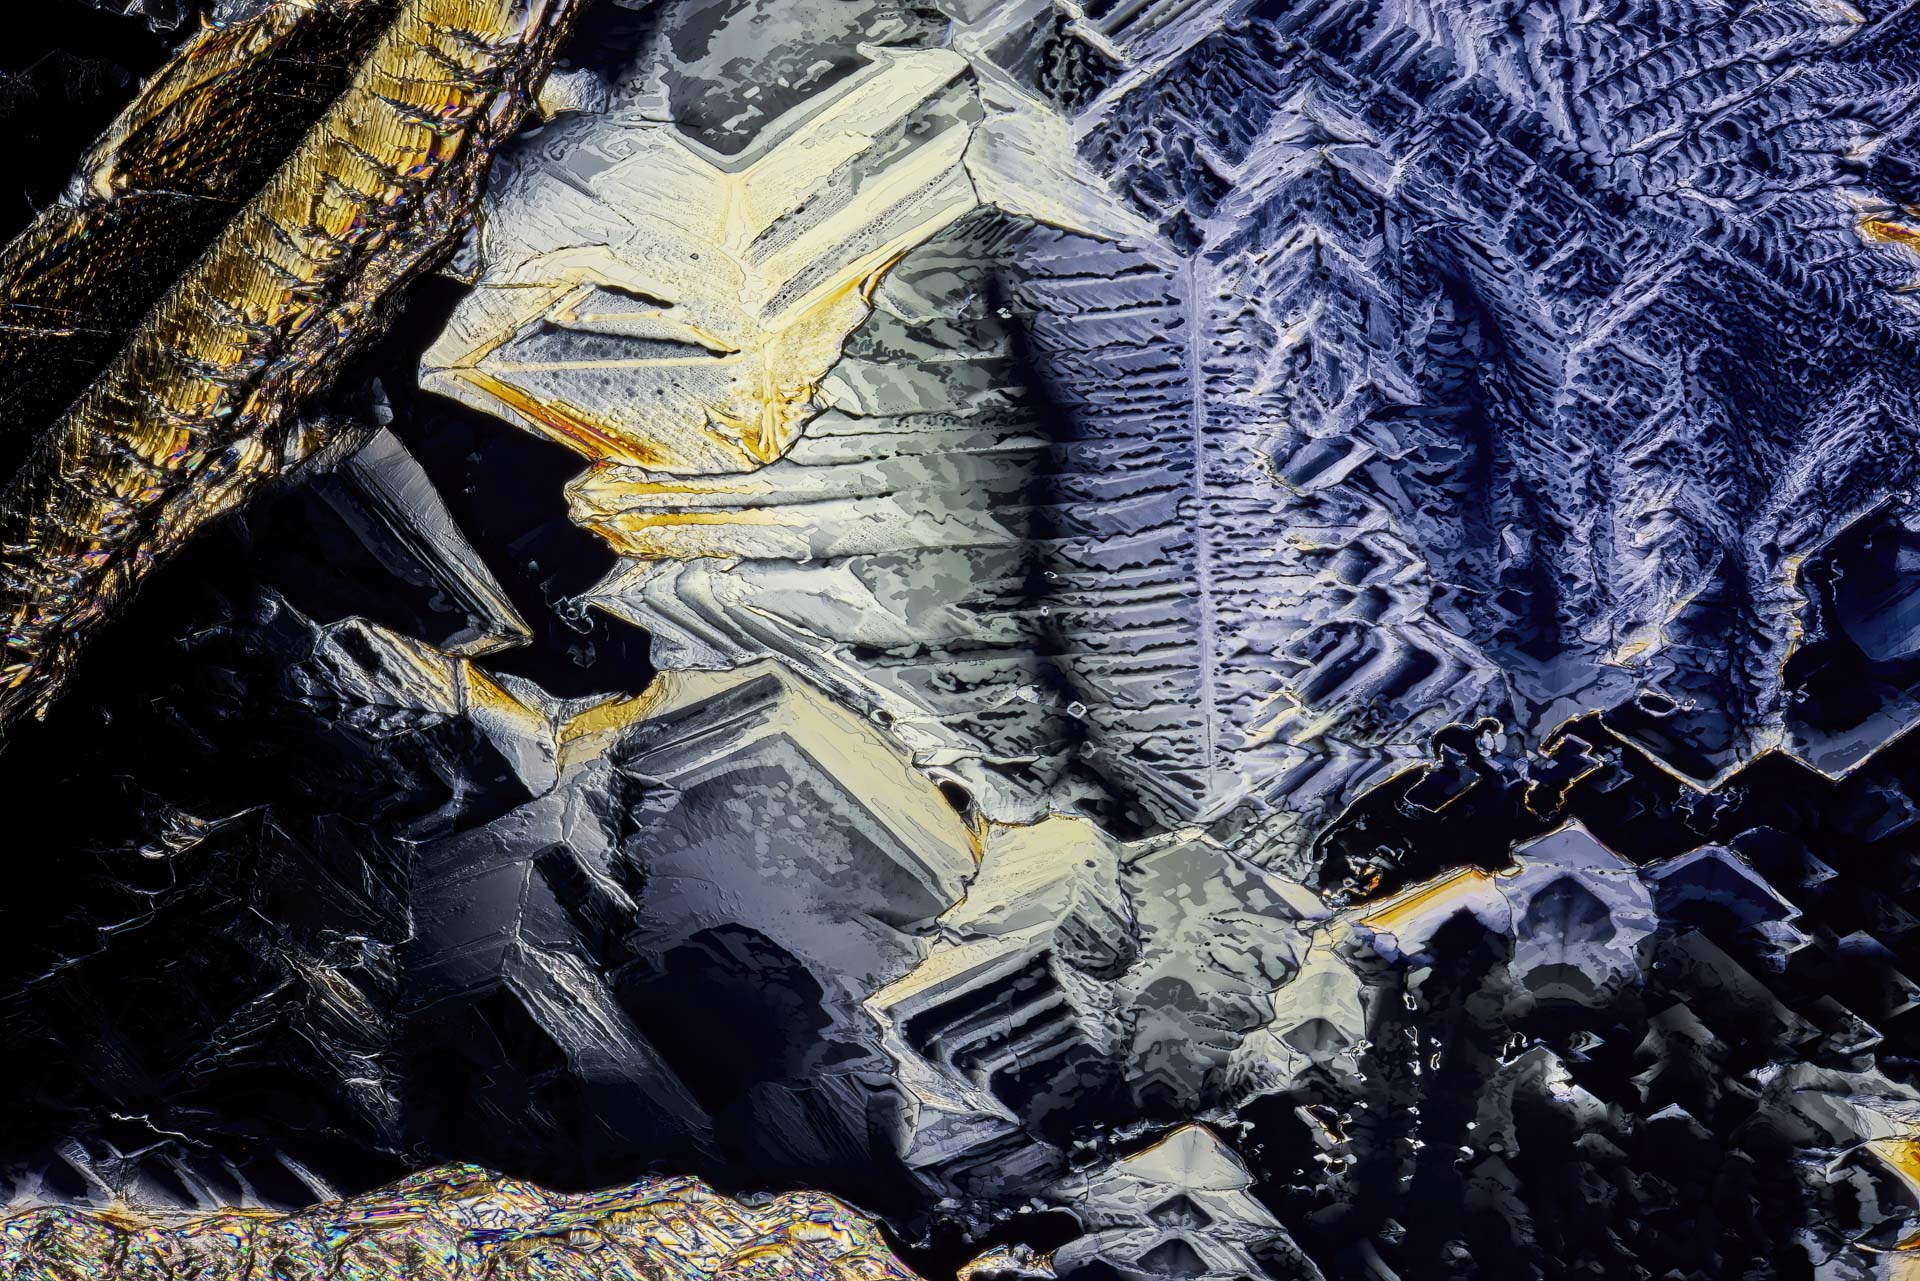
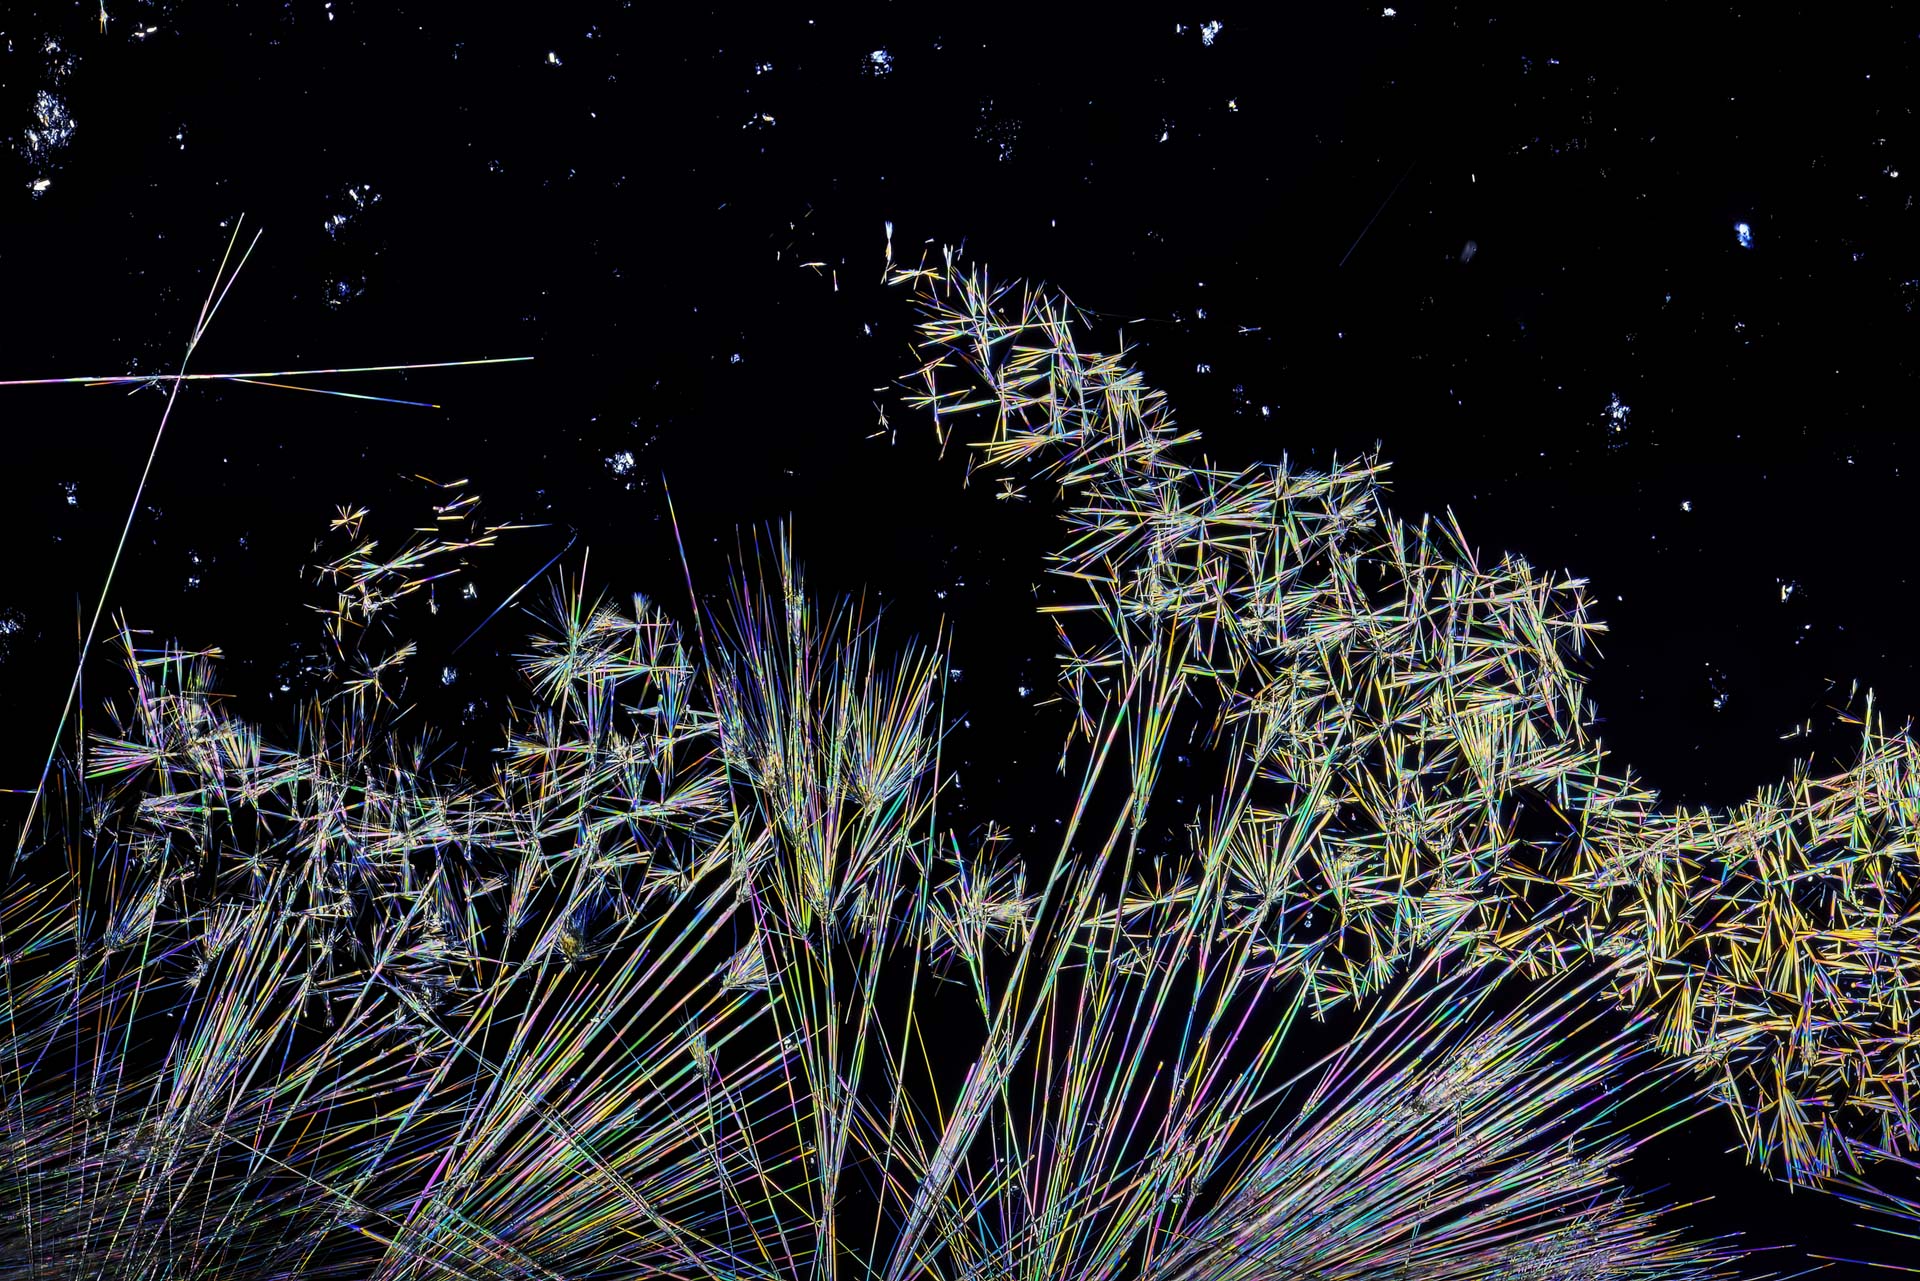
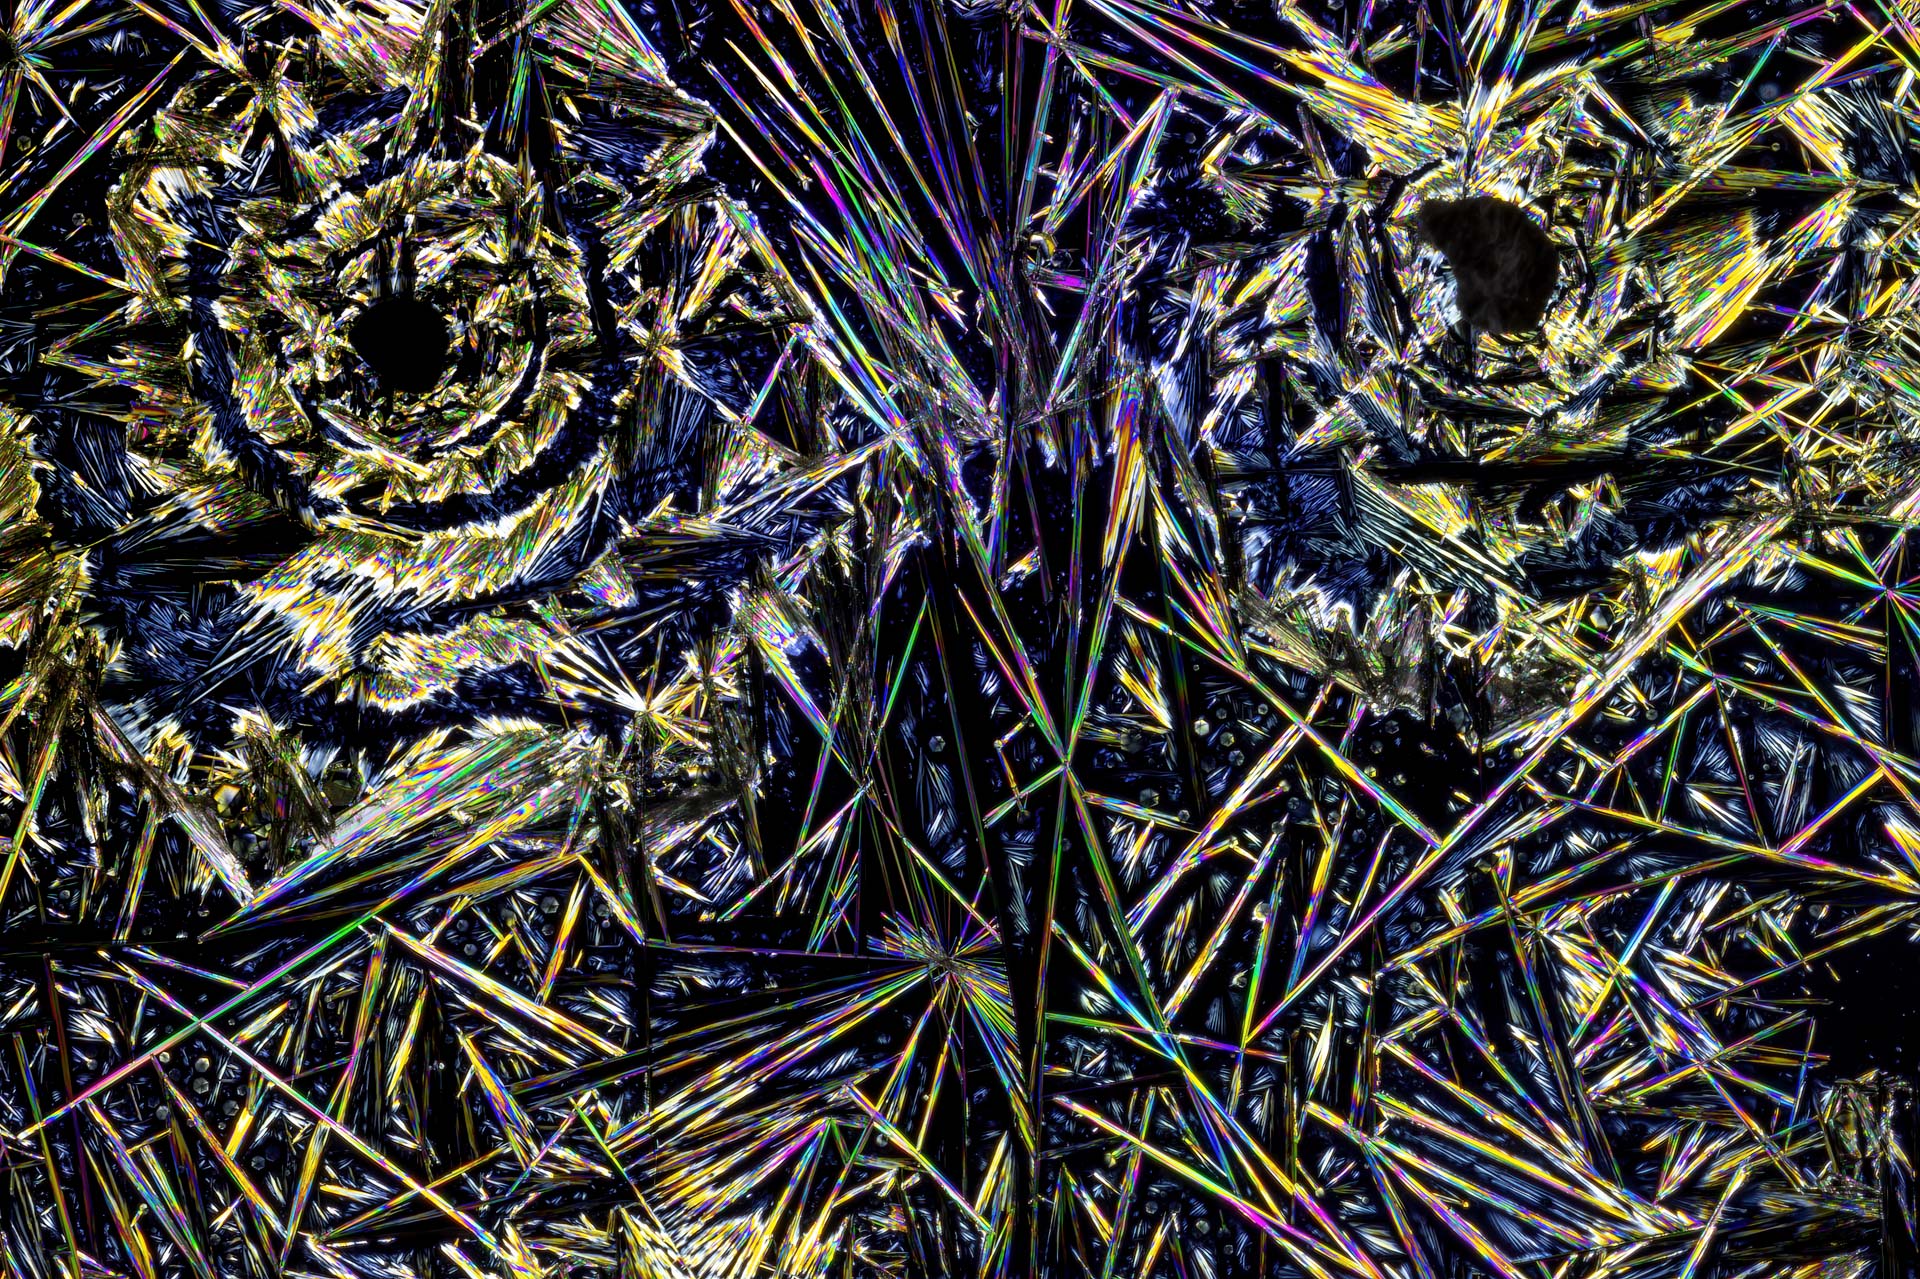
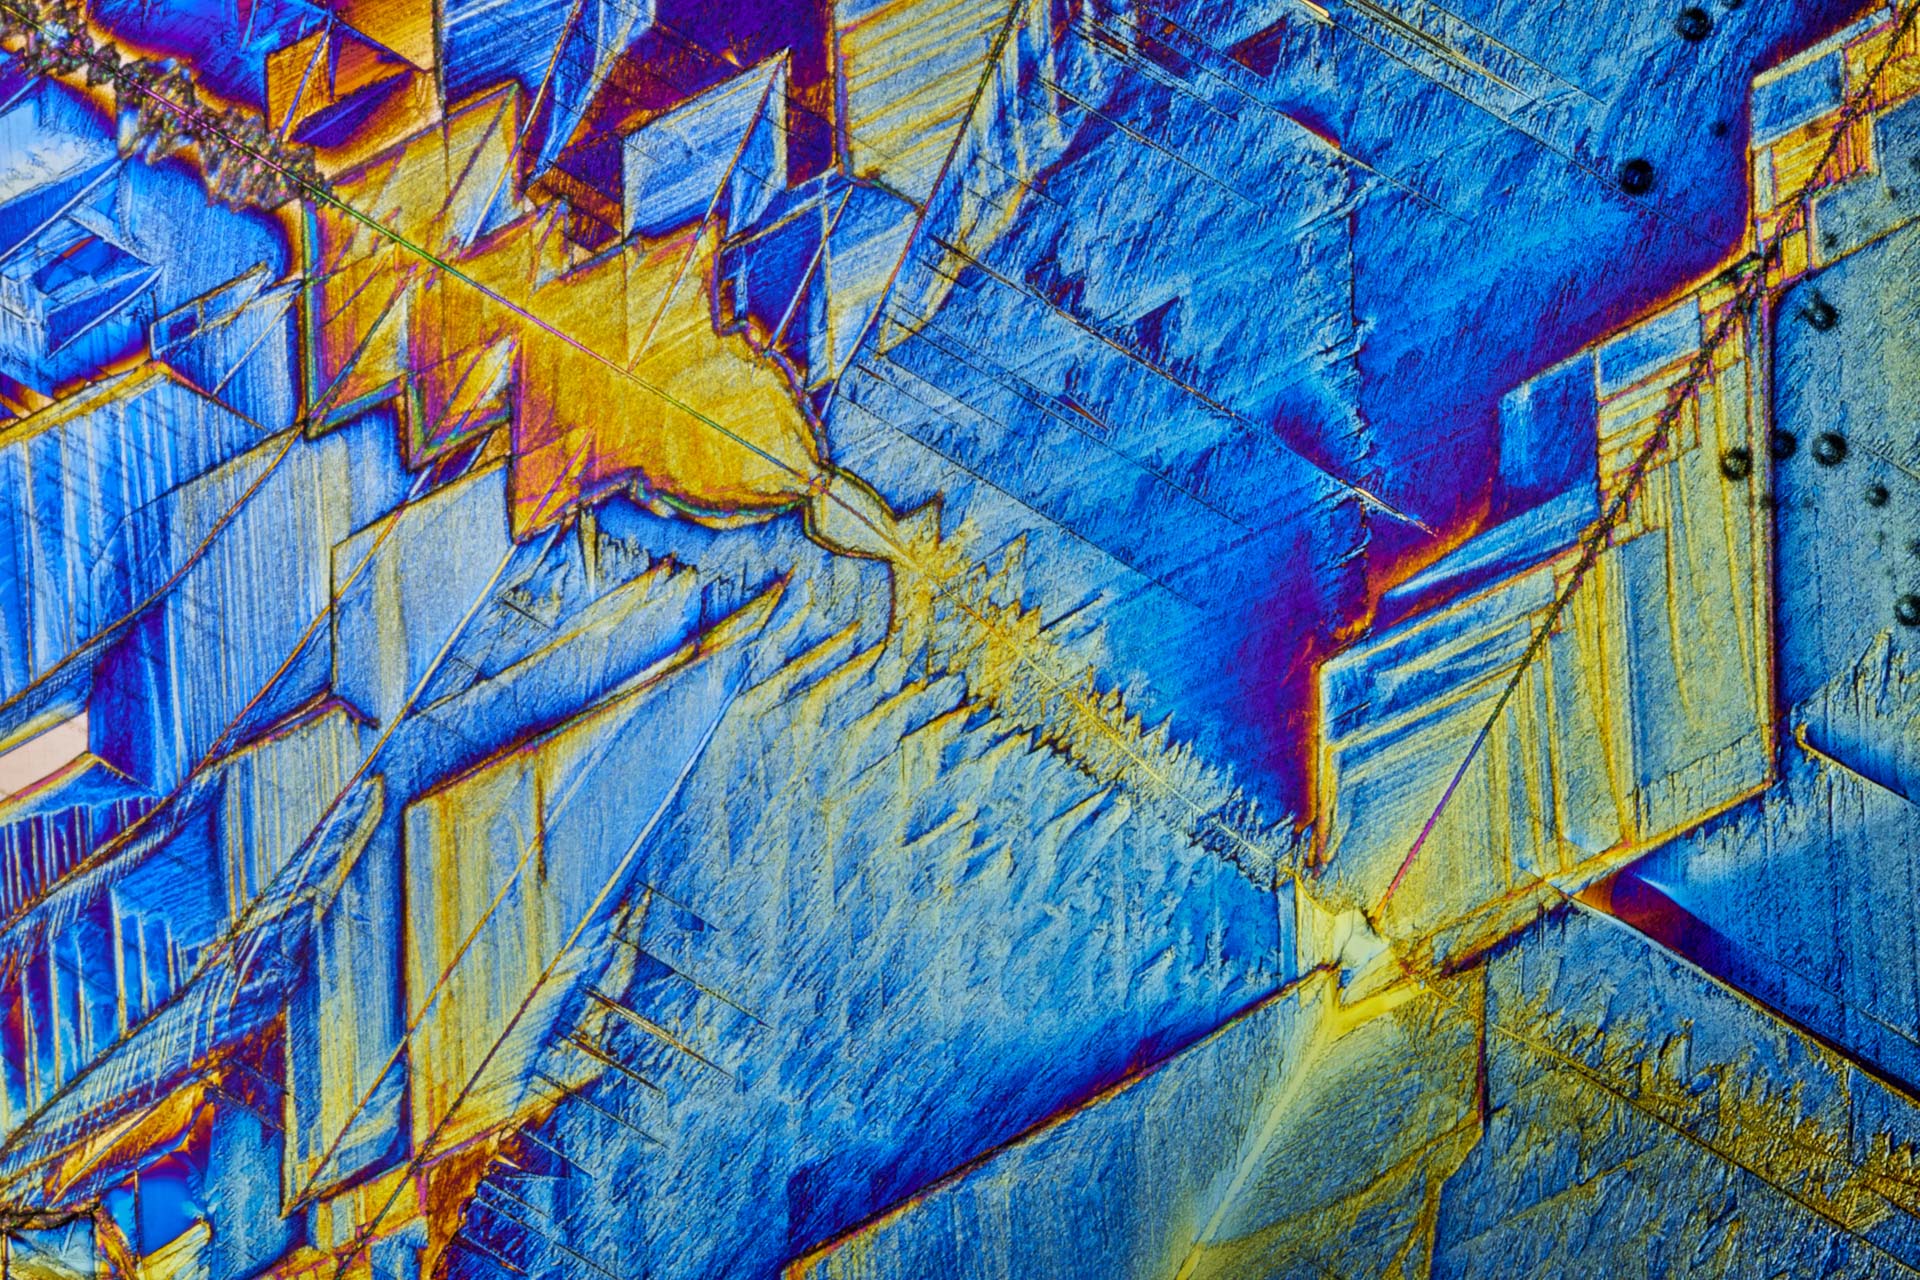
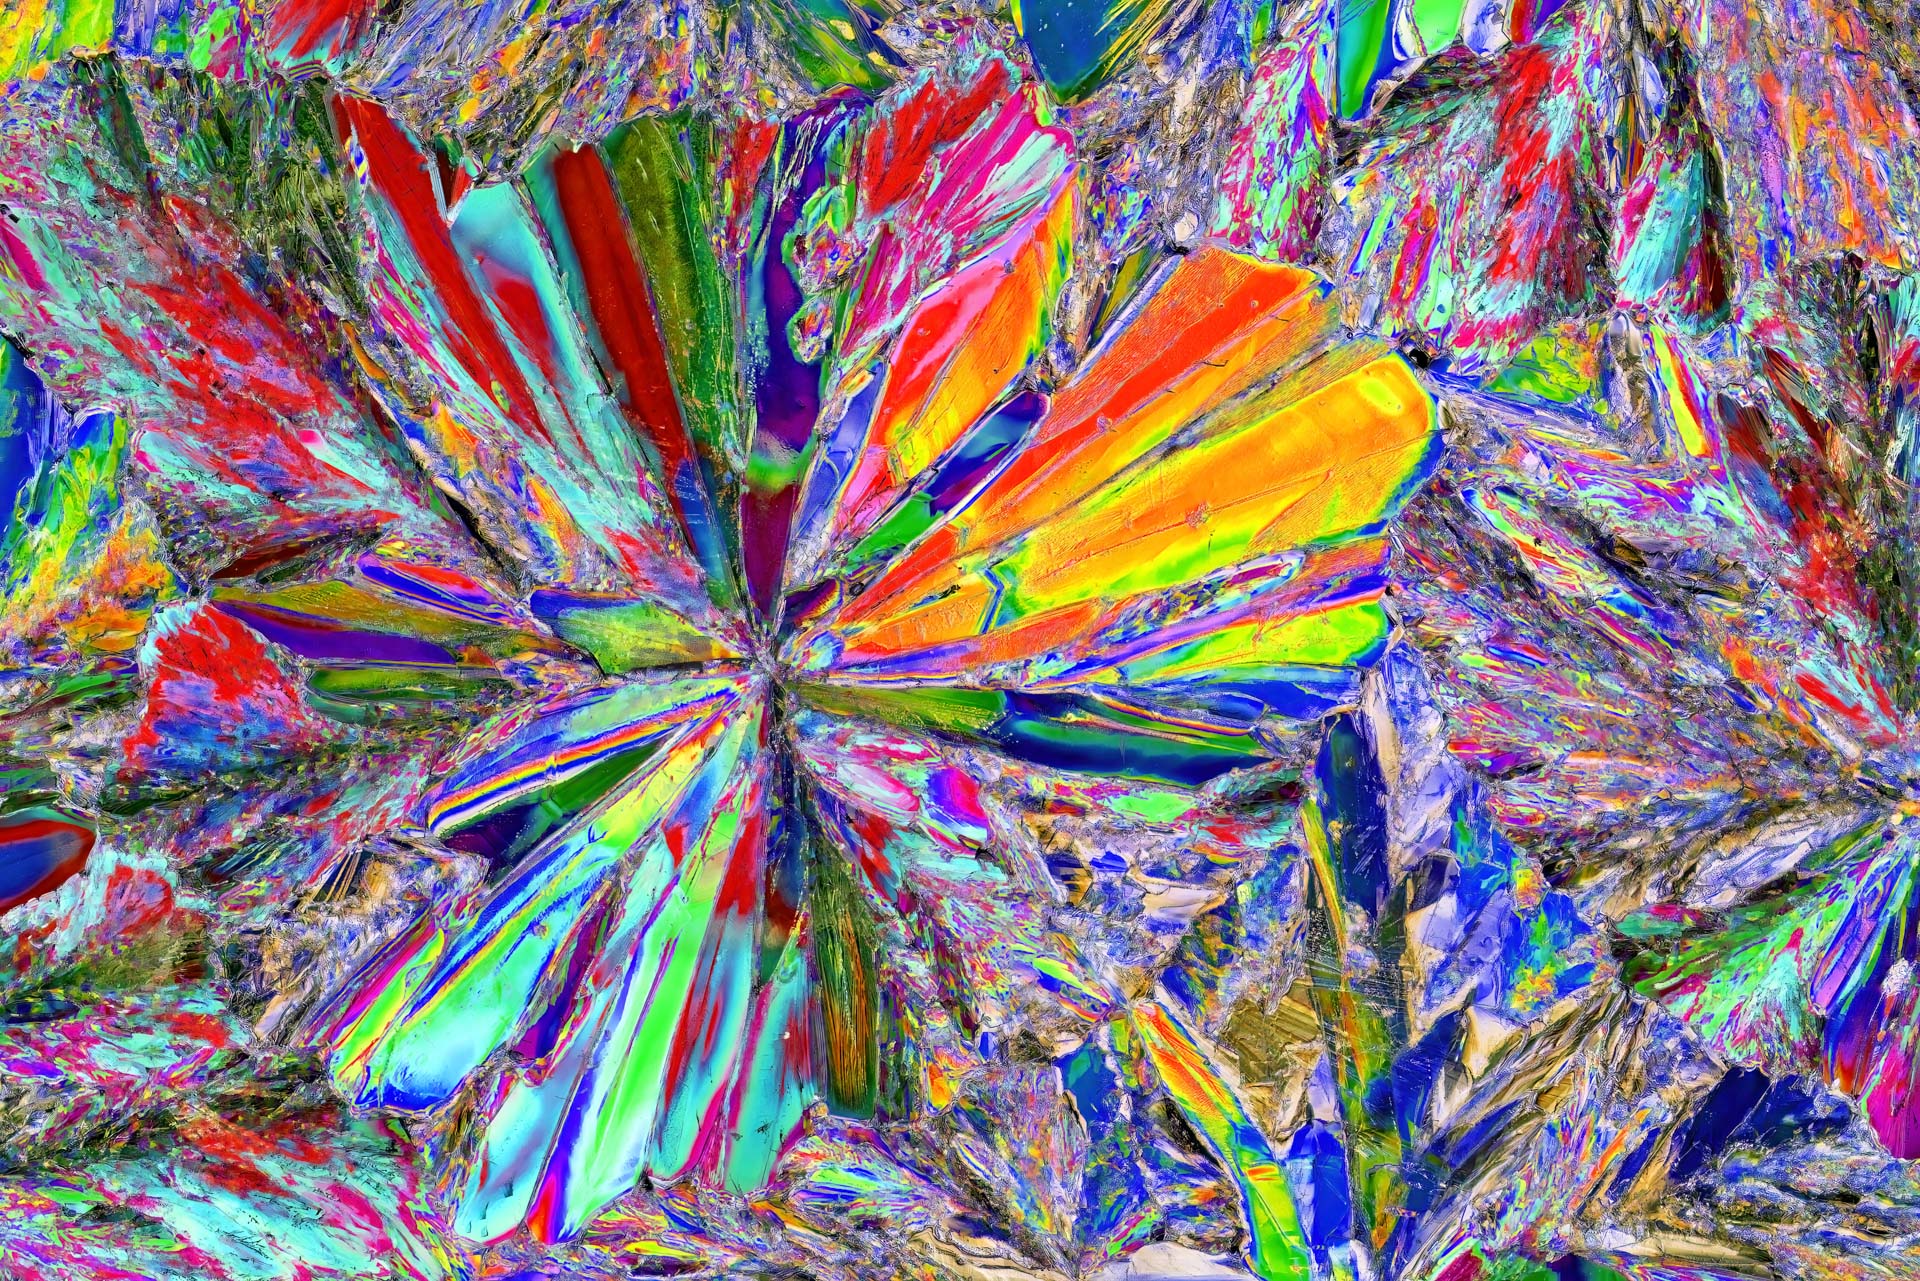
Microphotography reveals structures barely visible to the naked eye. In this image series, I photograph crystallized substances using crossed polarized light. This creates vibrant colors, fine lines, and ever-new abstract motifs.
On this page, I explain the difference between macro, close-up, microphotography, and photomicrography, my practical setup, focus stacking, and common sources of error. The gallery features my own images from my experiments.
Practice and Images: Johann Dirschl
Technically revised in October 2026
Example Video:
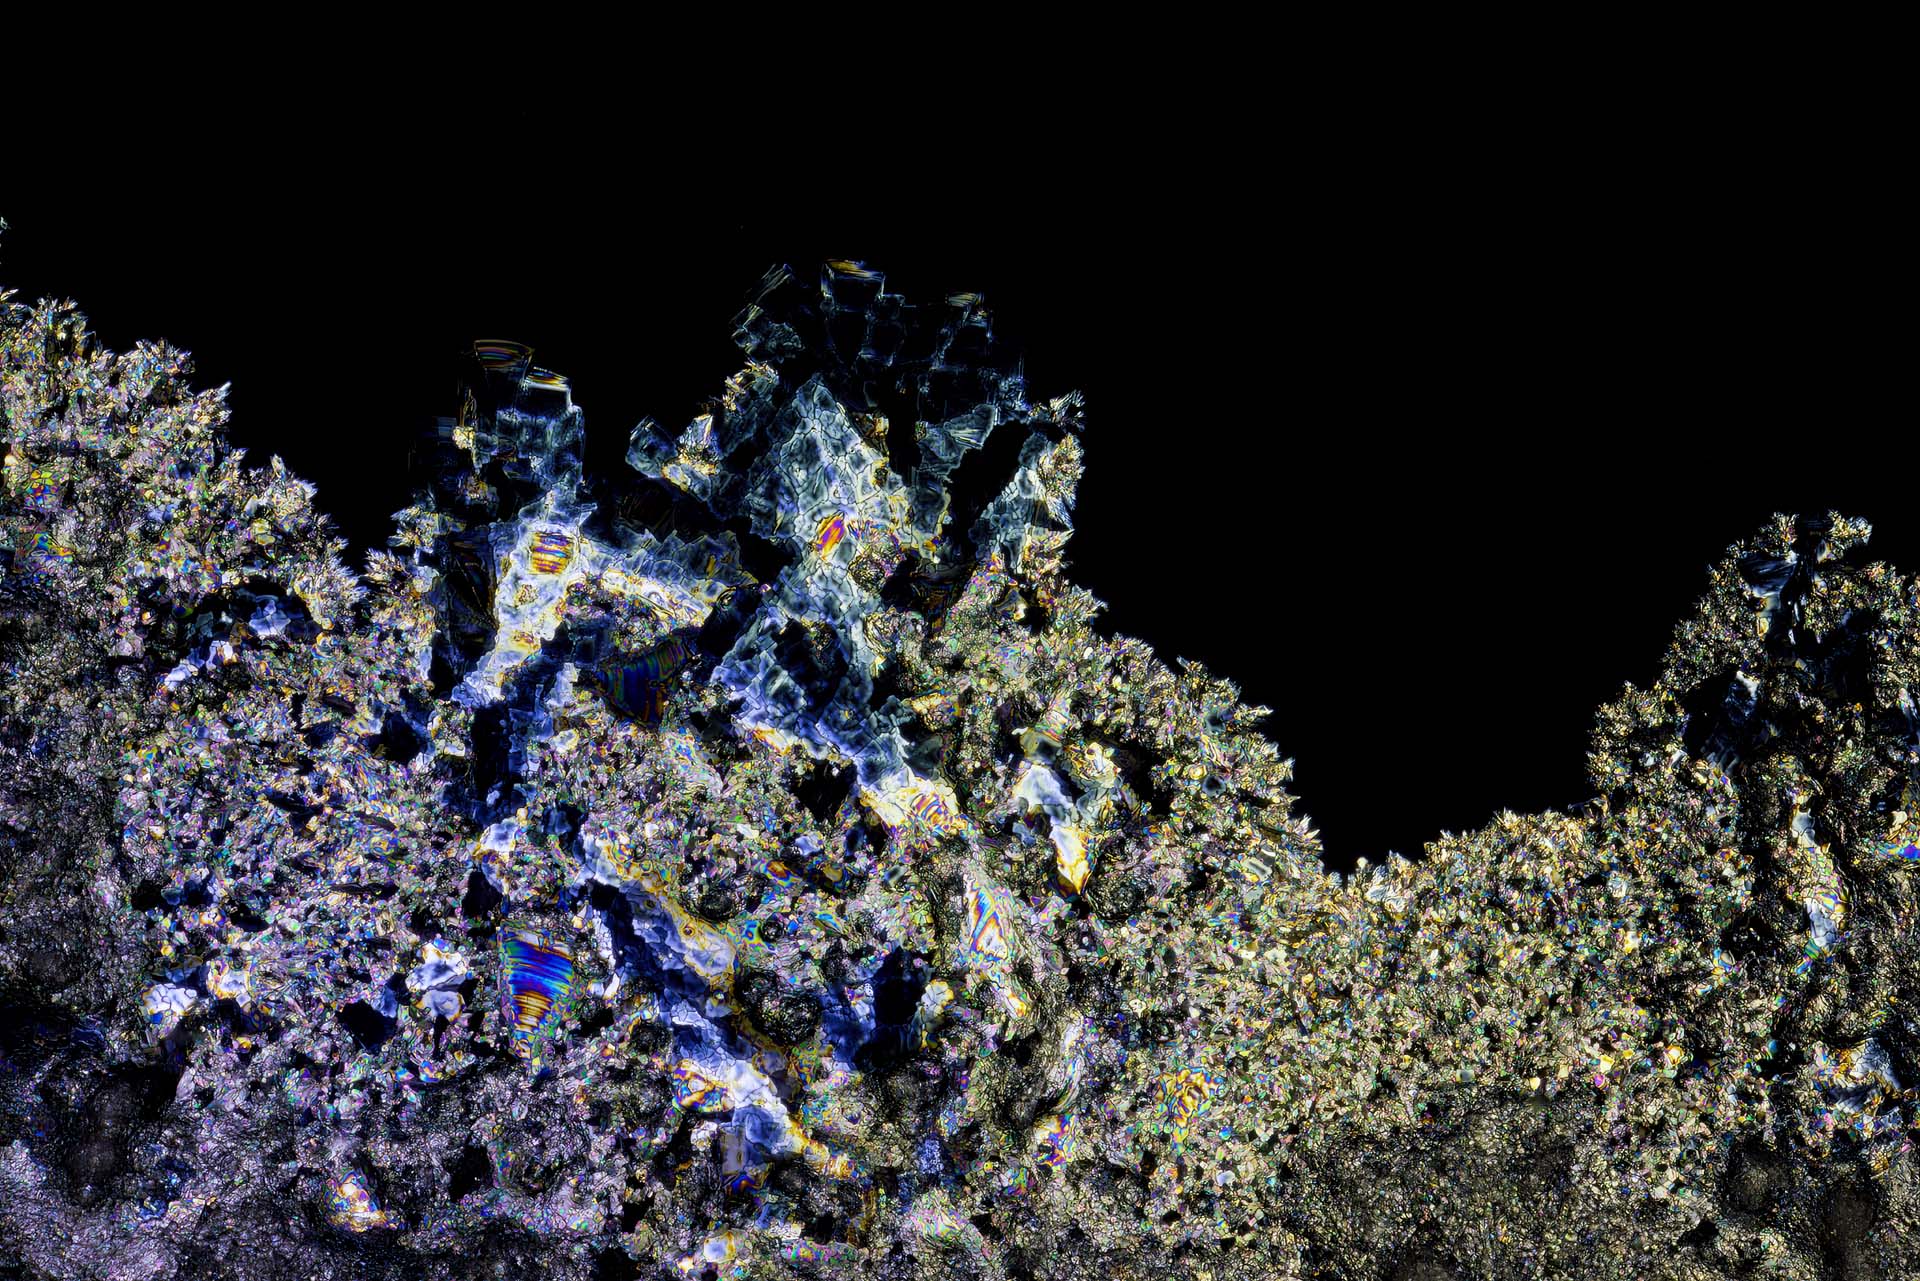
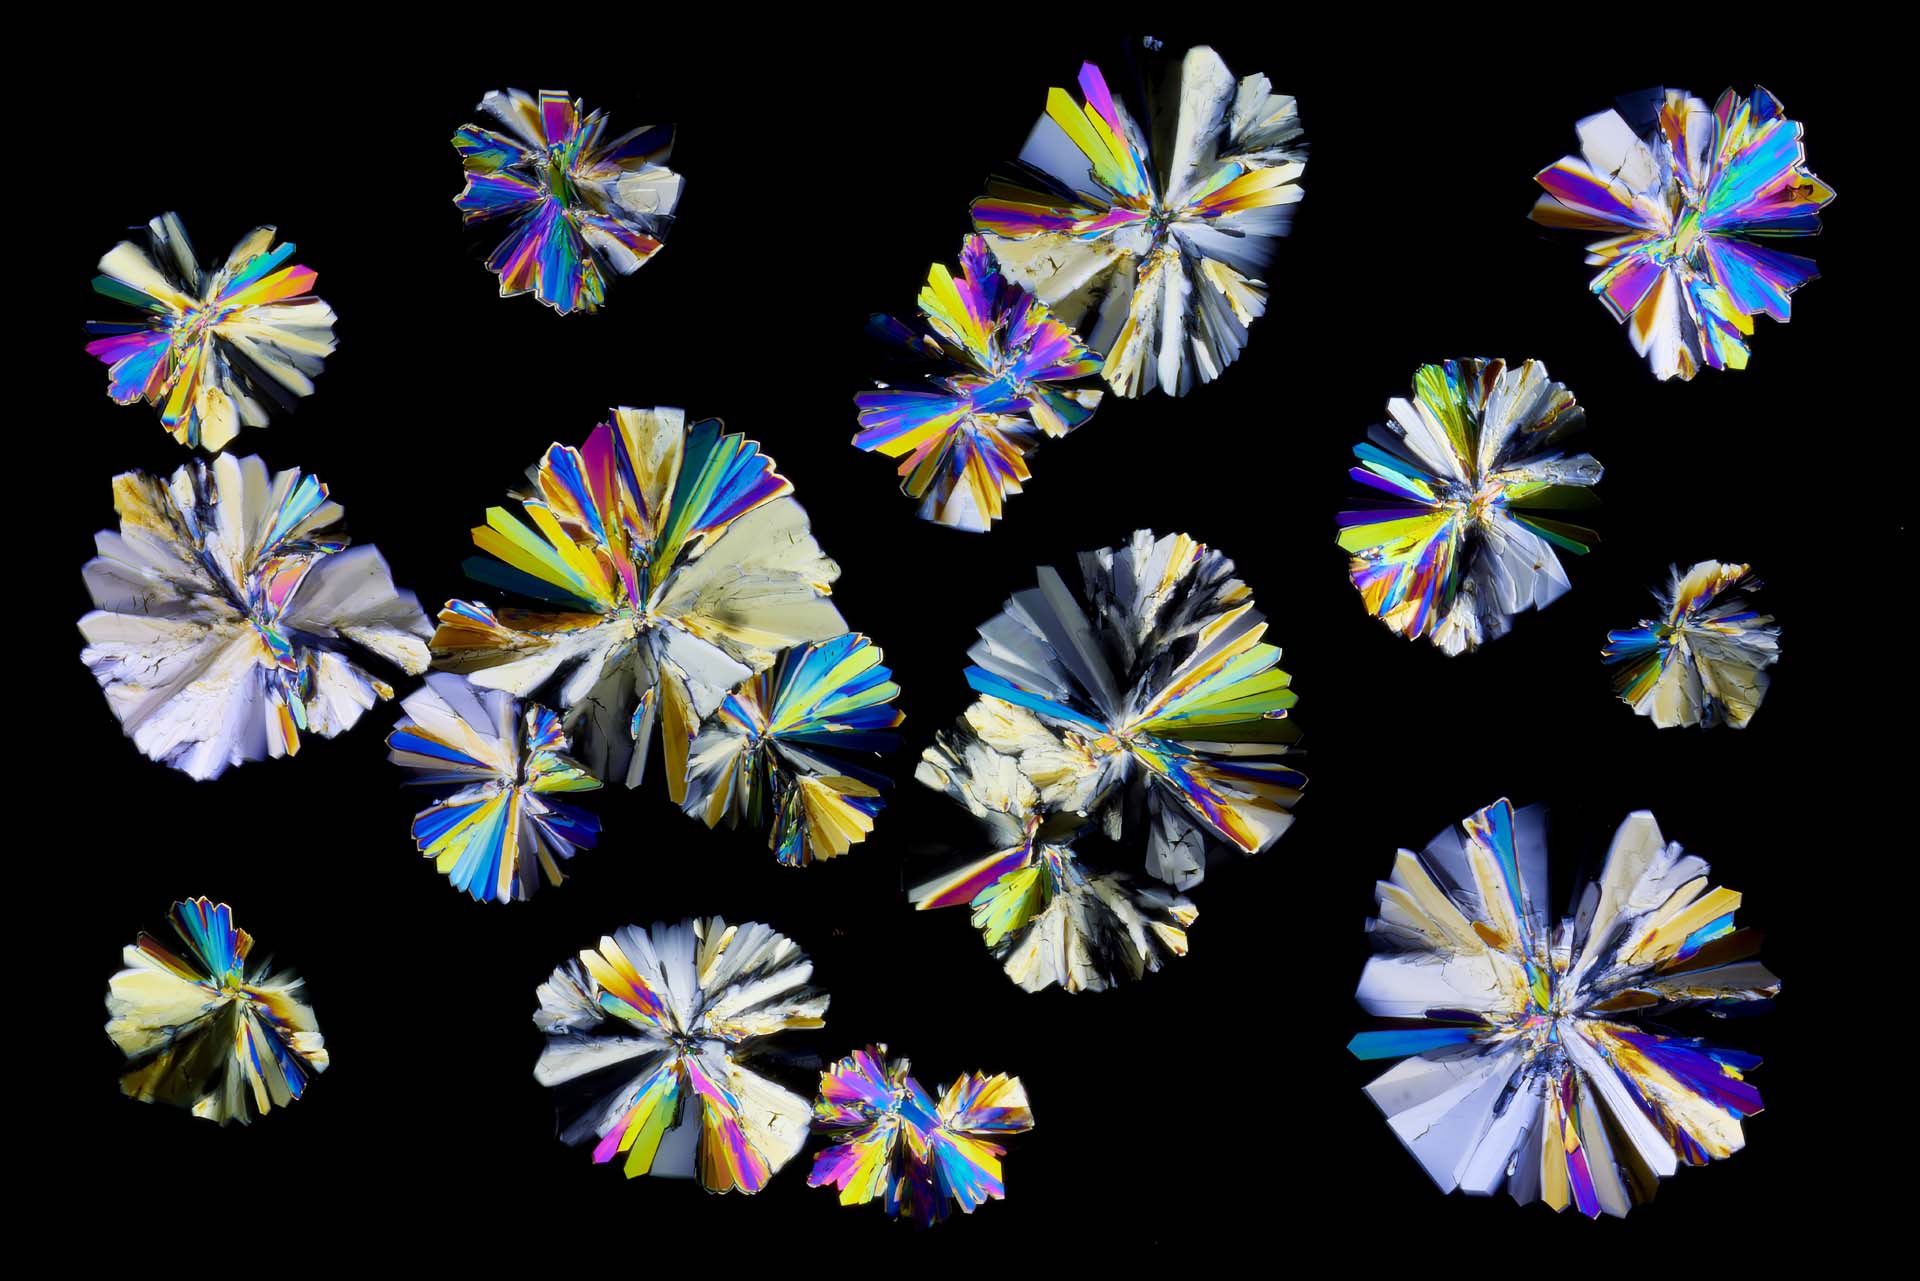
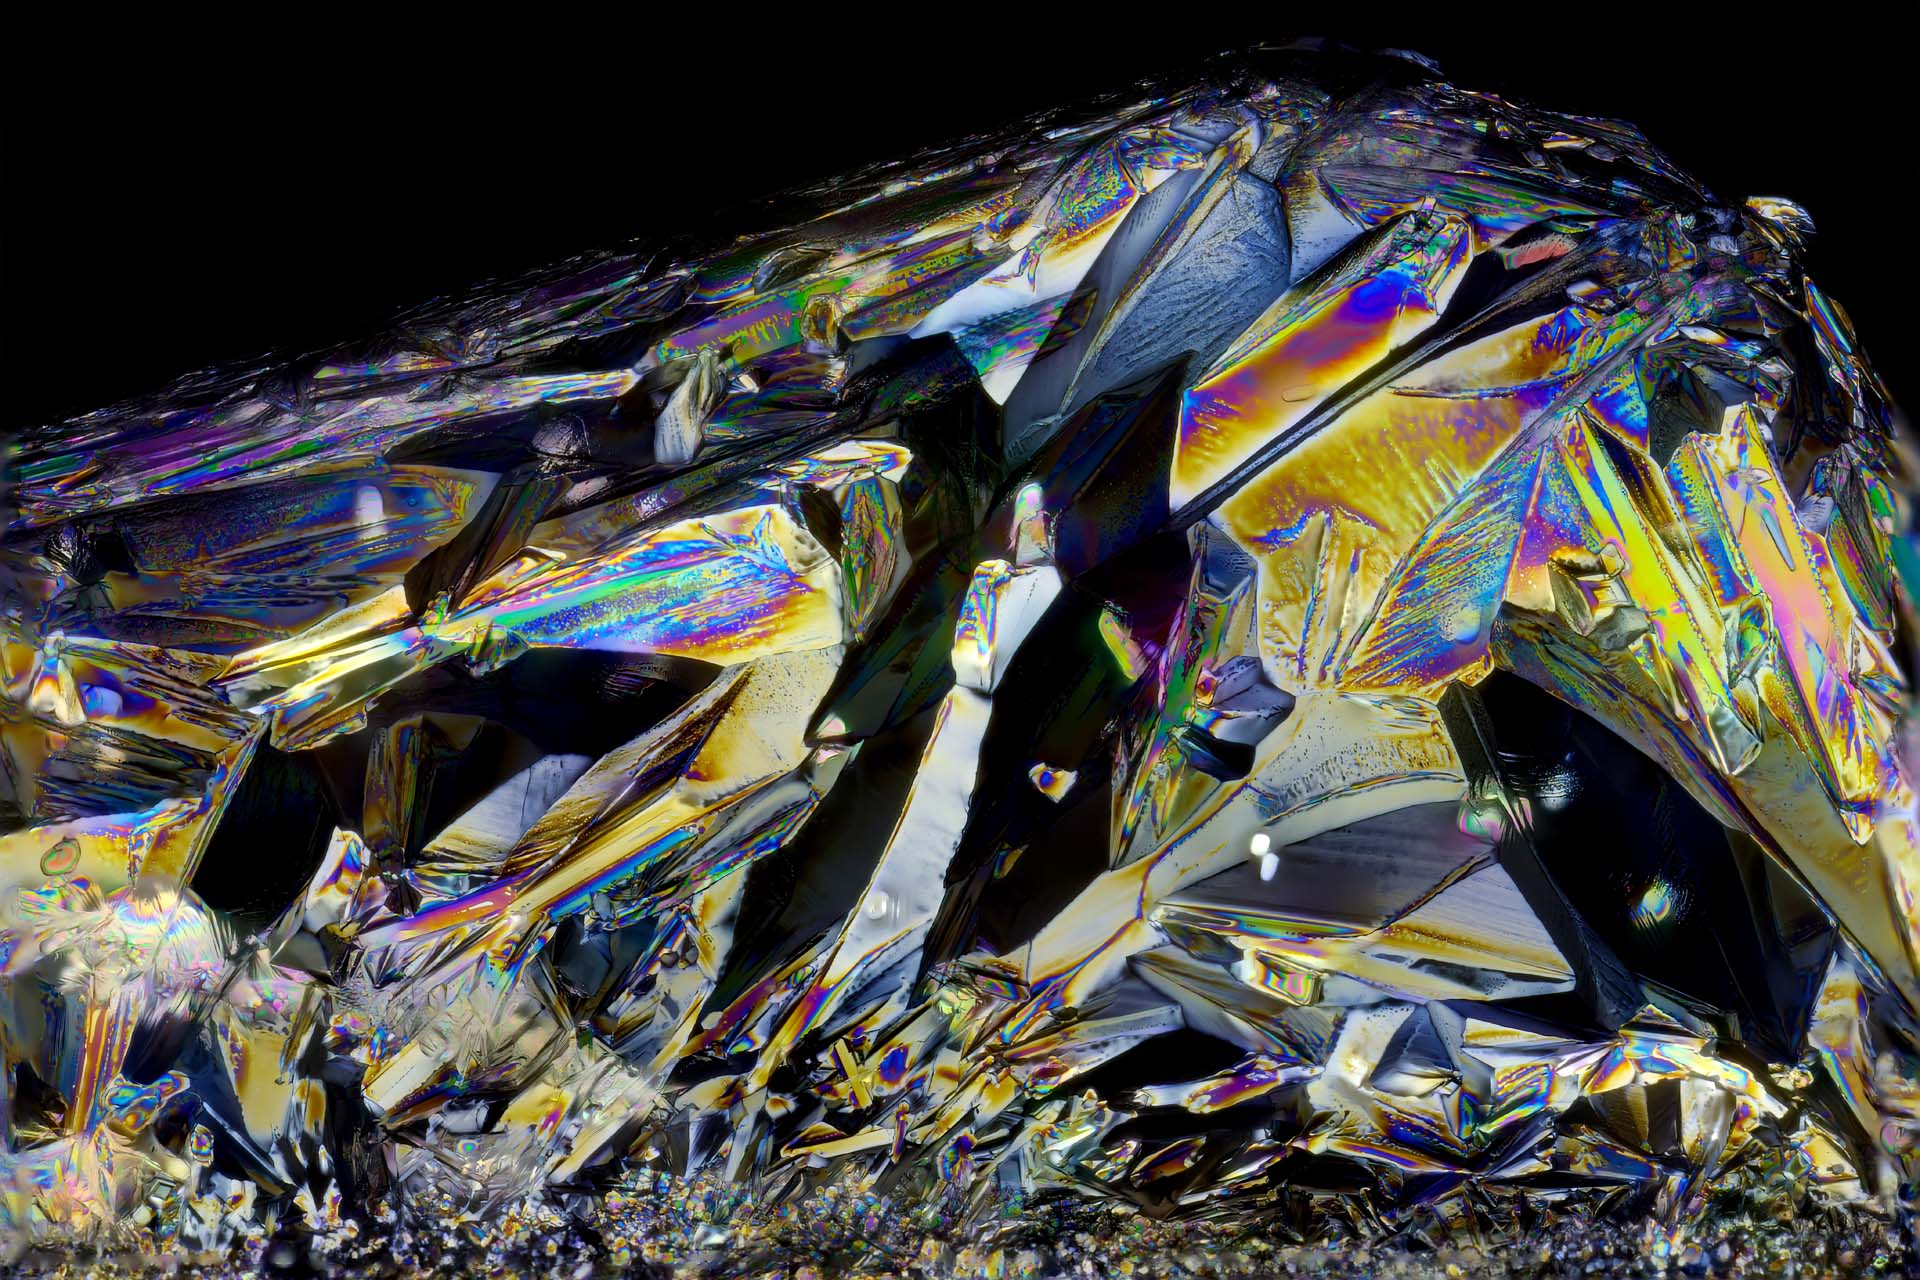
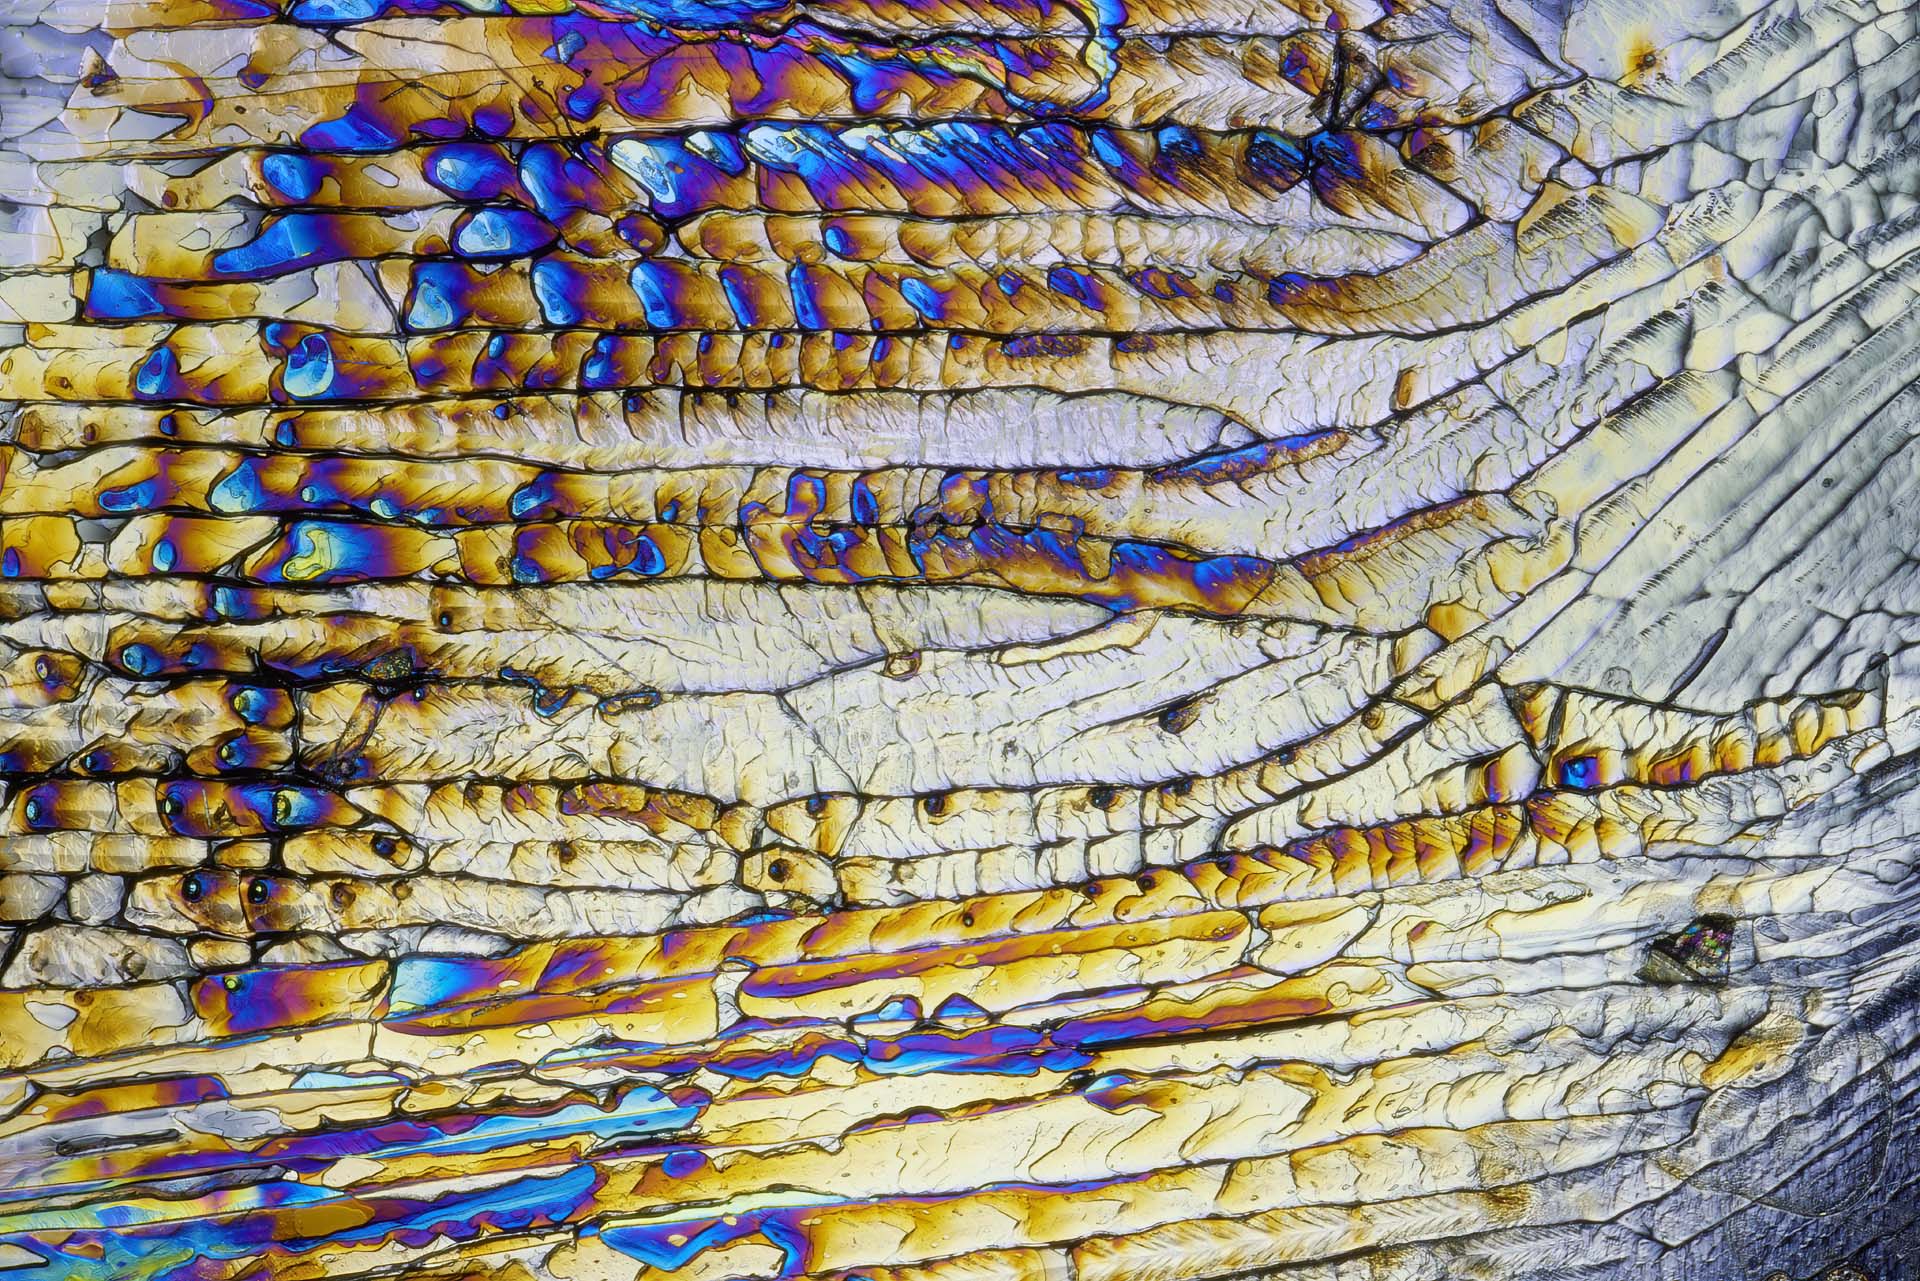
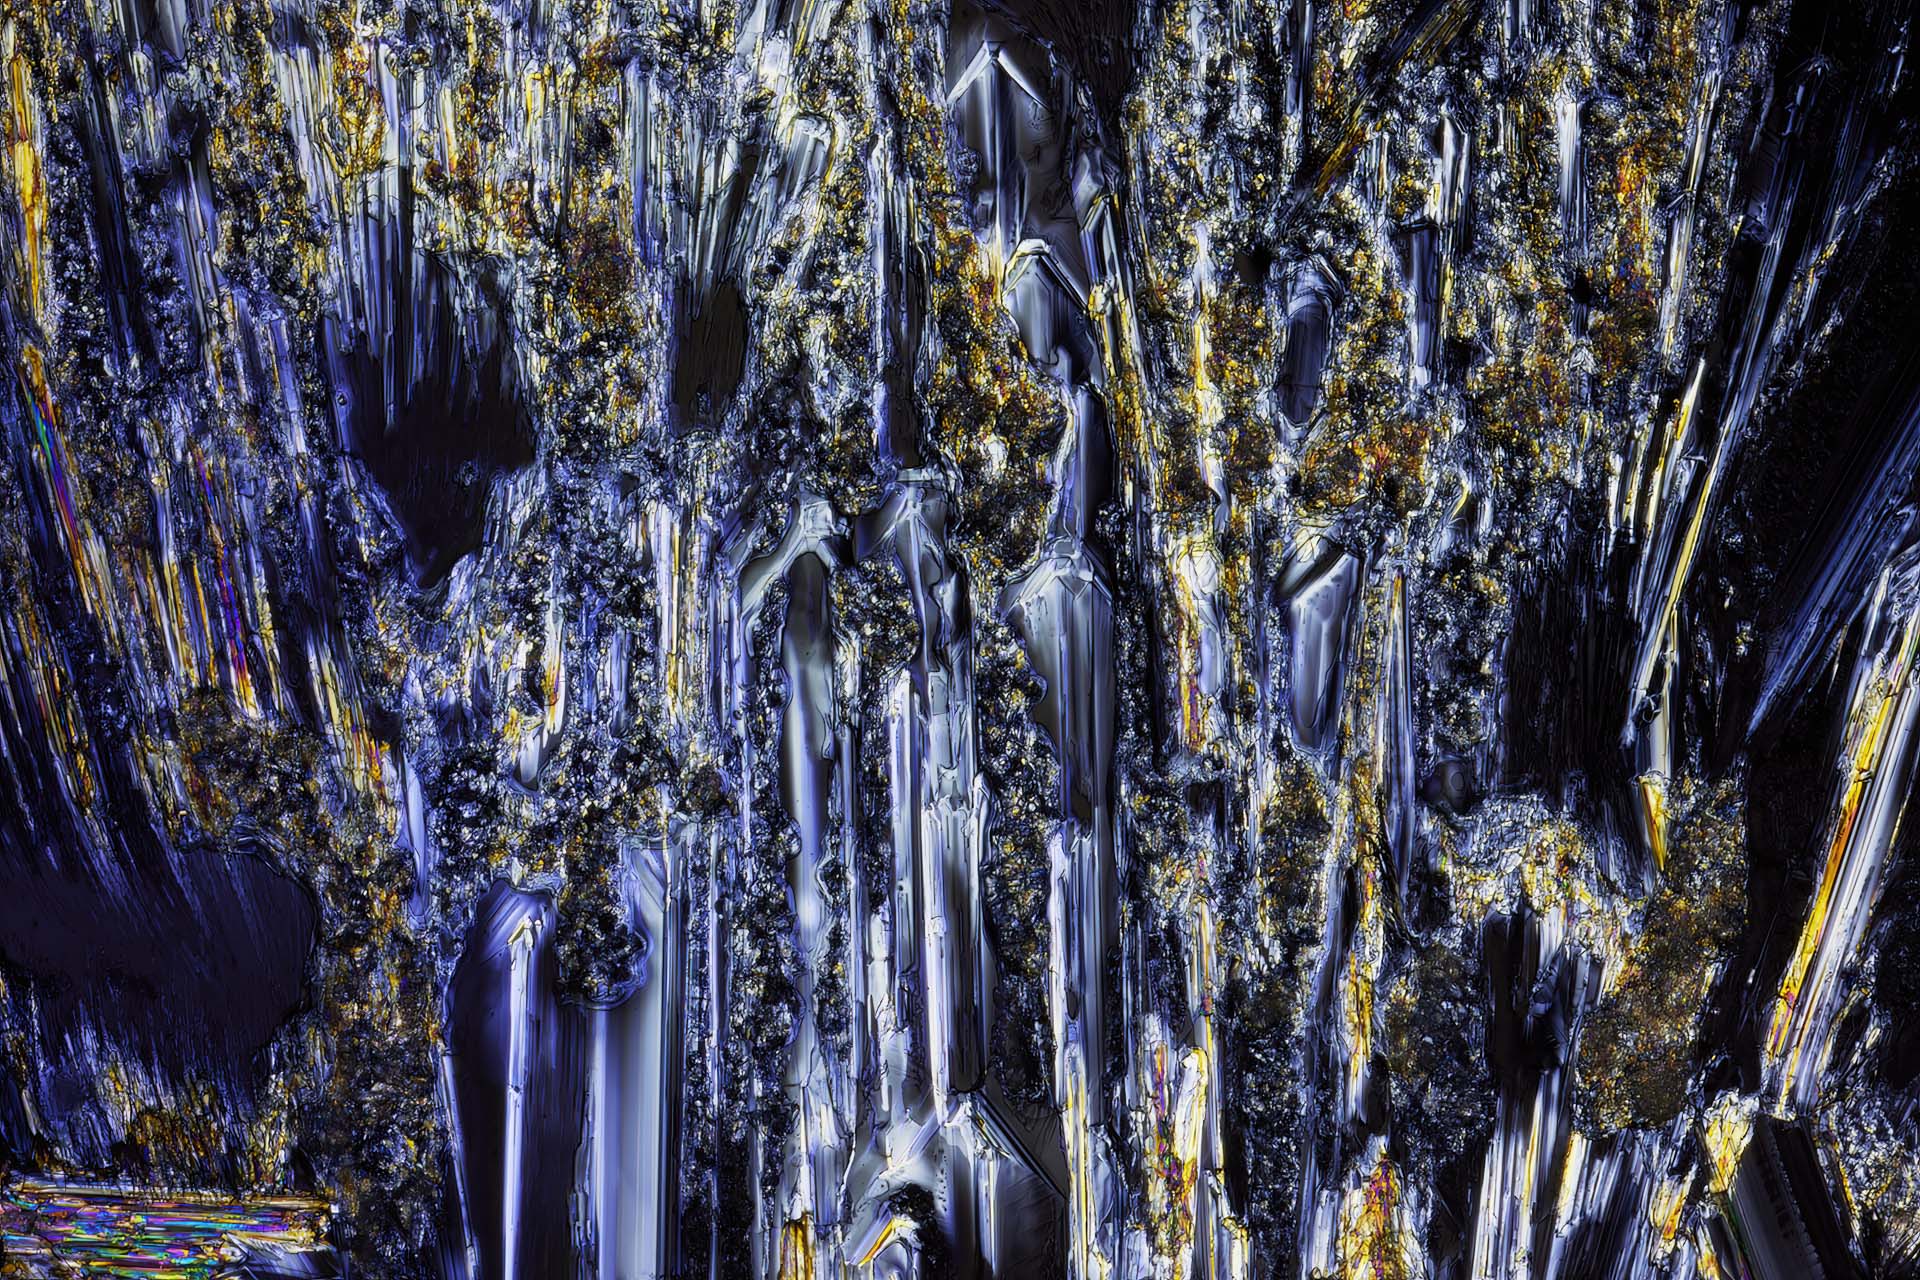
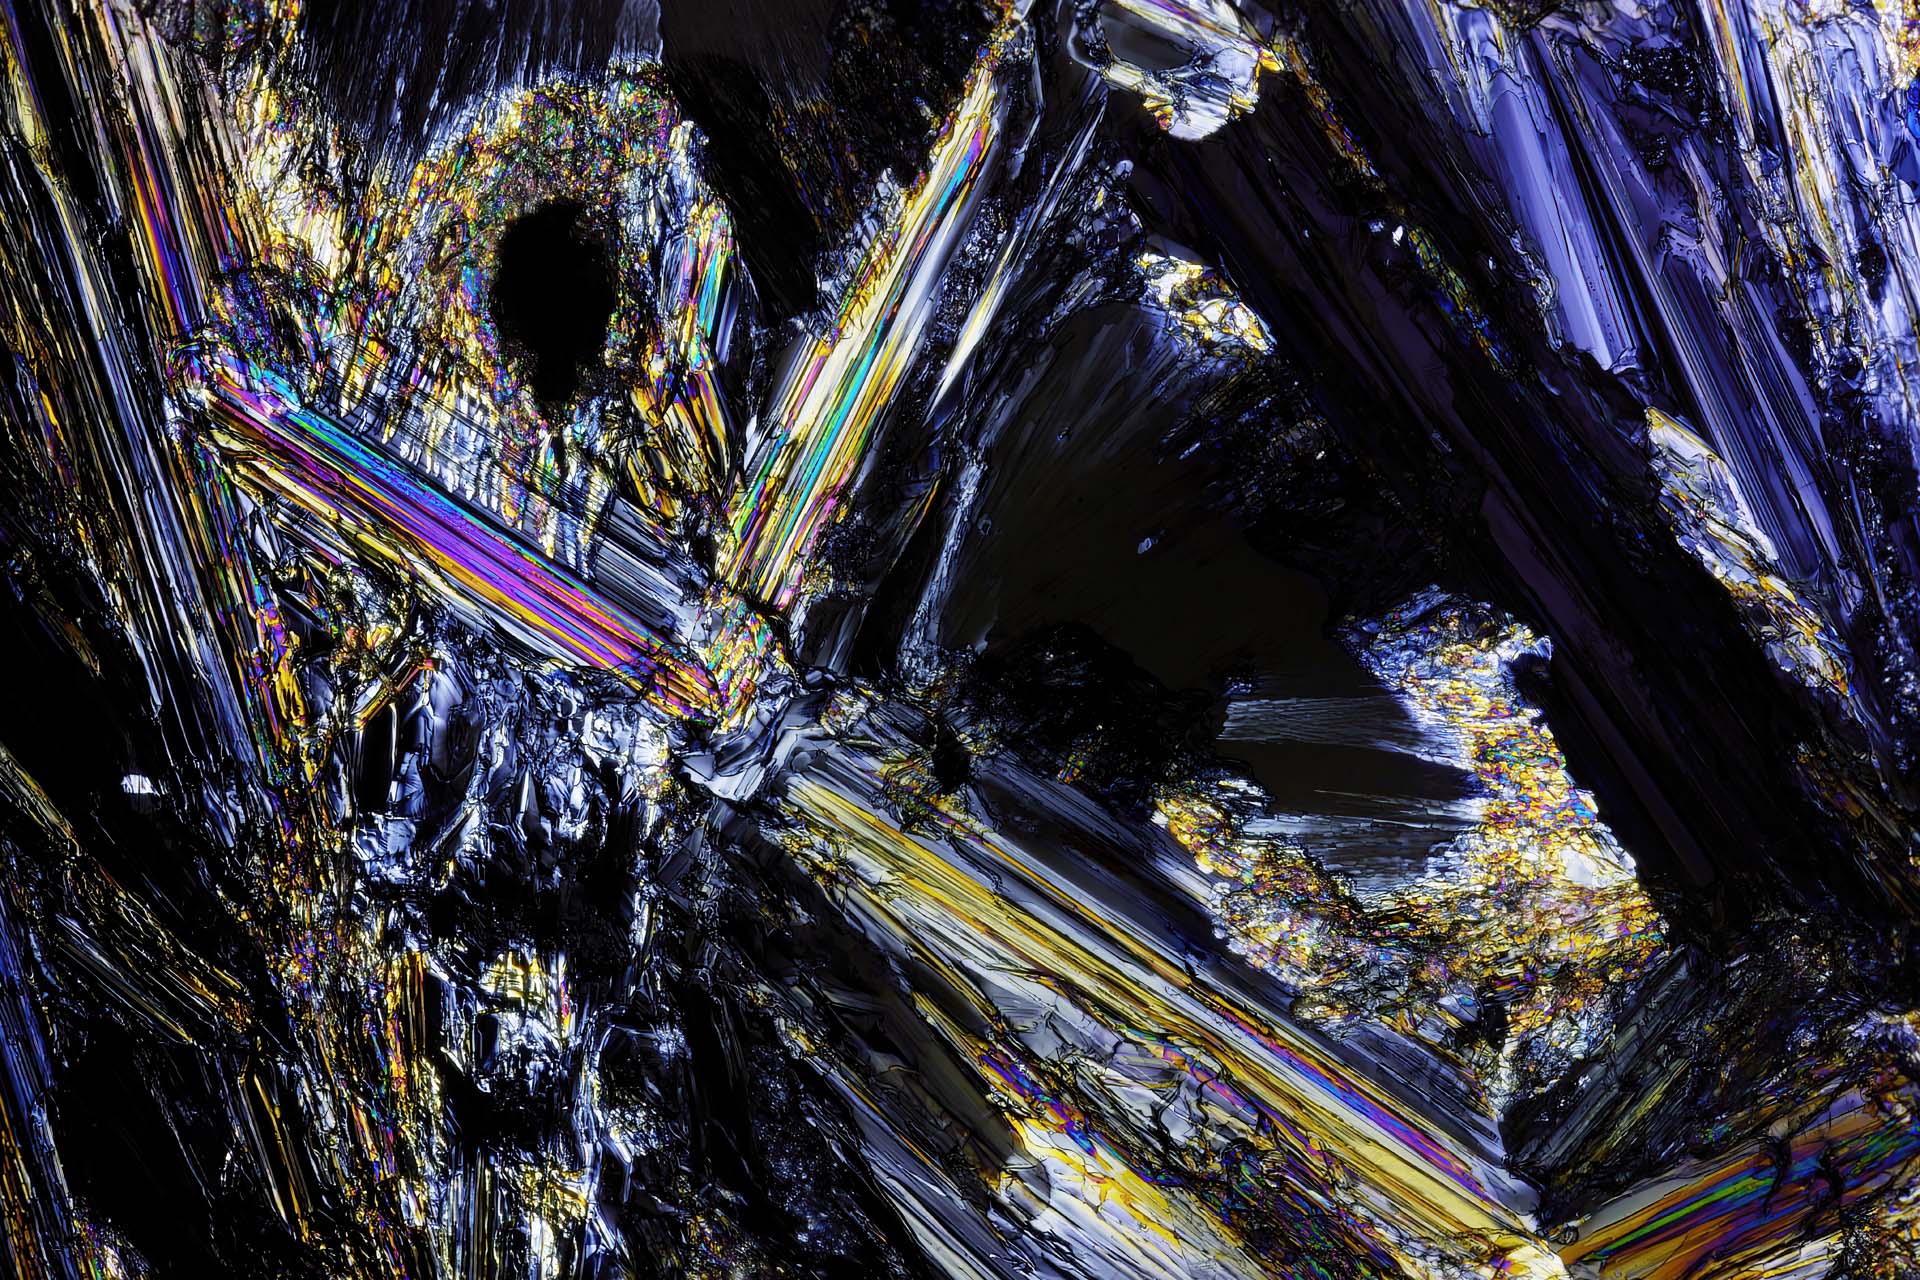
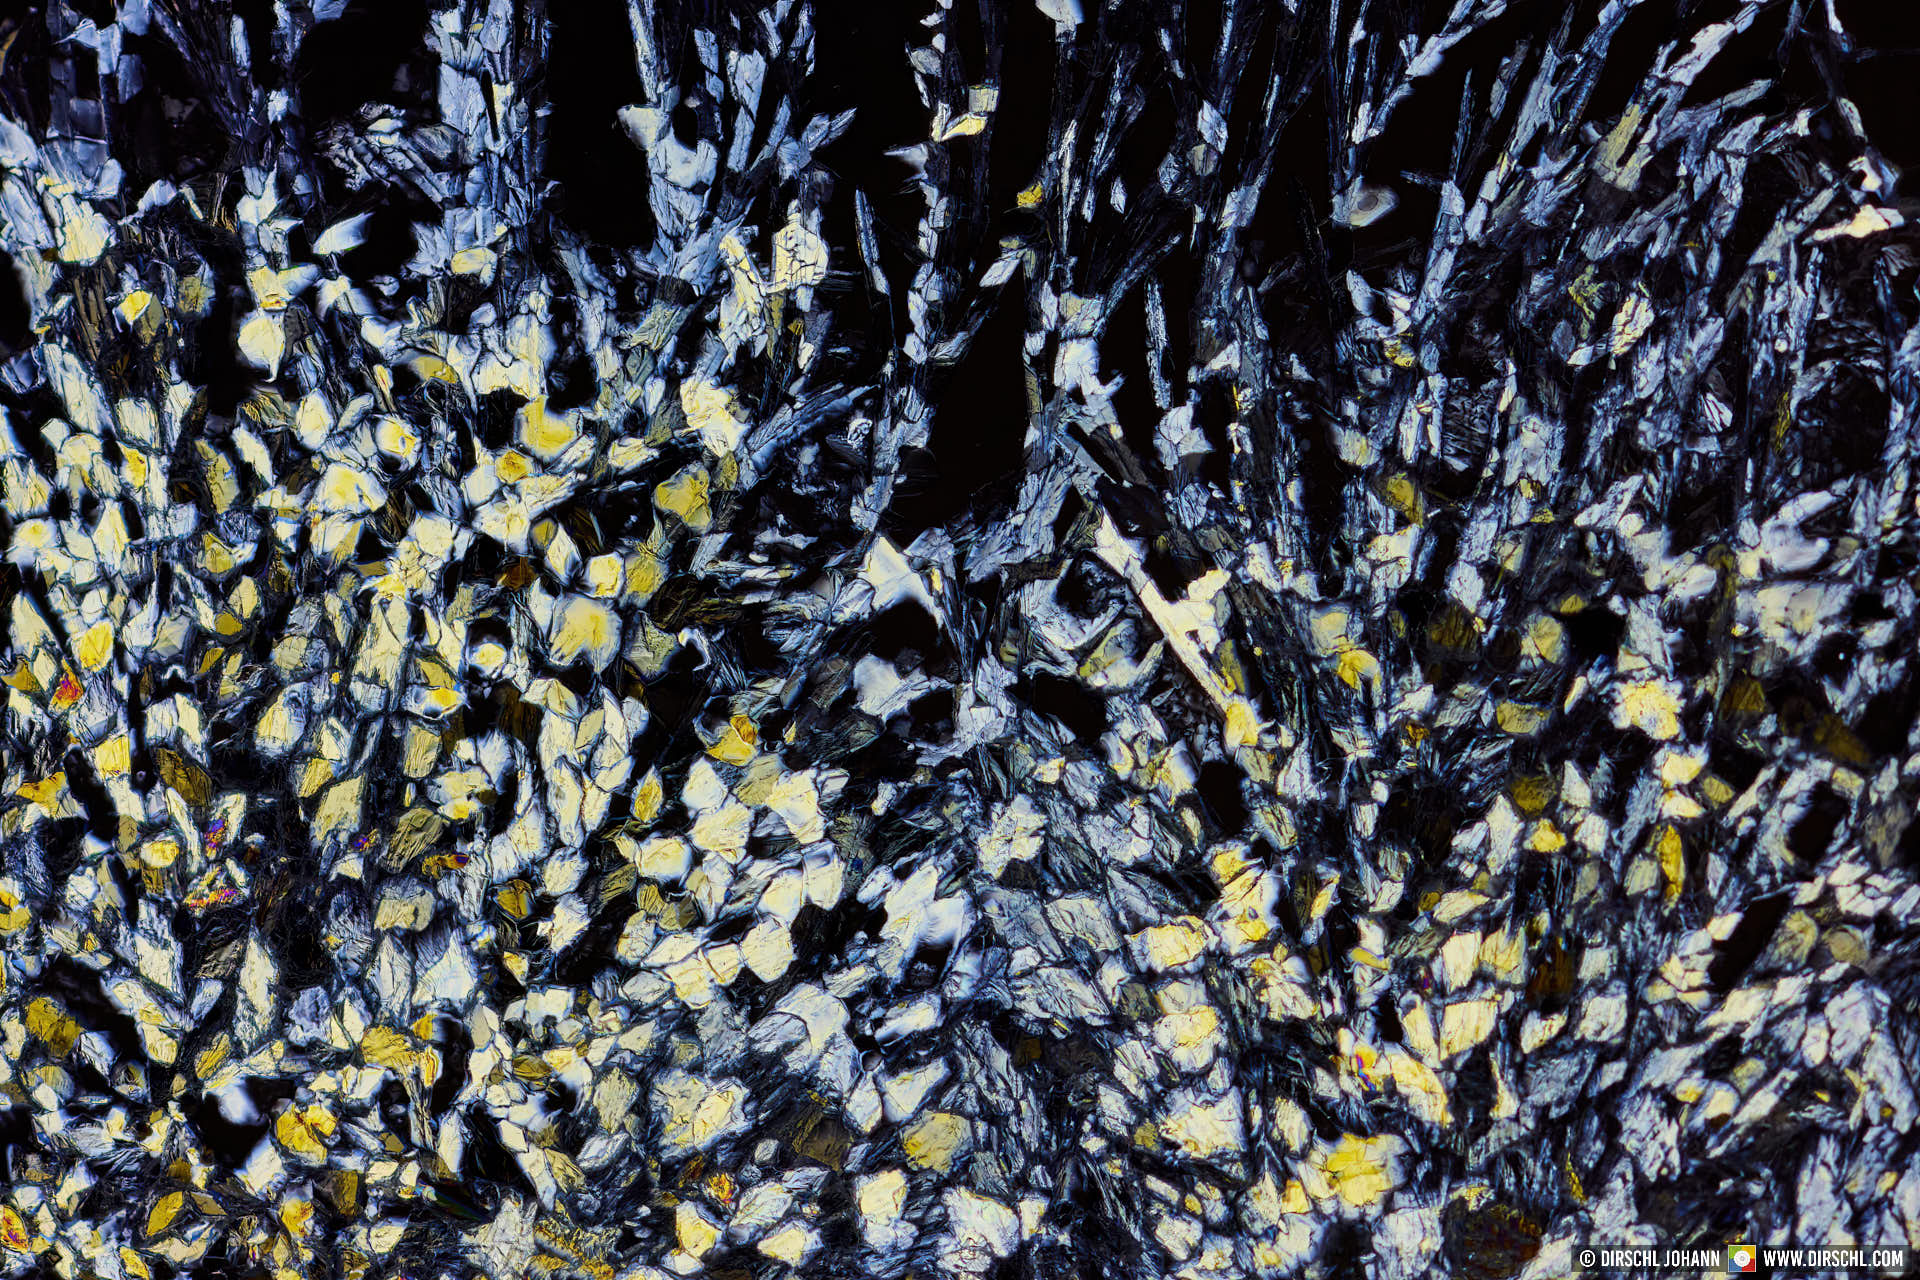
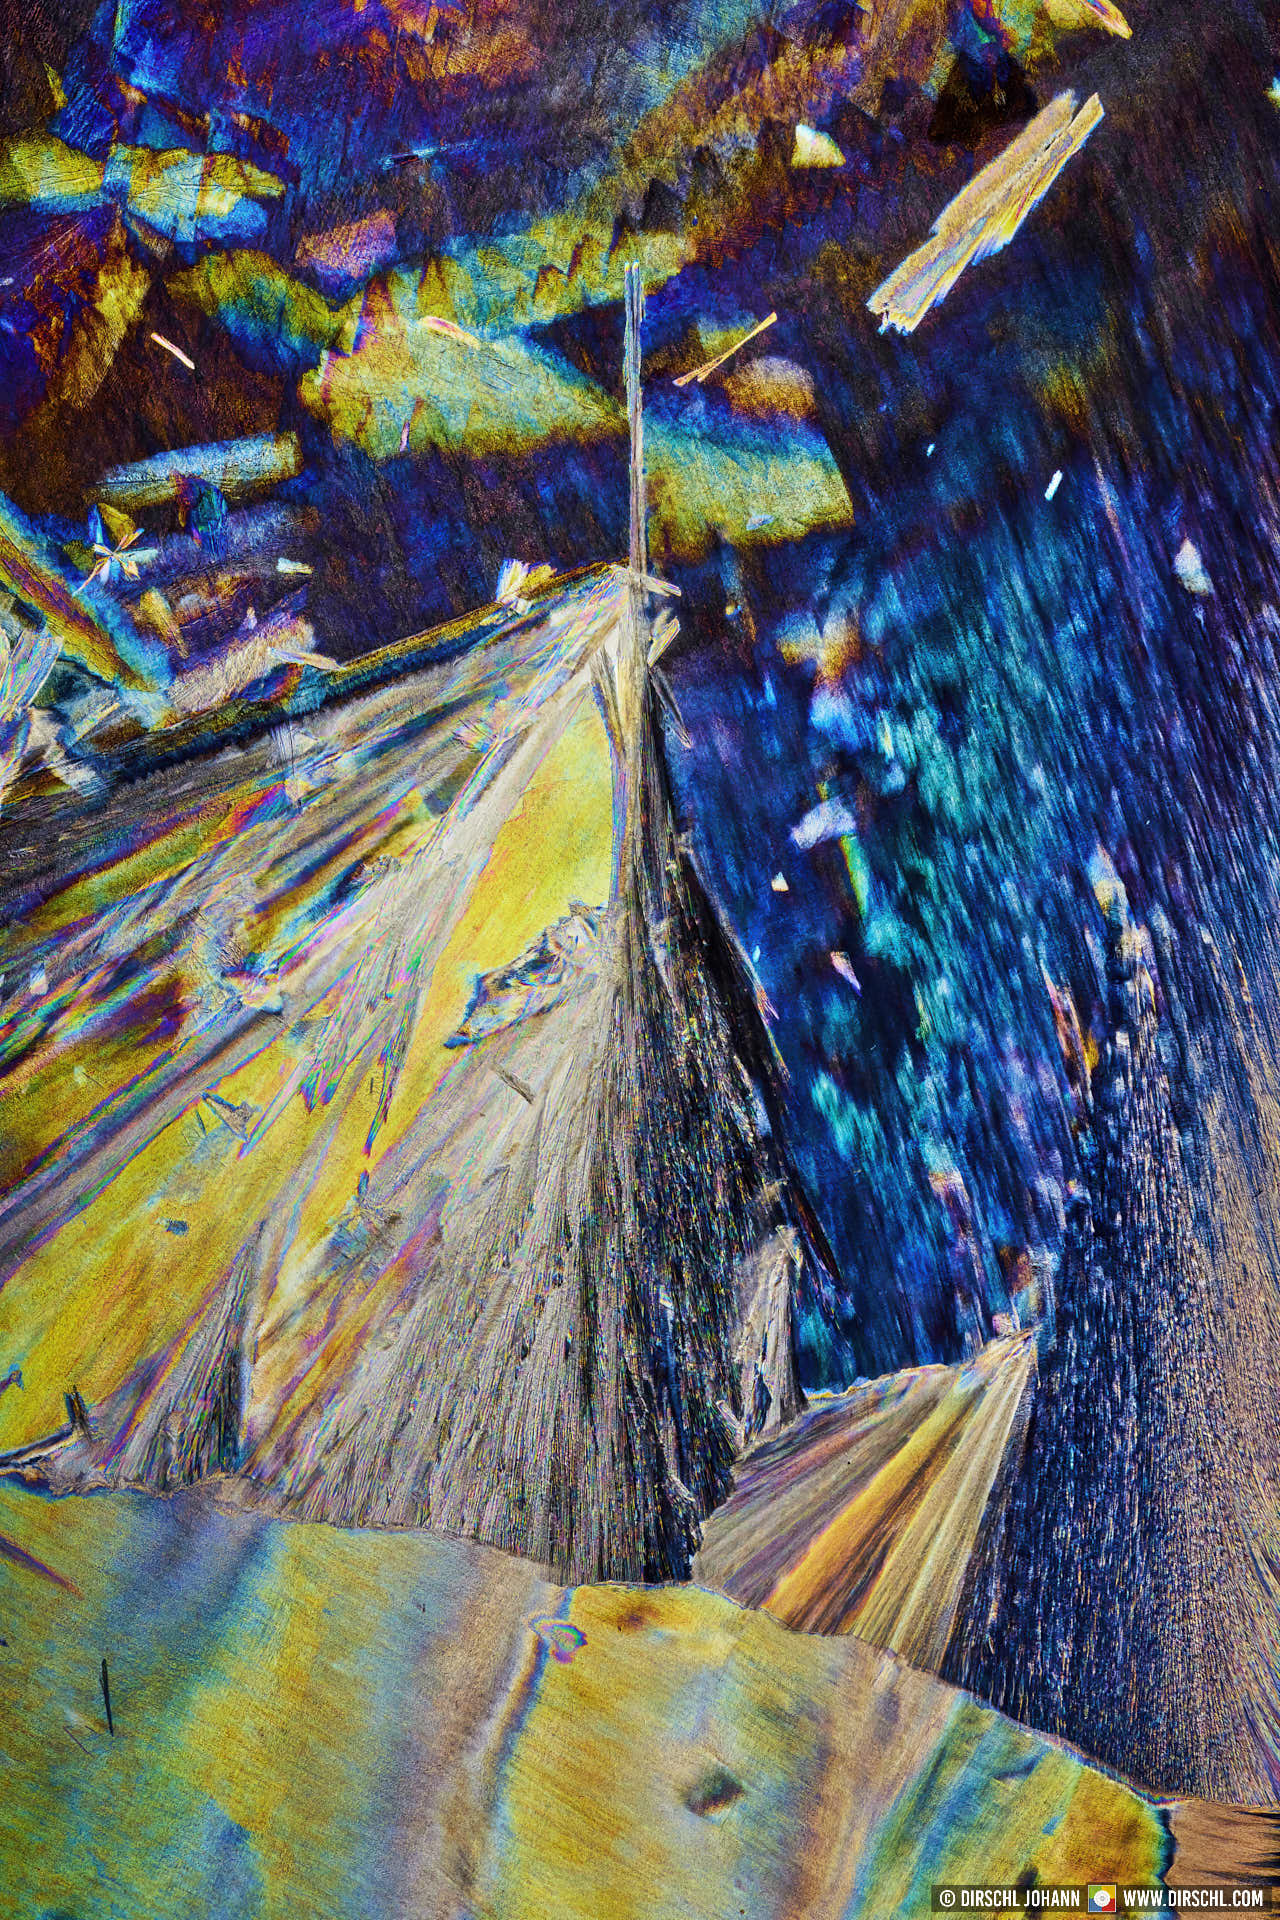
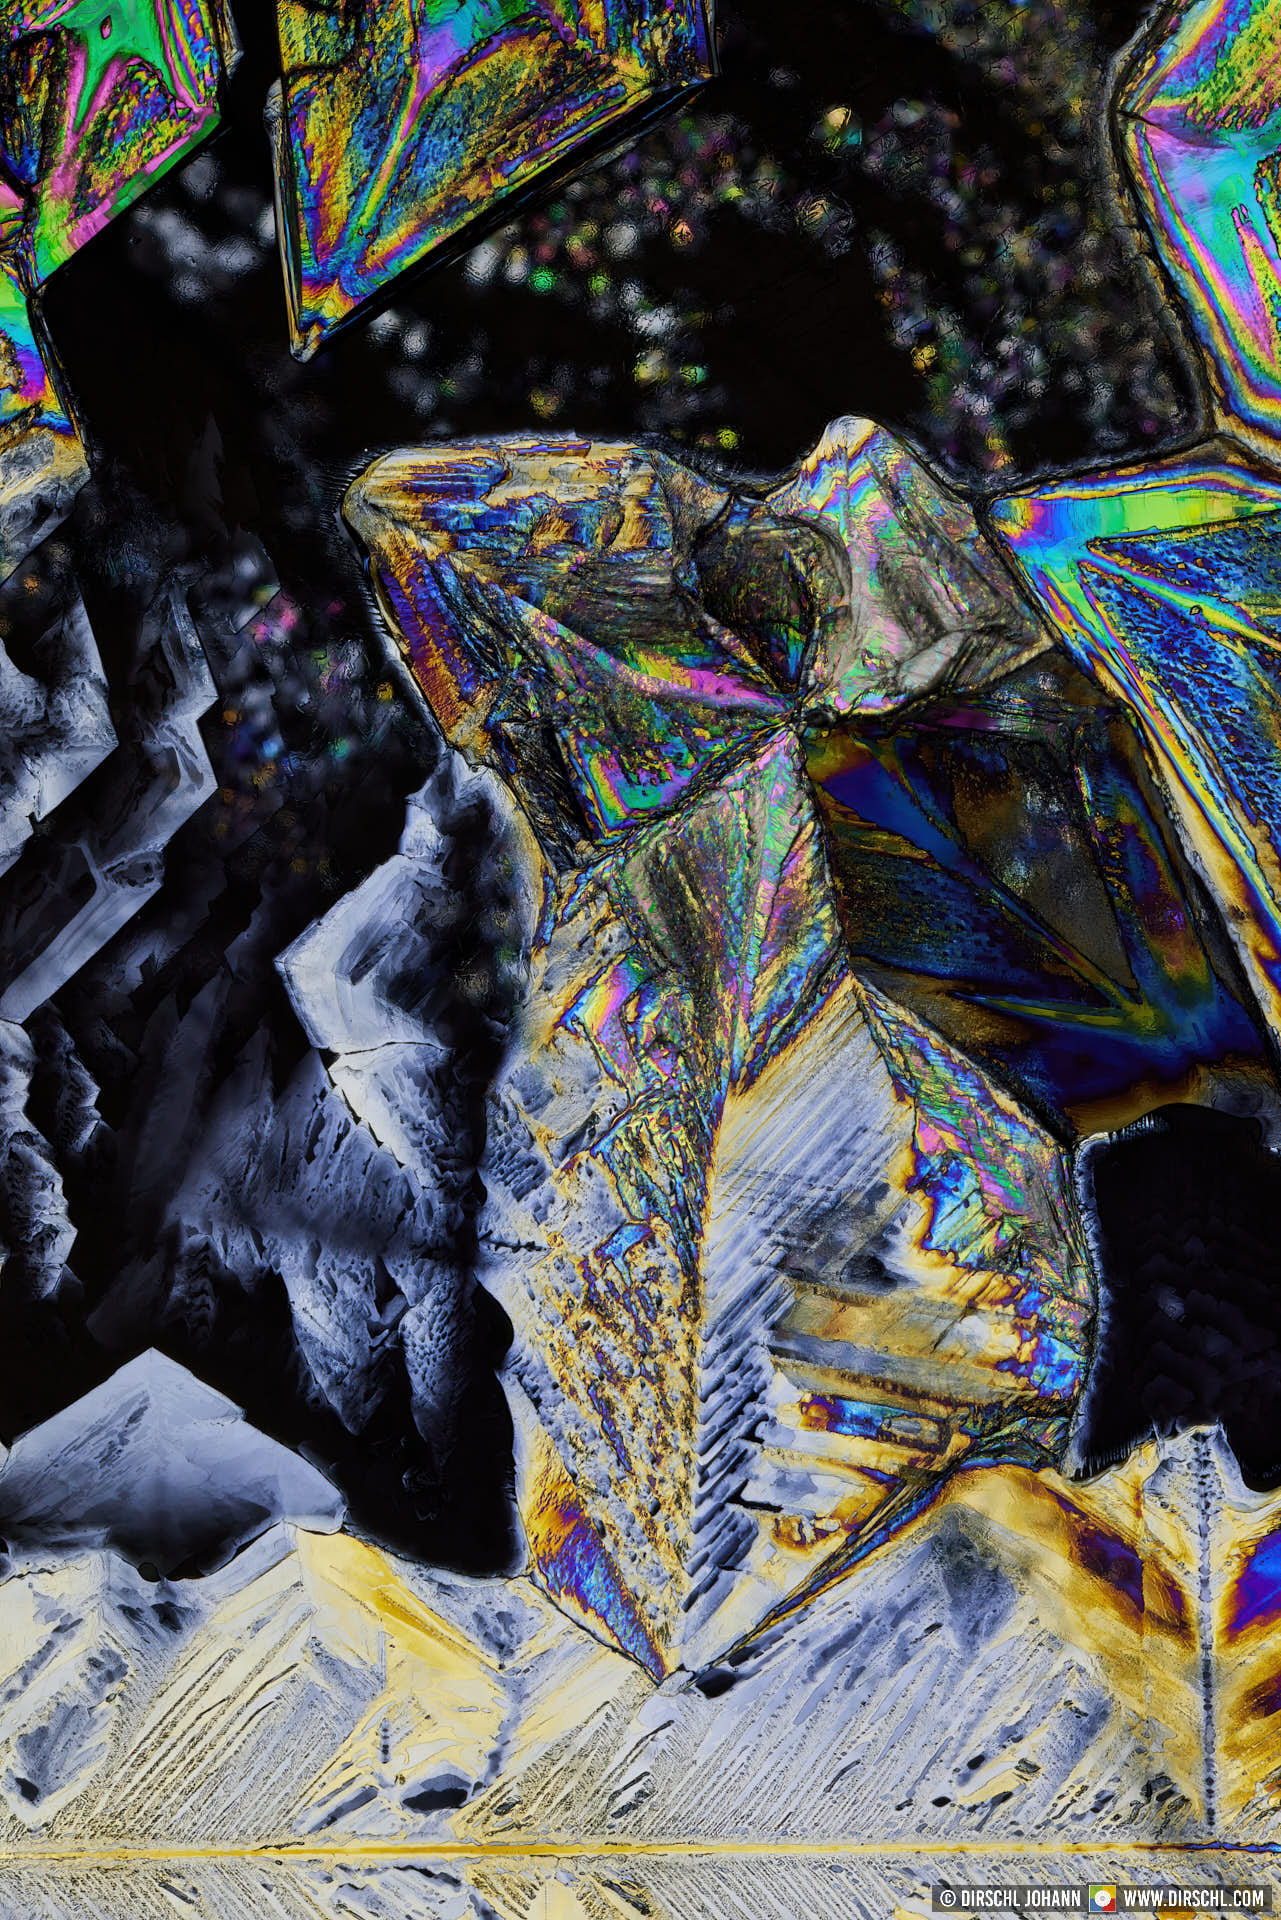
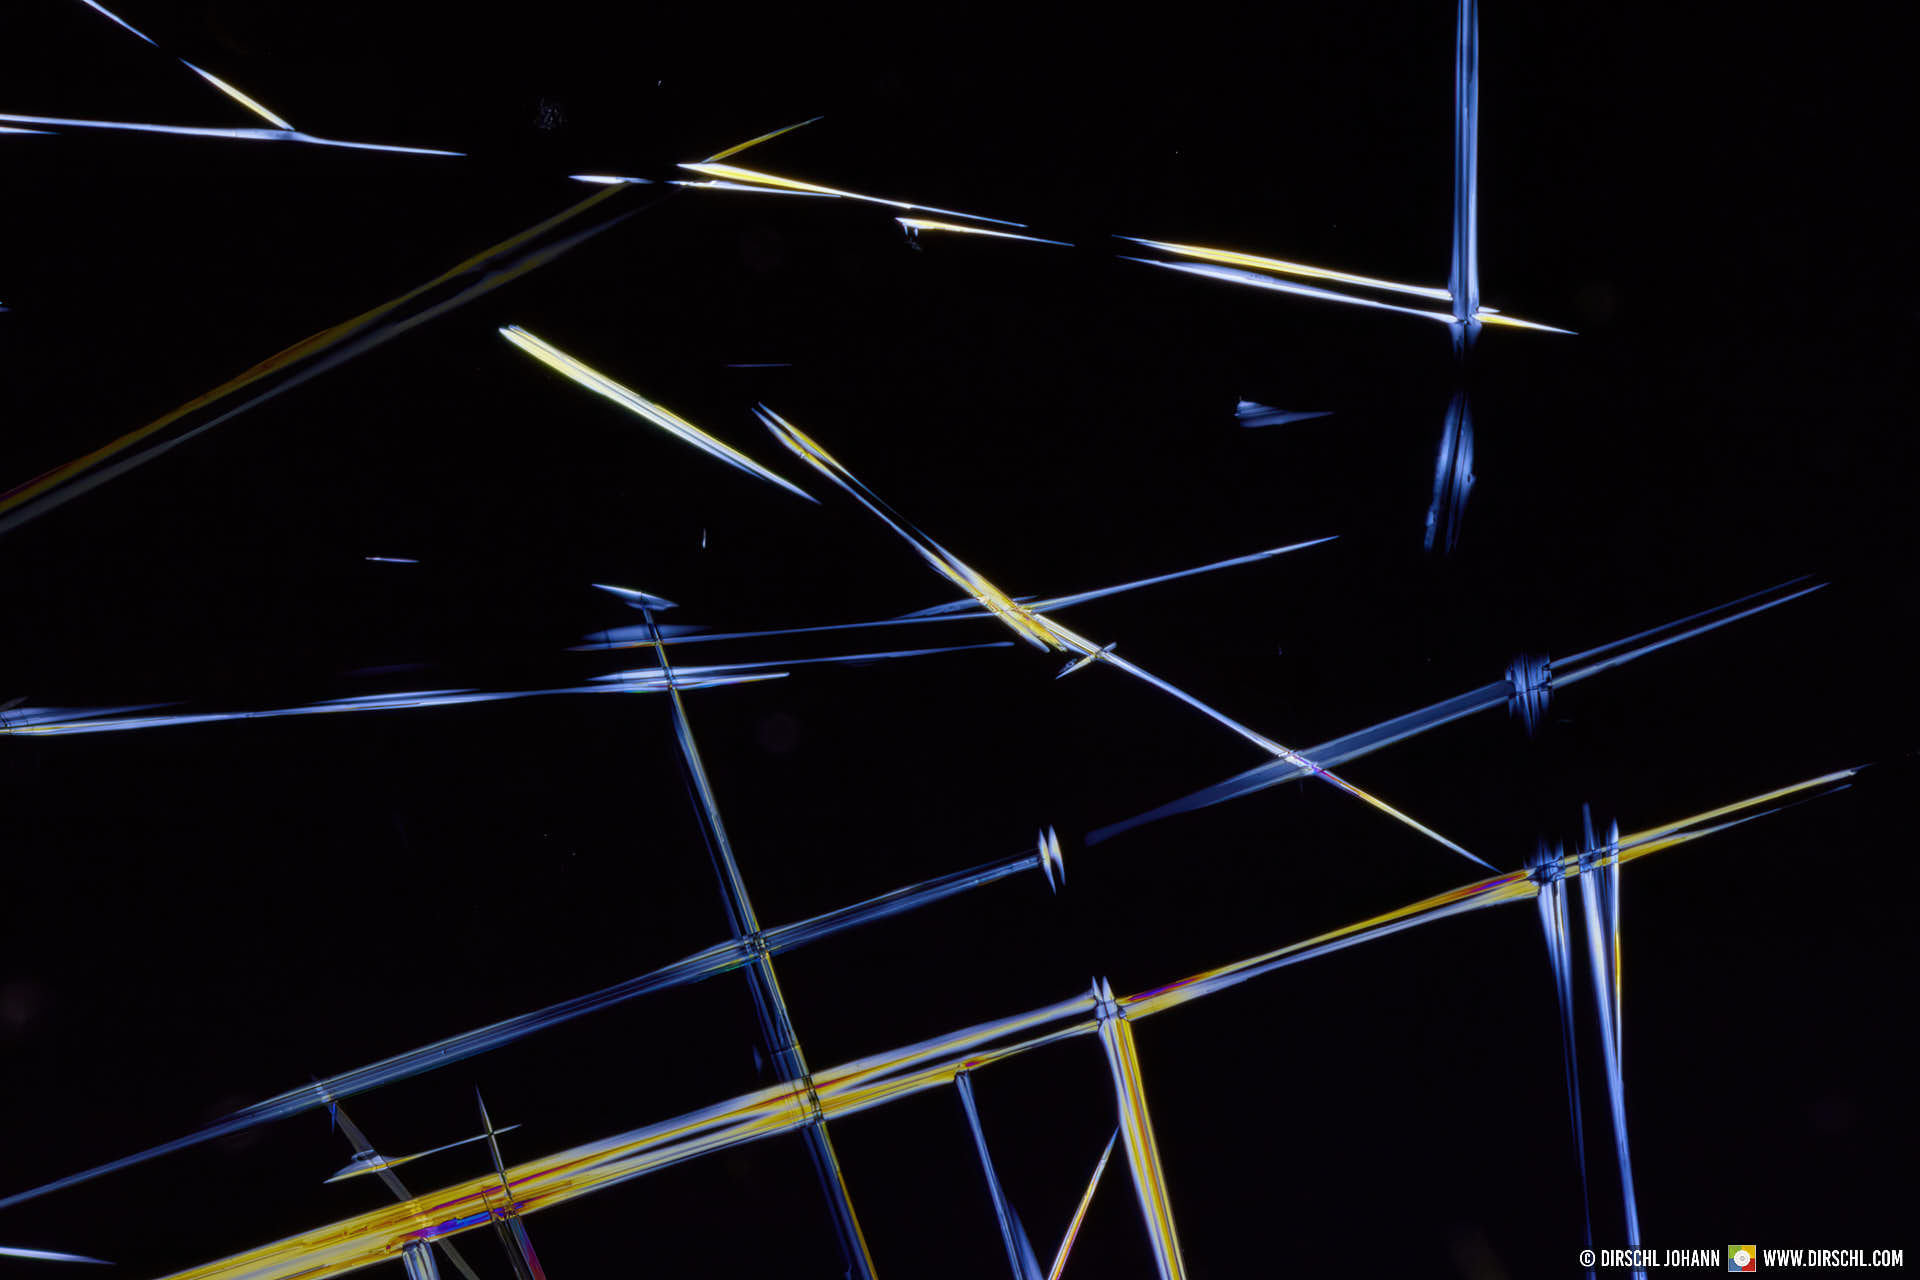
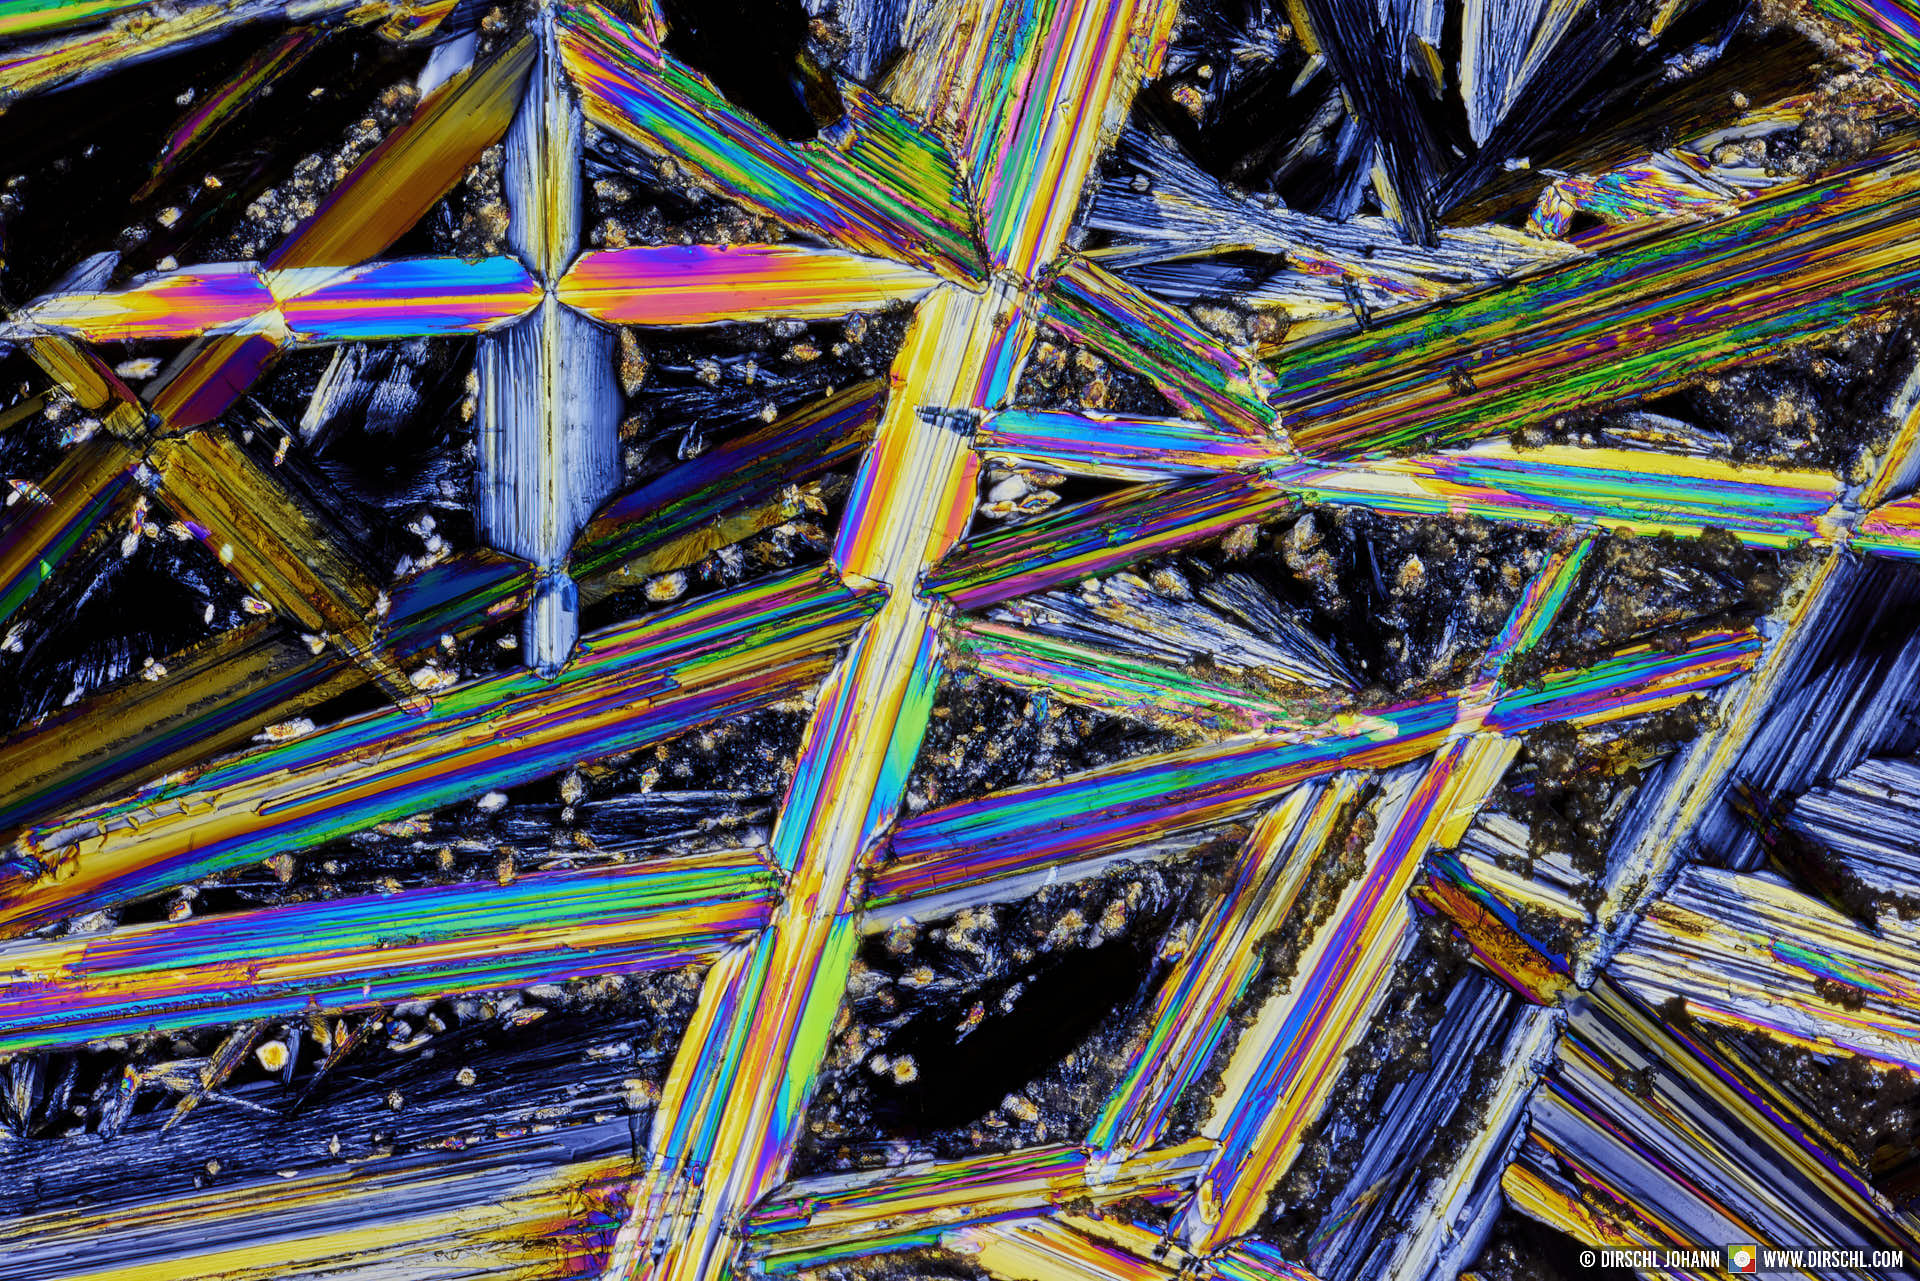
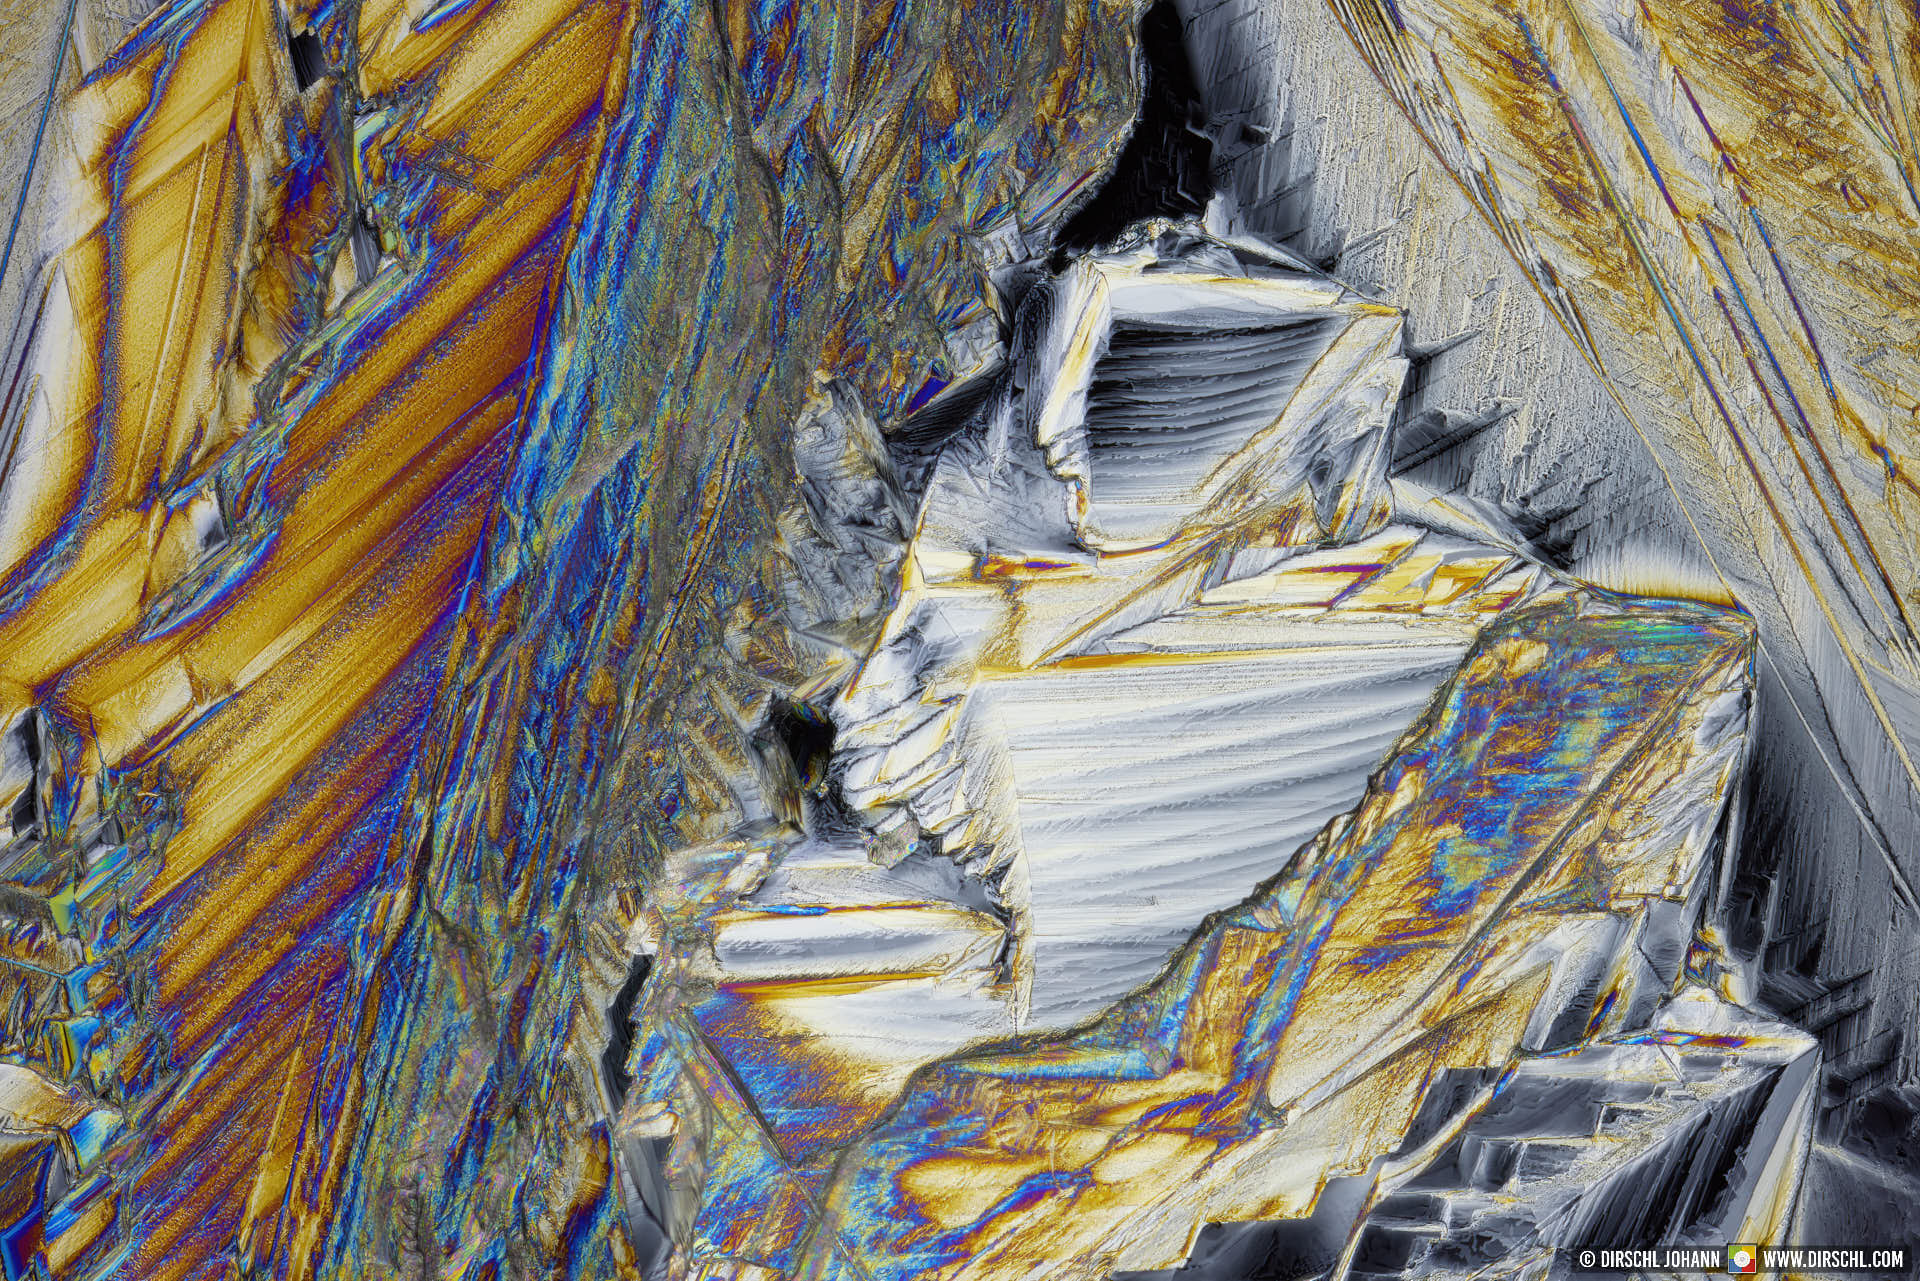
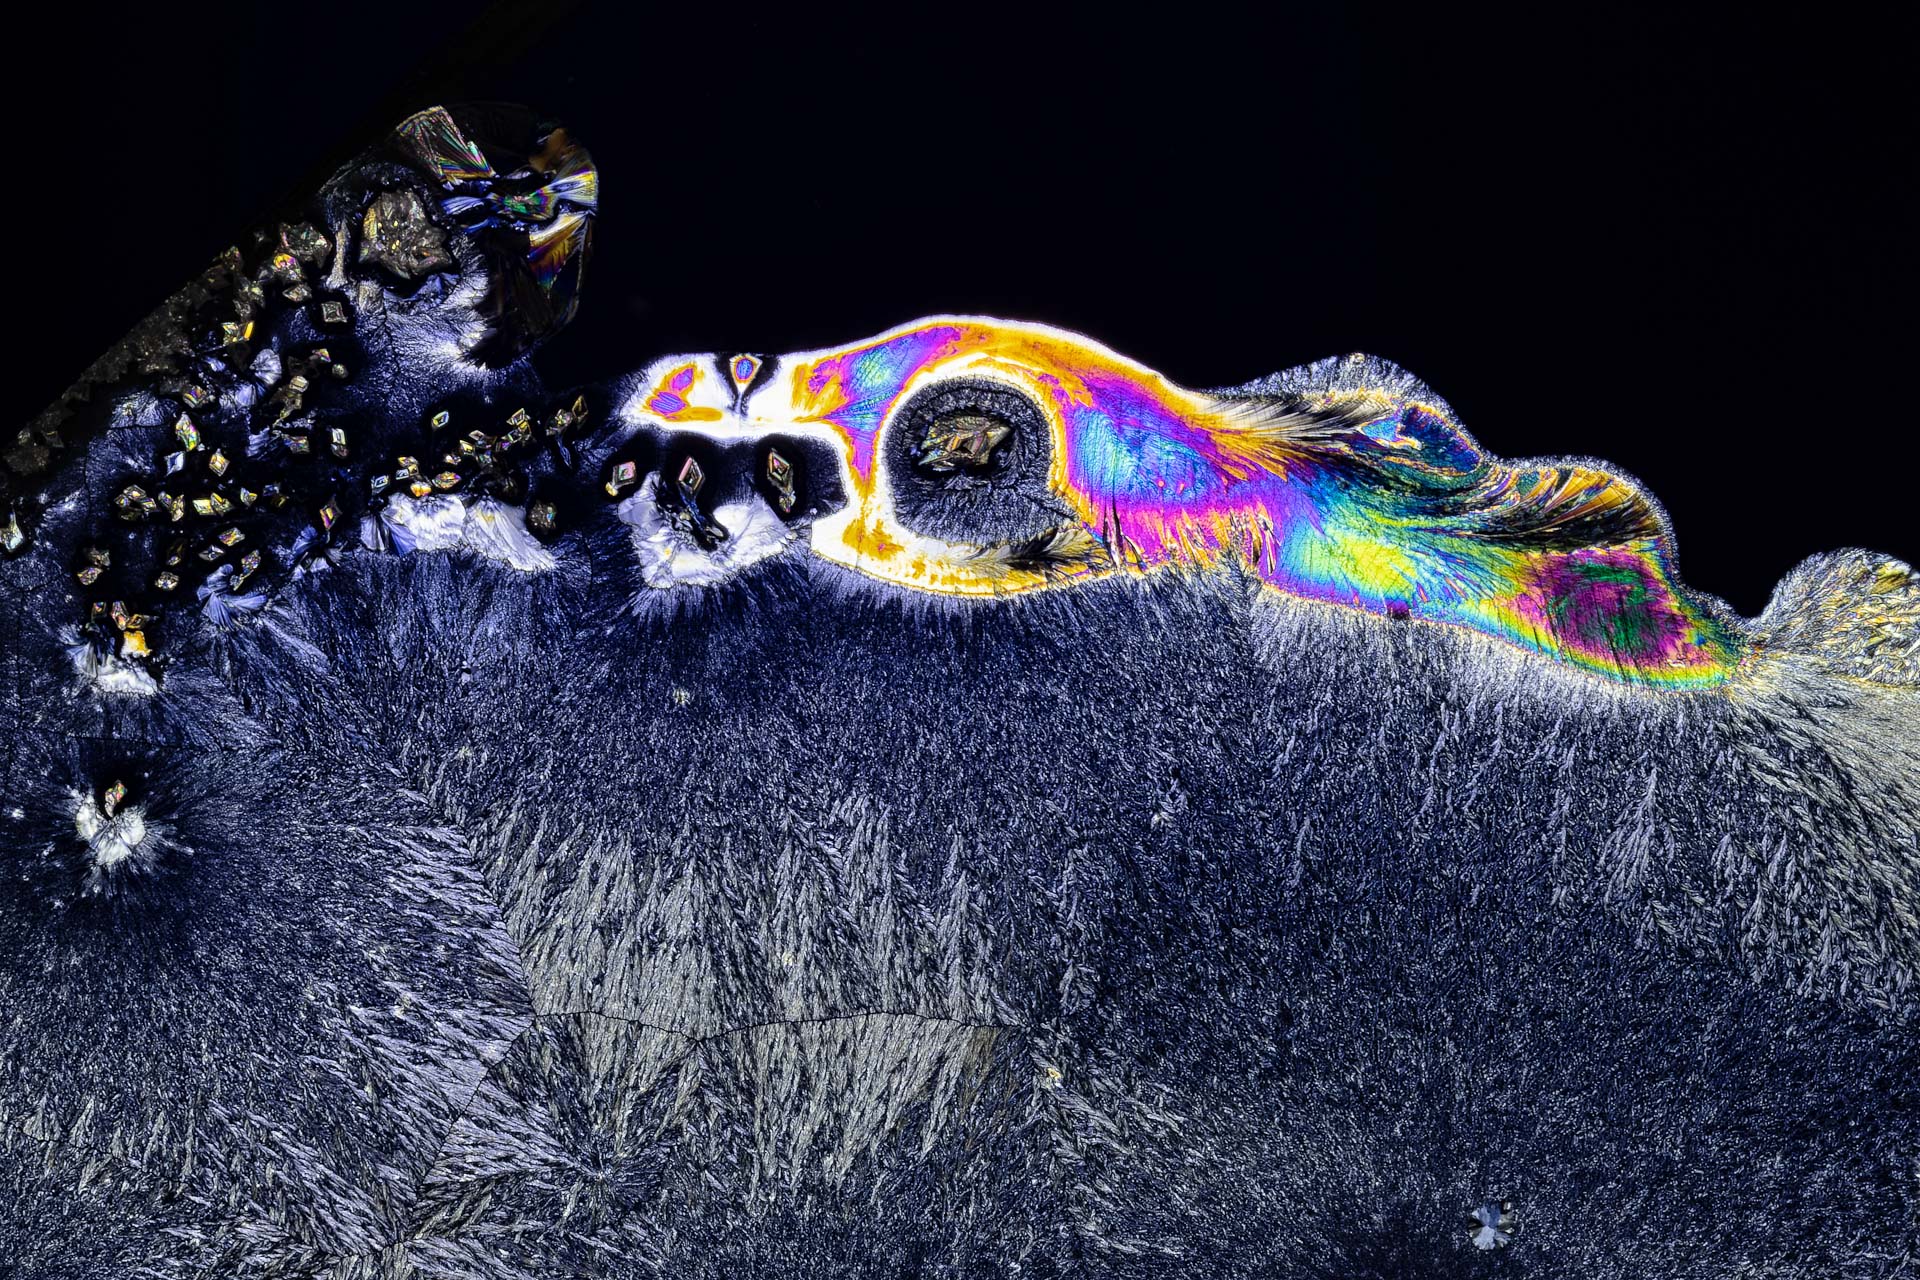
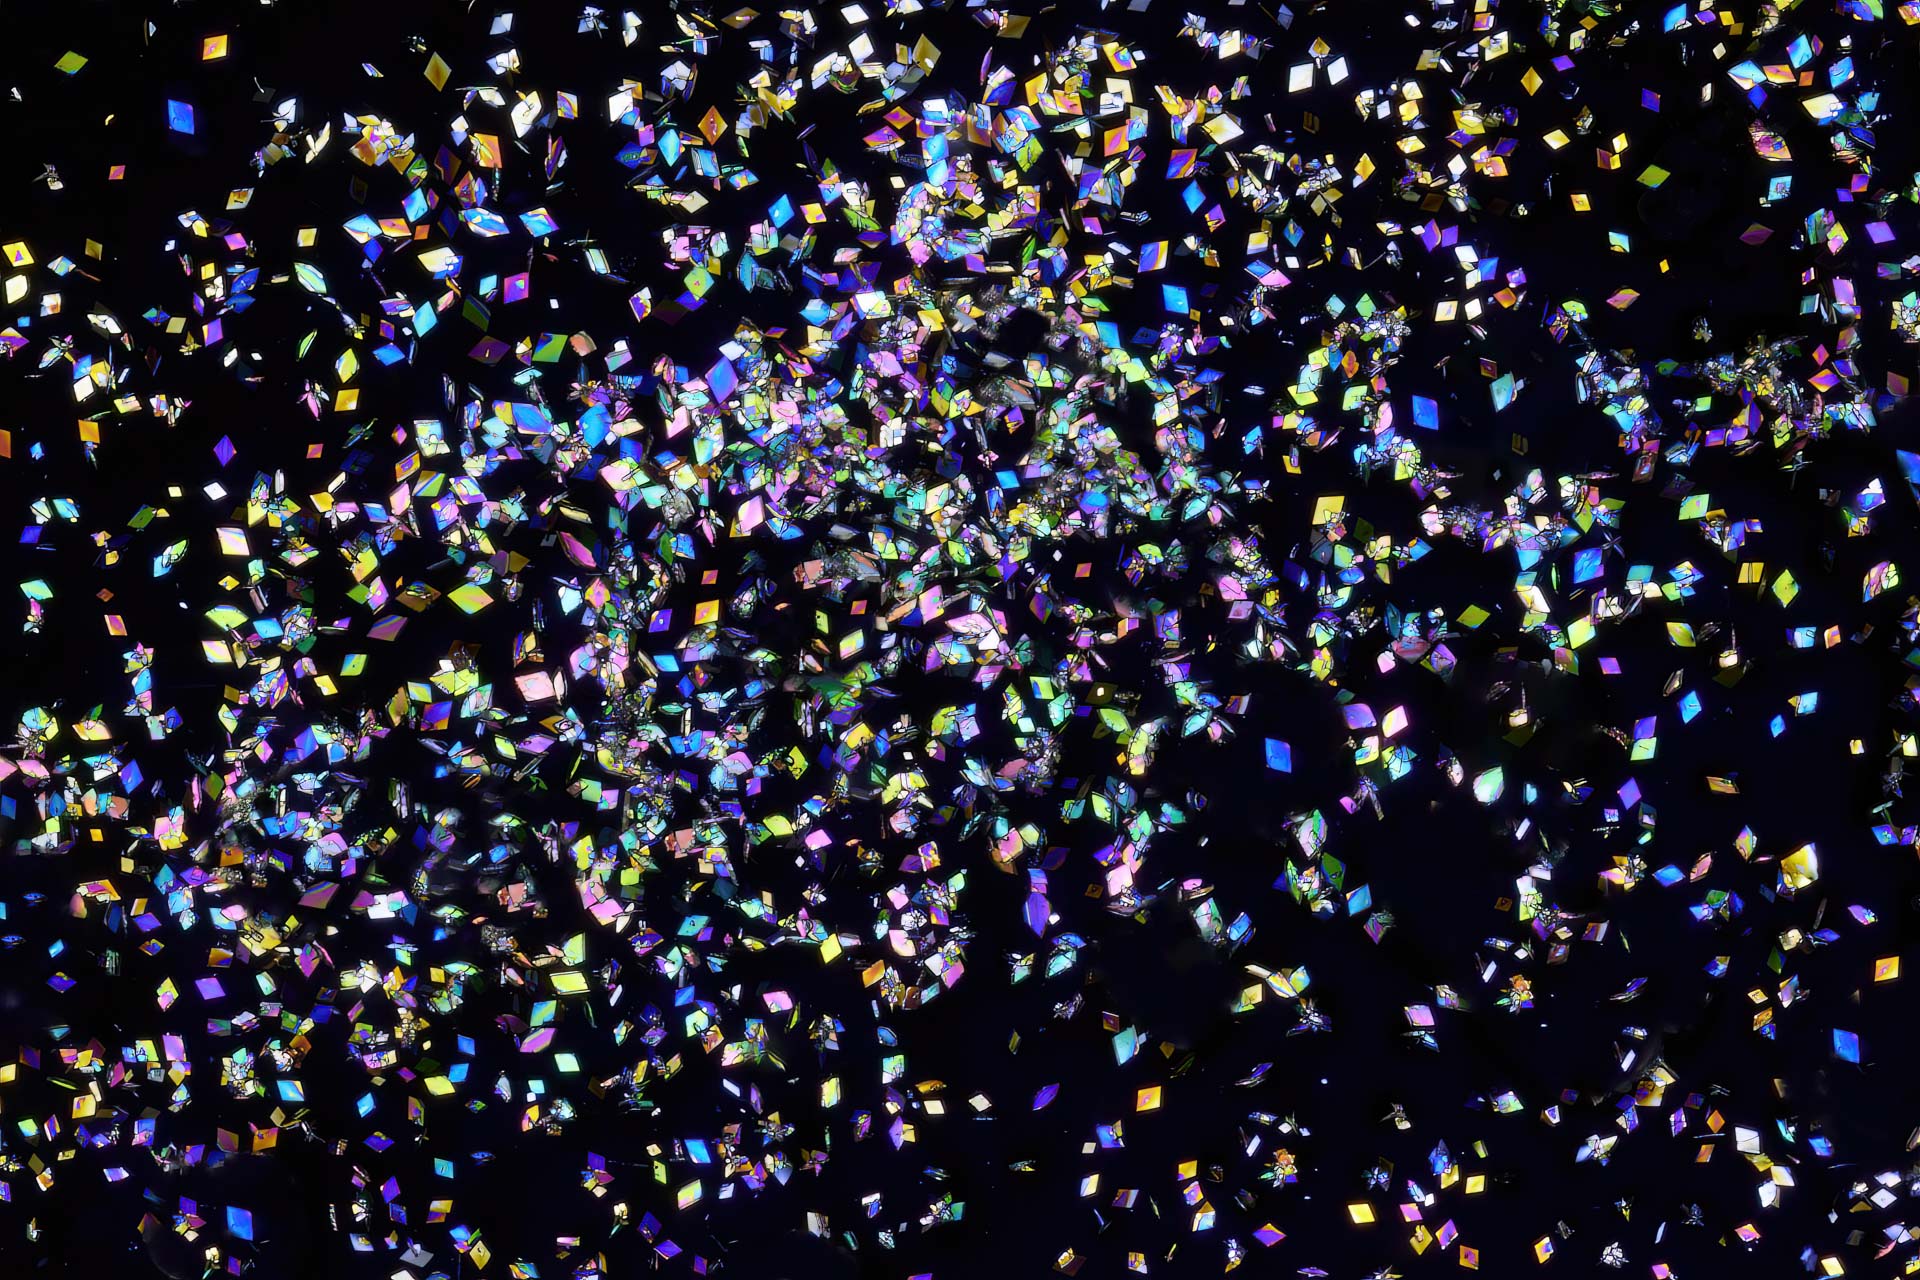
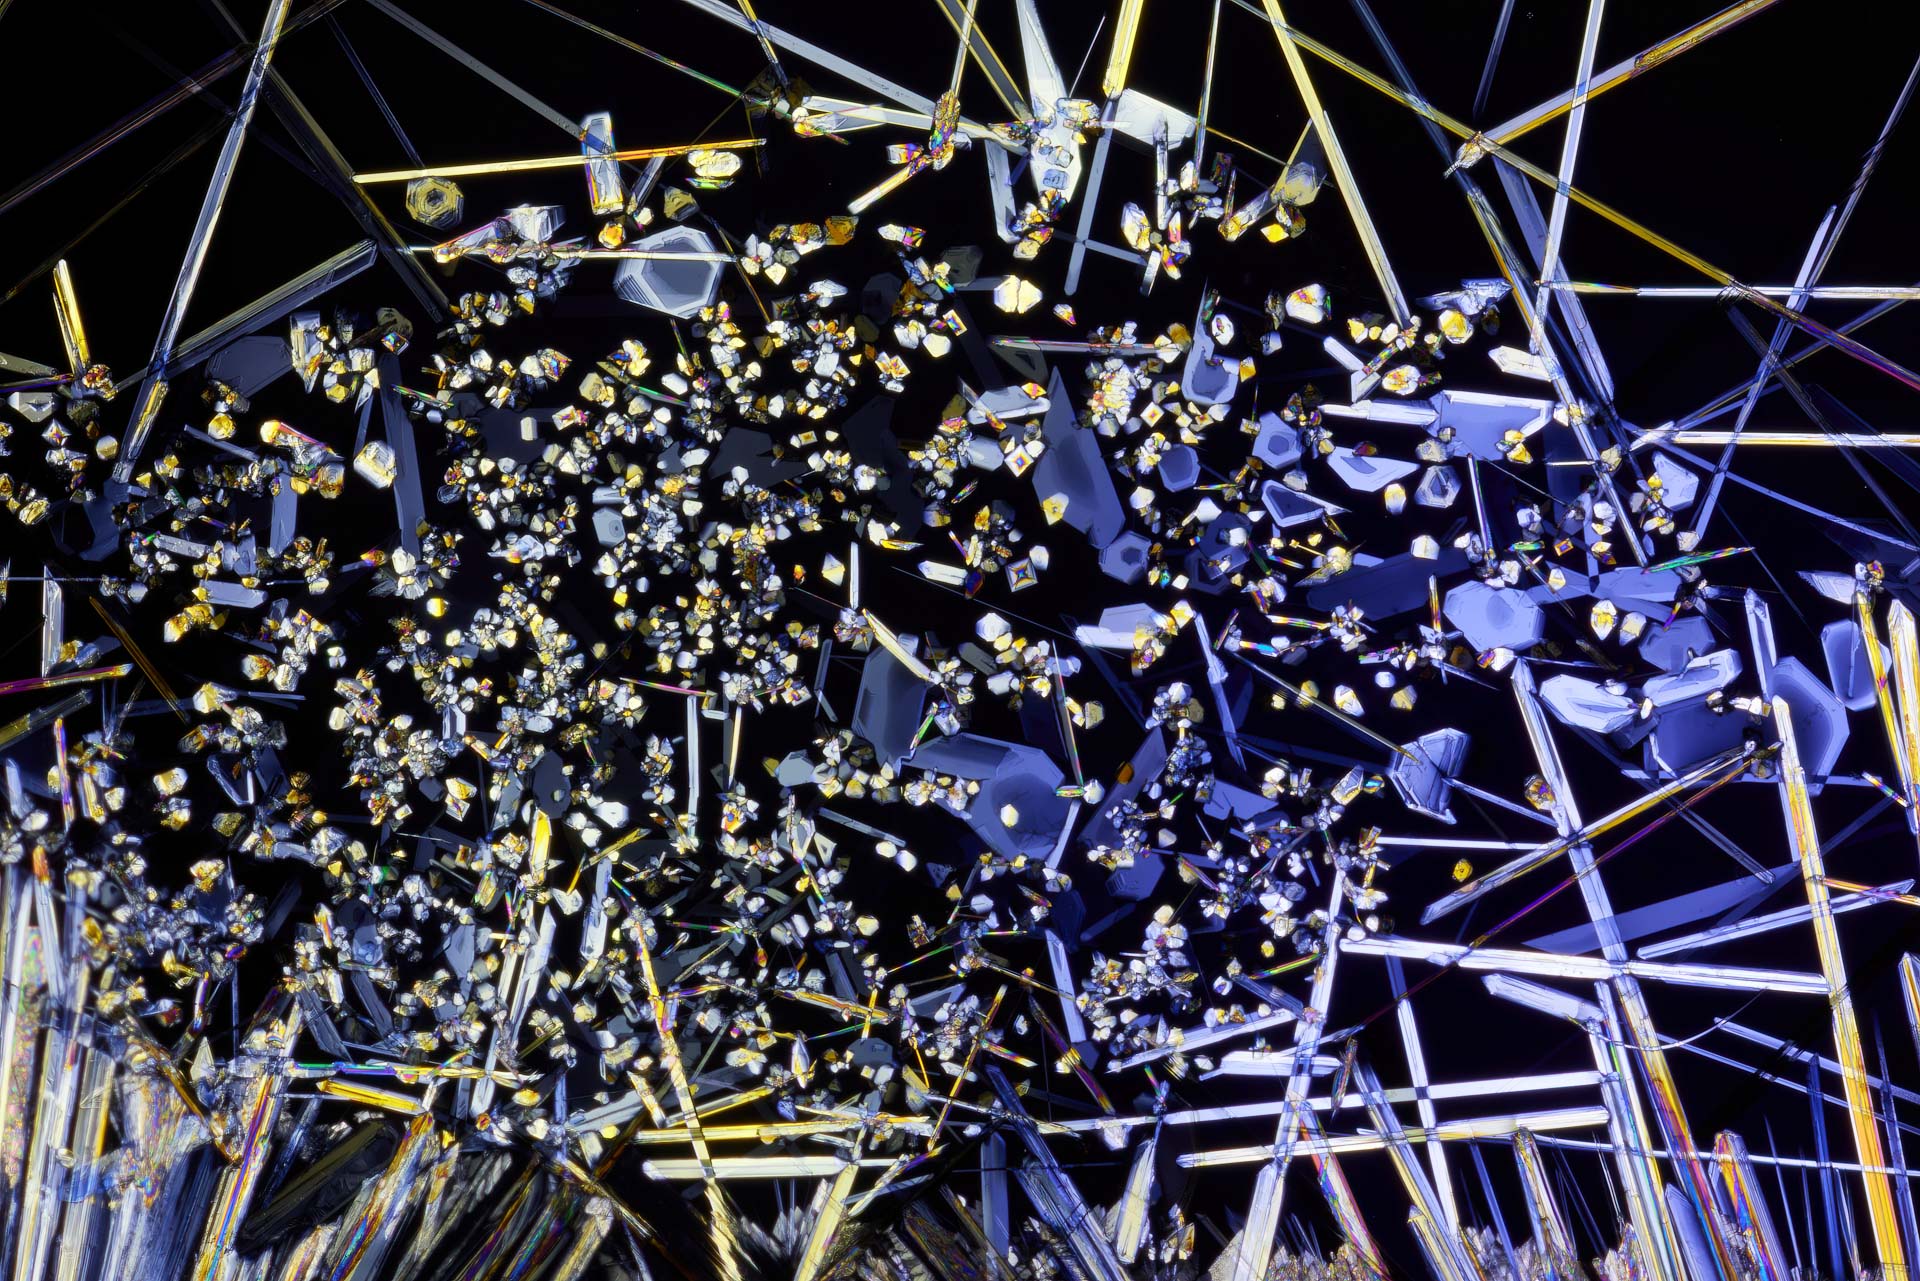
Crystallized paracetamol forms colored structures on a microscope slide. One polarizing filter is placed in front of the light source, the second rotated approximately 90 degrees in front of the lens. The camera records the changes in polarized transmitted light.
What is Microphotography?
Microphotography refers to capturing images of very small structures at high magnification. Depending on the subject and scale, the image is created with a macro or close-up lens, a microscope objective on the camera, or directly through a microscope. The term photomicrography is primarily used when a microscope or microscope objective is part of the optical system.
Macro, Close-up, Microphotography, and Photomicrography: The Difference
- Macro Photography: small subjects up to approximately a 1:1 reproduction ratio on the sensor.
- Close-up Photography: higher magnifications above 1:1, for example, with a close-up lens at 3:1 or 5:1.
- Microphotography: an umbrella term for very high magnifications and minute structures; in practice, the terms overlap.
- Photomicrography: images captured with a microscope or an adapted microscope objective.
How Does Microphotography with Polarized Light Work?
The first polarizing filter allows only light of a specific oscillation direction to pass through. A second filter, rotated approximately 90 degrees, acts as an analyzer: without a sample, the image becomes almost dark. Birefringent or photoelastically active materials alter the polarization. Between the crossed filters, characteristic brightnesses and interference colors appear.
For transparent crystals, I use this technique with transmitted light. Cross-polarization can also help reduce reflections on non-metallic surfaces when using reflected light. Both applications are based on polarization but require a suitable lighting setup.
Magnification, Depth of Field, and Focus Stacking
With my Canon MP-E 65 mm, I work between 1:1 and 5:1. For even higher magnifications, suitable microscope objectives can be adapted. The greater the reproduction ratio, the shallower the depth of field and the lower the tolerance for vibrations. A stable setup, precise focusing, and small, reproducible steps are then more important than the largest possible number on the lens.
If the subject is not completely flat, I capture a focus series and combine the individual images using Focus Stacking. The step size must match the magnification and numerical aperture; excessively large intervals create blurry zones, and too many images unnecessarily prolong capture and processing.
Equipment for Polarized Light Microphotography
My setup is intentionally photographic. The following components are useful for getting started:
- Camera with manual exposure control and RAW capture
- Macro or loupe lens; for very high magnification, a suitable microscope objective with an adapter
- Repro stand or stably mounted camera
- Manual or motorized macro rail for focus stacking
- Even LED light source for transmitted light
- Two linear polarizing filters or polarizing films
- Microscope slides, pipette, and spacers
- RAW converter and up-to-date stacking software
My Six-Step Capture Process
- Prepare the sample thinly and as evenly as possible on a clean microscope slide.
- Align the light source, first polarizing filter, and sample as a transmitted light setup.
- Rotate the second polarizing filter in front of the lens until the background appears as dark as possible.
- Select image section and magnification, secure the camera and rail to prevent vibration.
- Capture a single image or focus stack with manual exposure and constant white balance.
- Develop RAW files consistently, stack if necessary, and sharpen only gently.
Safety: I only use substances whose properties and safe handling are known. Medications and chemicals do not belong in food containers, must not be ingested, and should not be heated or mixed without appropriate protective measures. Manufacturer and safety information always takes precedence.
Common Errors and Their Causes
- Gray instead of black background: Polarizing filters are not precisely crossed, or stray light enters the setup.
- Inconsistent colors: Light source and white balance change during the series.
- Soft details: Camera, microscope slide, or rail move; additionally, diffraction with a strongly closed aperture can reduce detail.
- Gaps in the stack: The focus step size is too large for the shallow depth of field.
- Halos and double contours: The stacking software cannot find a clean overlay at high-contrast edges.
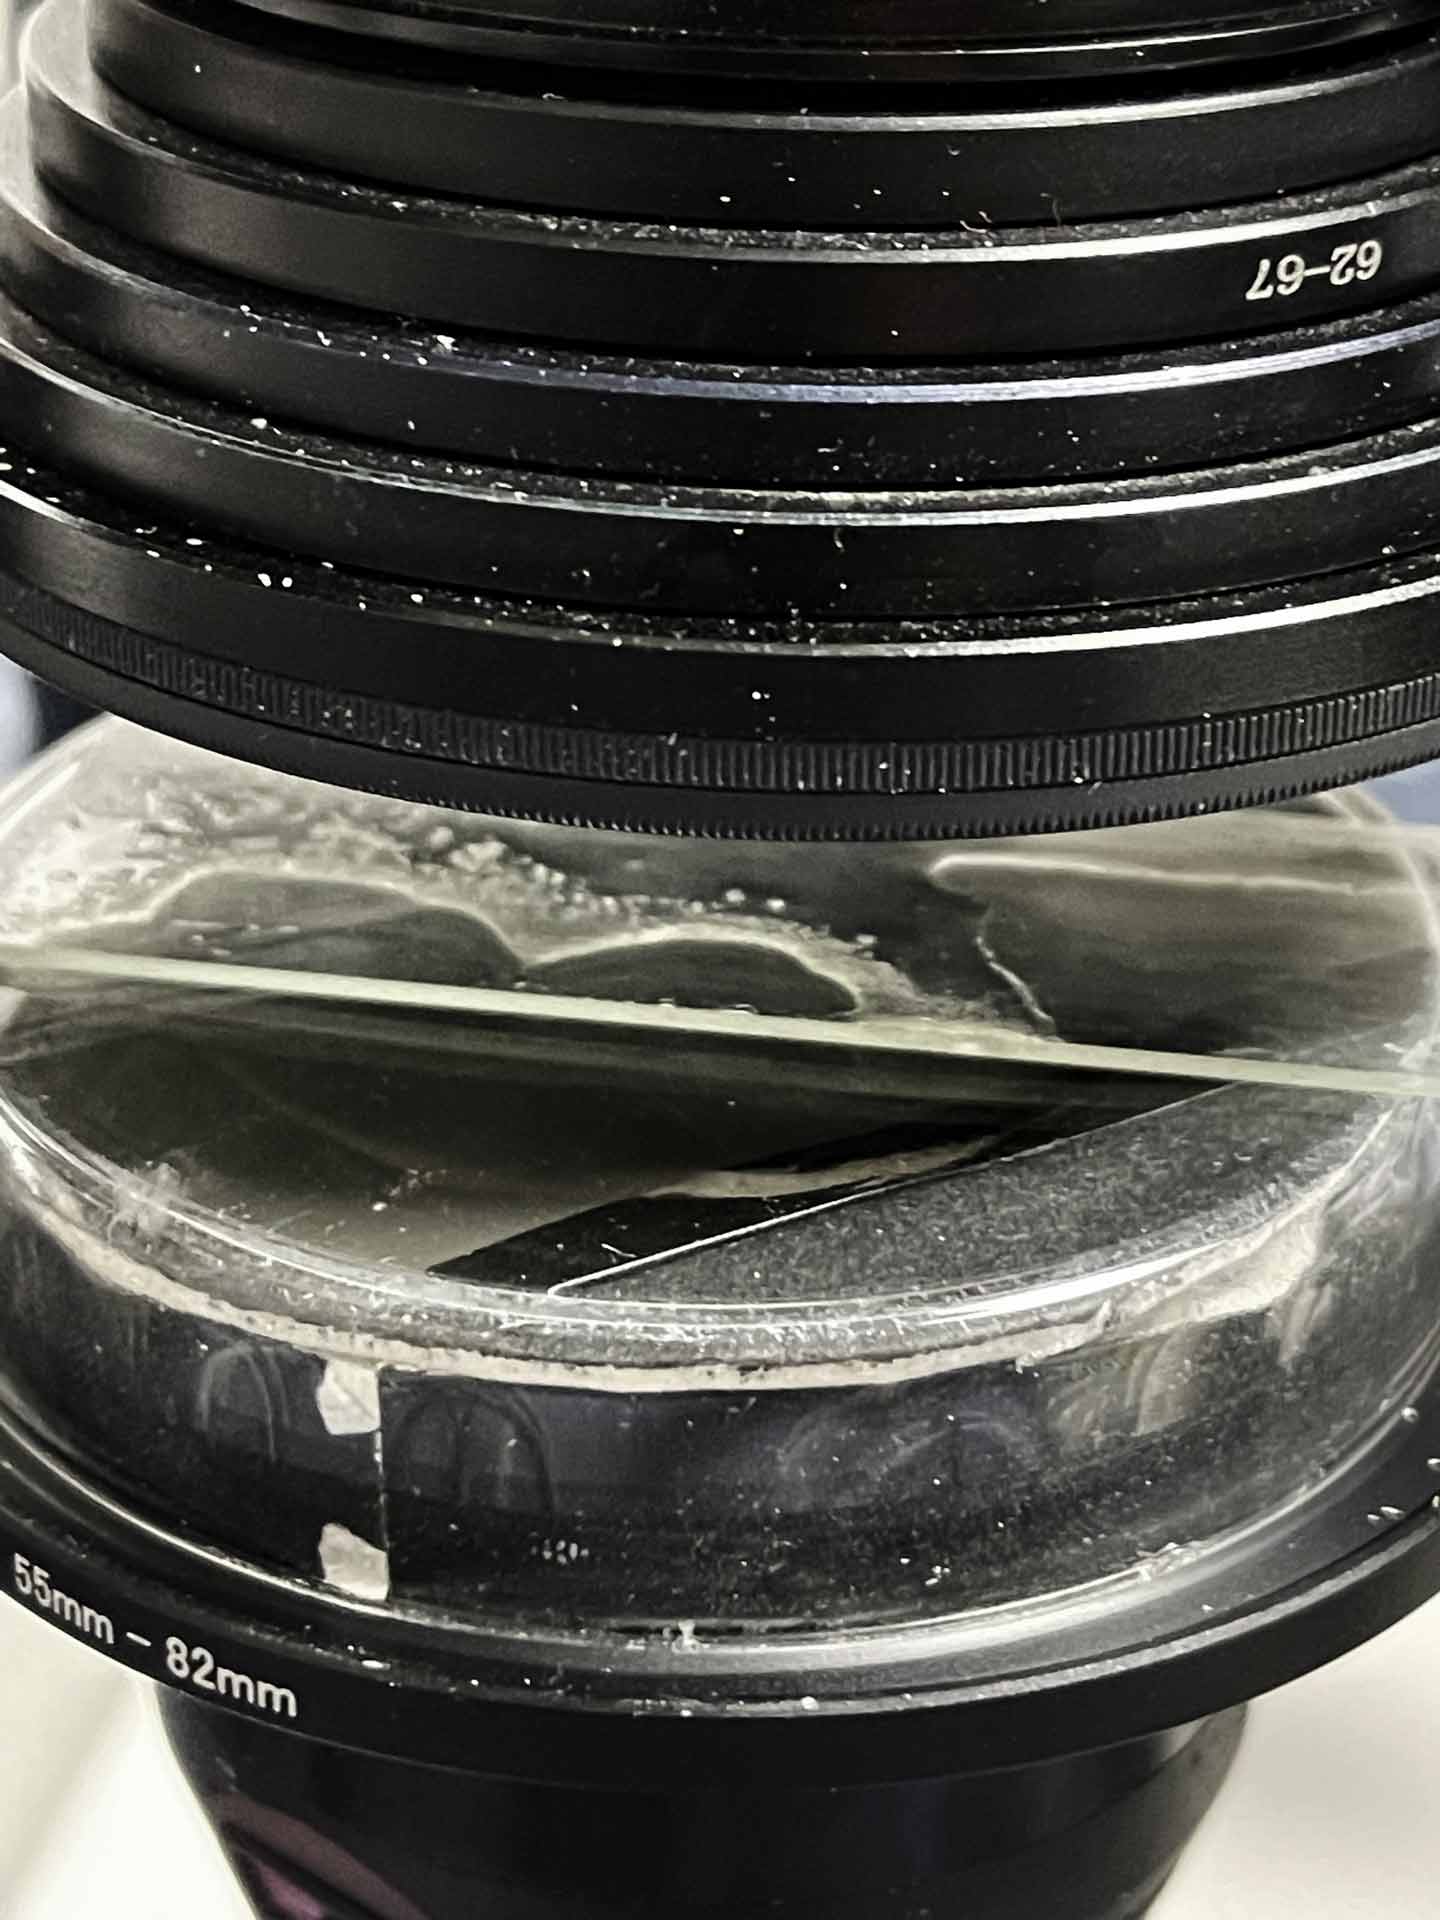
My Setup: The LED light source and polarizing film are located under the inverted Petri dish. Above it is the microscope slide; the second polarizing filter is attached to the lens. The downward-facing camera is mounted on a macro rail.
Training for Macro, Loupe, and Microphotography
In my photography courses, I demonstrate the setup in practice: from lighting and magnification to a clean focus stack, development, and stacking. Course participants can try out suitable lenses, filters, and accessories by arrangement.
Frequently Asked Questions about Microphotography
Which camera is suitable for microphotography?
Manual control, RAW capture, and stable mounting are crucial. Sensor format and megapixels are less important than optics, lighting, precise focusing, and a low-vibration setup.
Is a microscope needed for microphotography?
No. Up to approximately 5:1, a loupe lens is a practical solution. For significantly higher magnifications, an adapted microscope objective or a microscope becomes useful.
Why do colorful patterns appear in polarized light?
Certain transparent materials change polarization depending on material thickness and orientation. Between crossed polarizing filters, this results in visible interference colors.
When is focus stacking required?
As soon as the depth of field is smaller than the spatial depth of the subject. For a very flat crystal layer, a single image may suffice; for more structured samples, a focus stack is usually necessary.
What subjects does the gallery show?
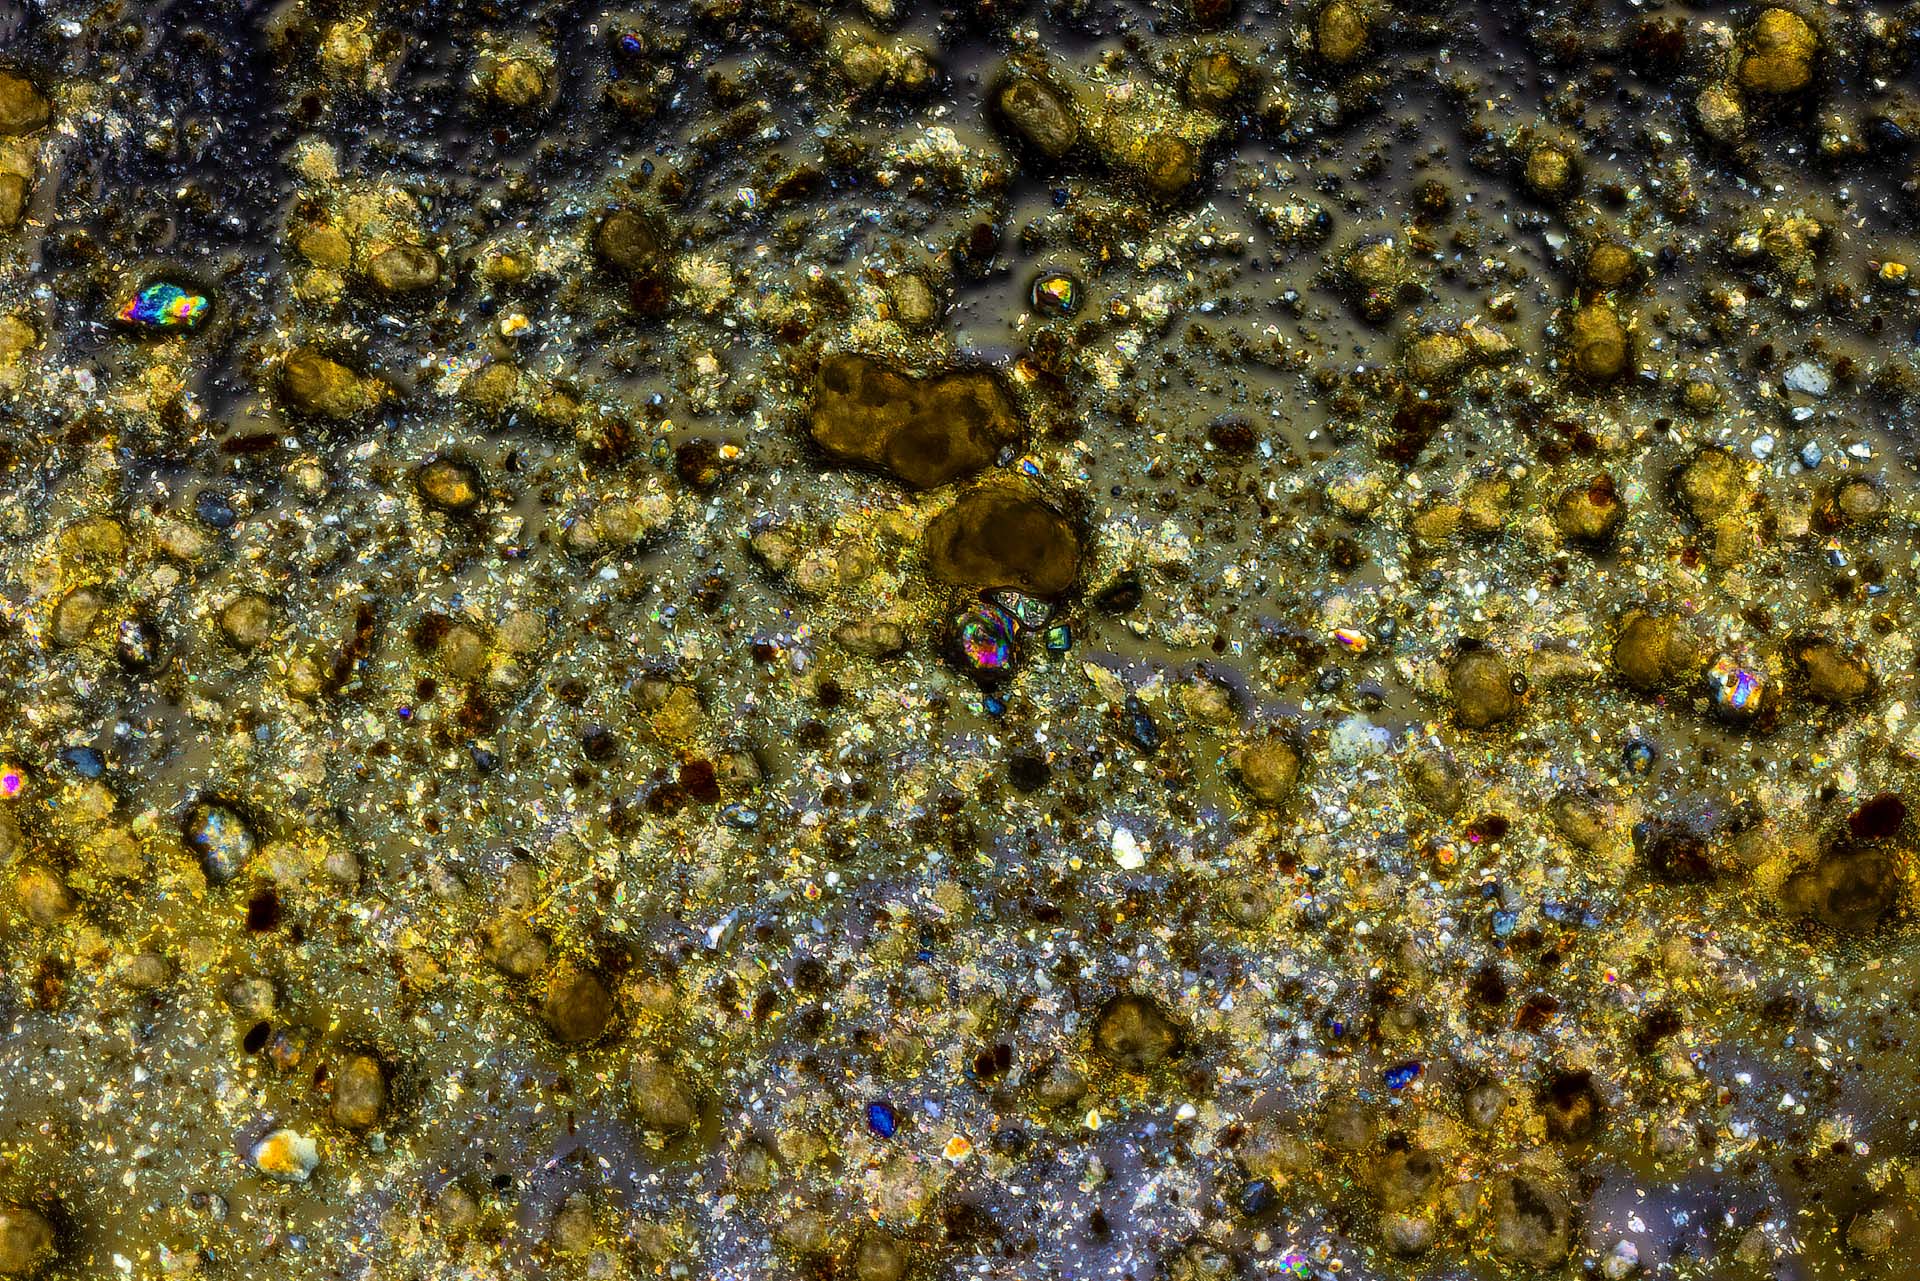
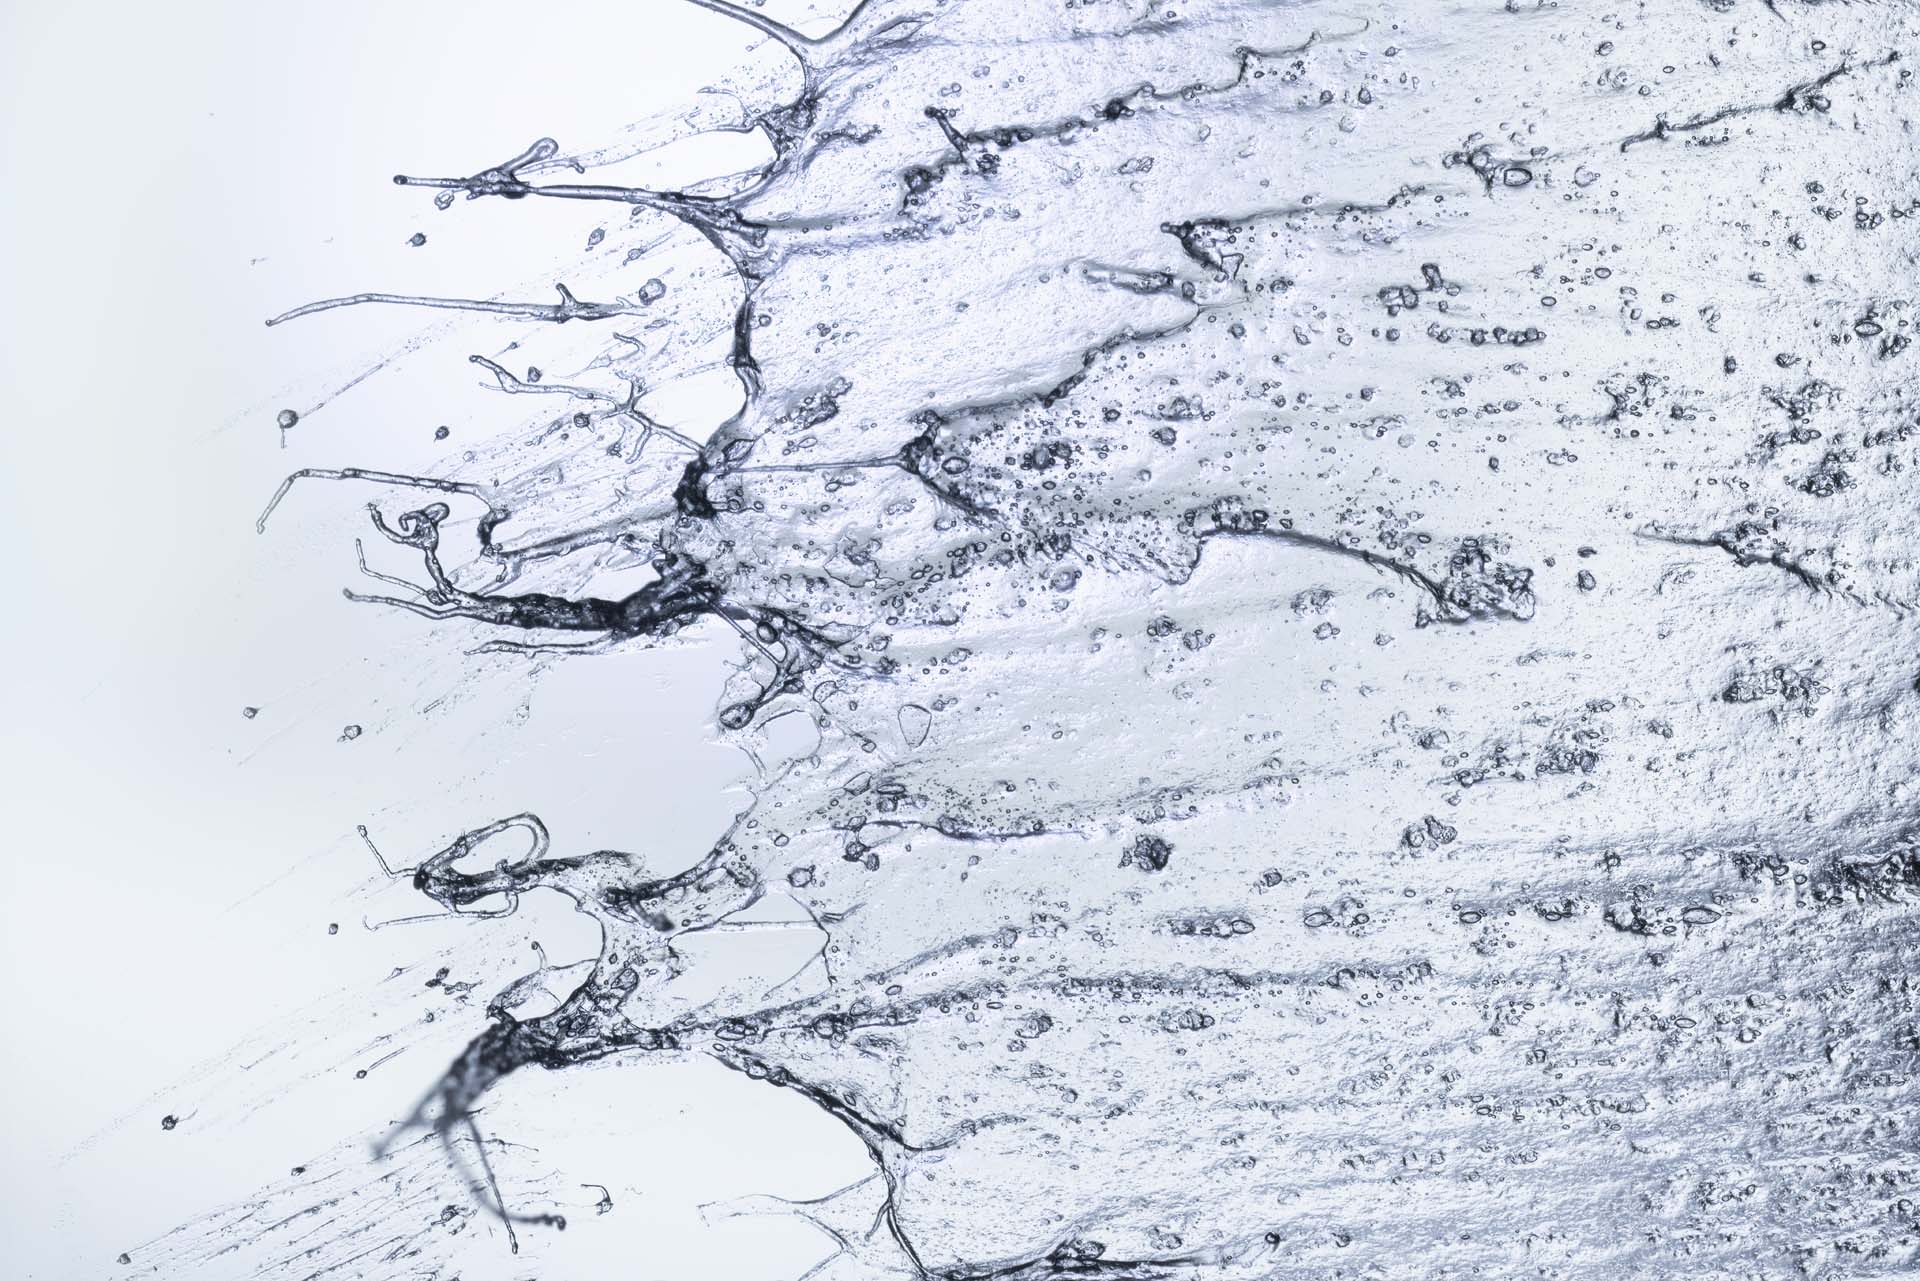
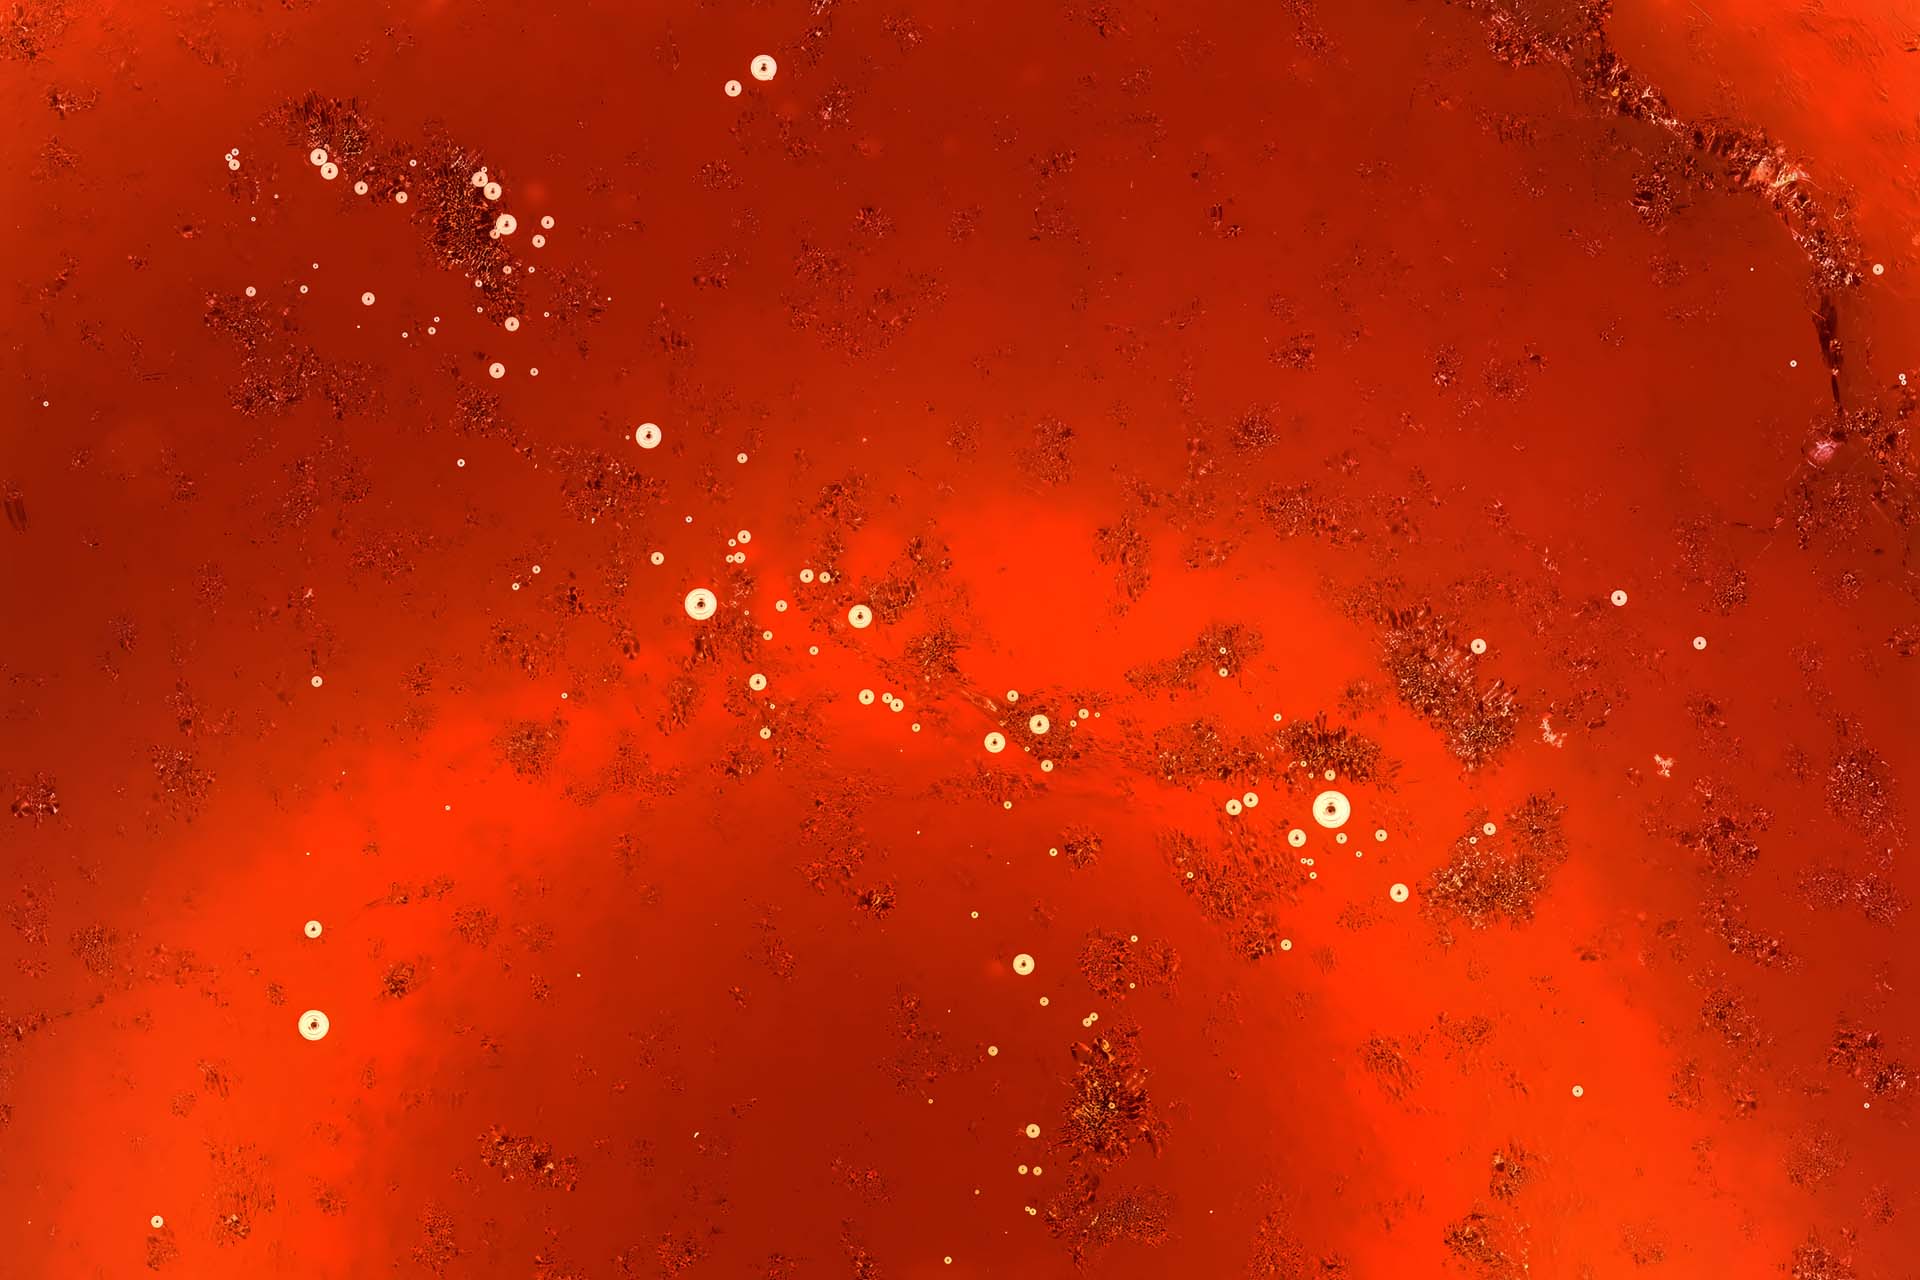
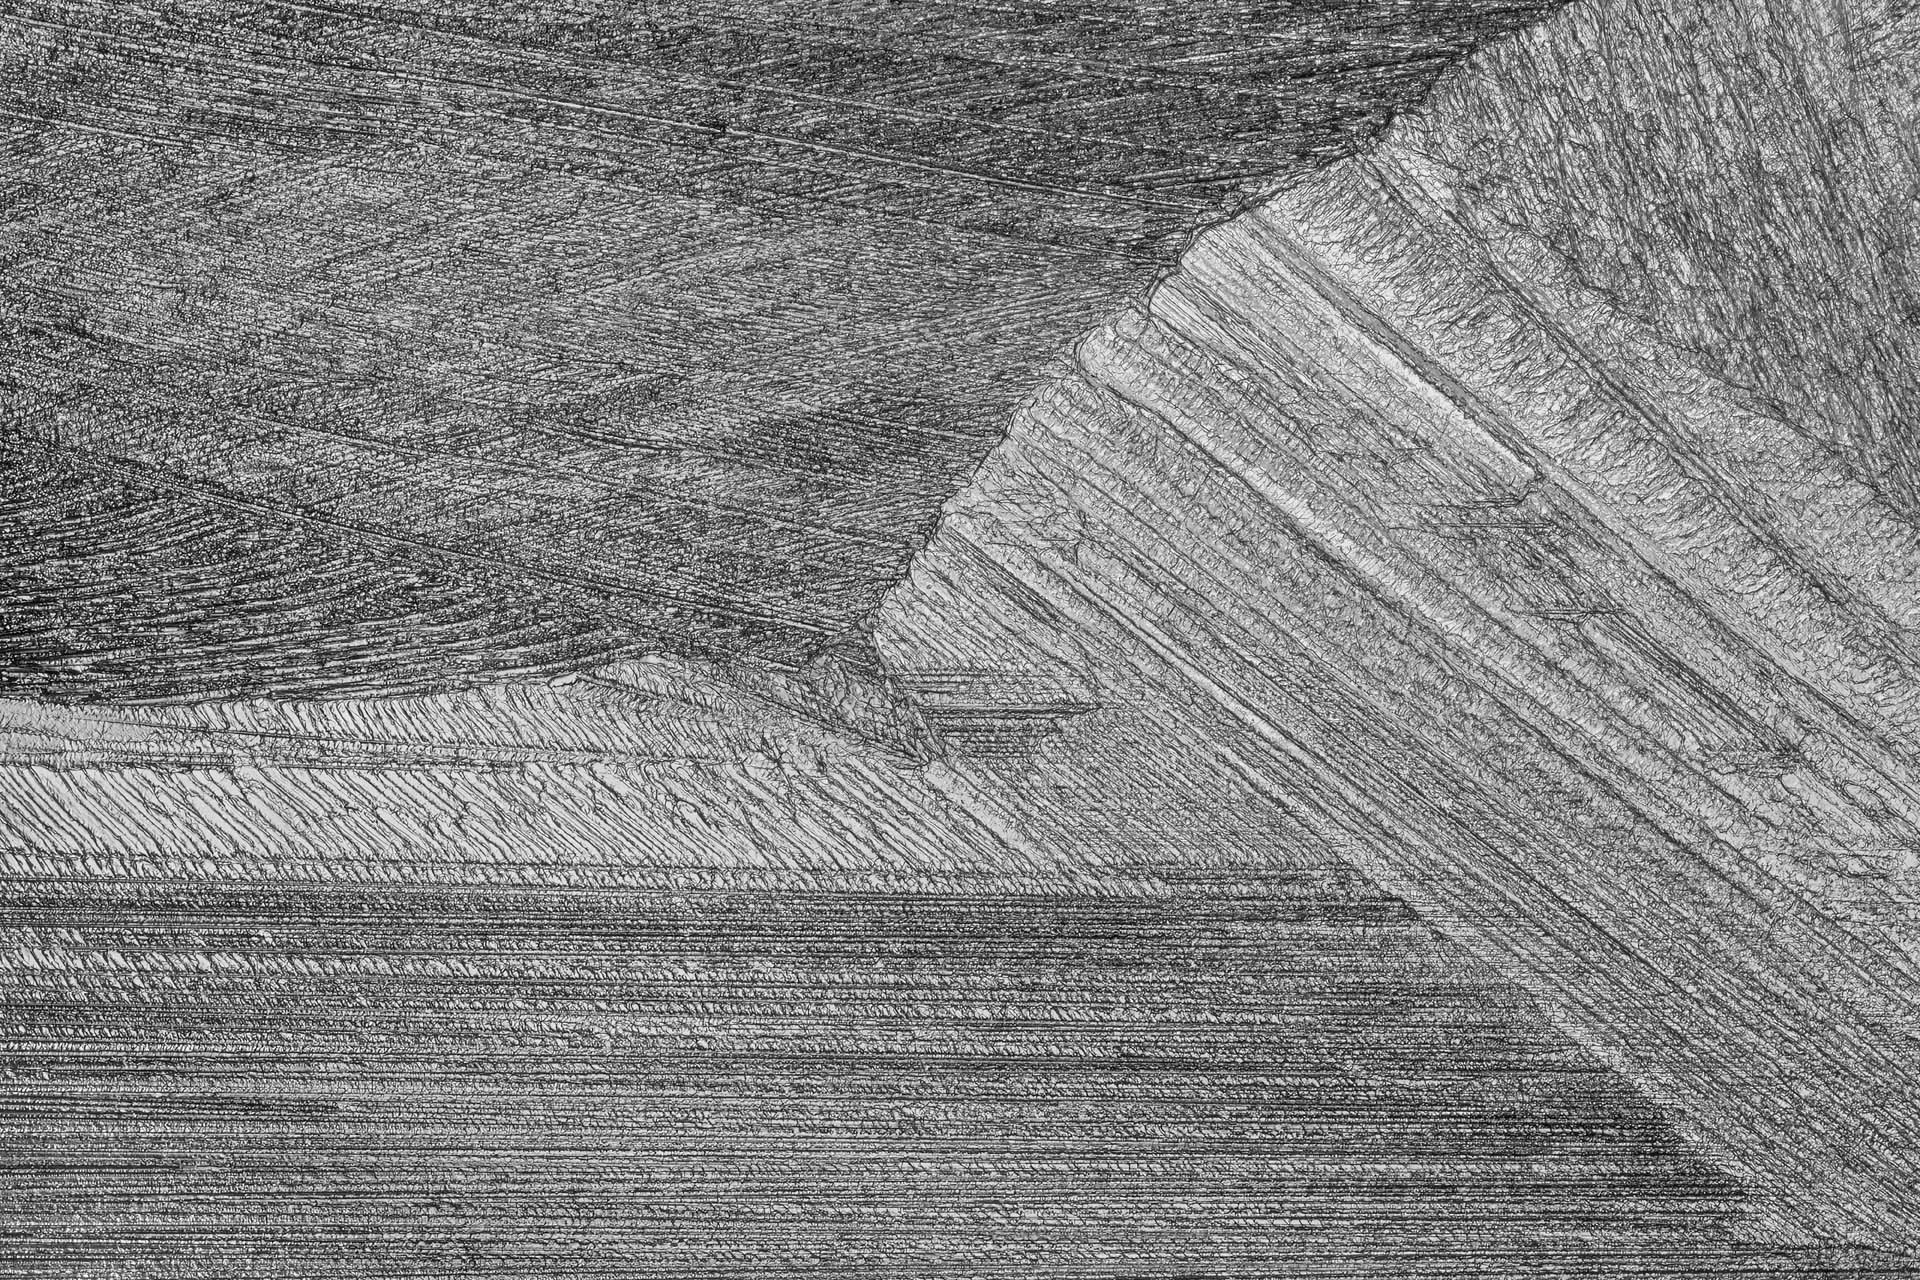
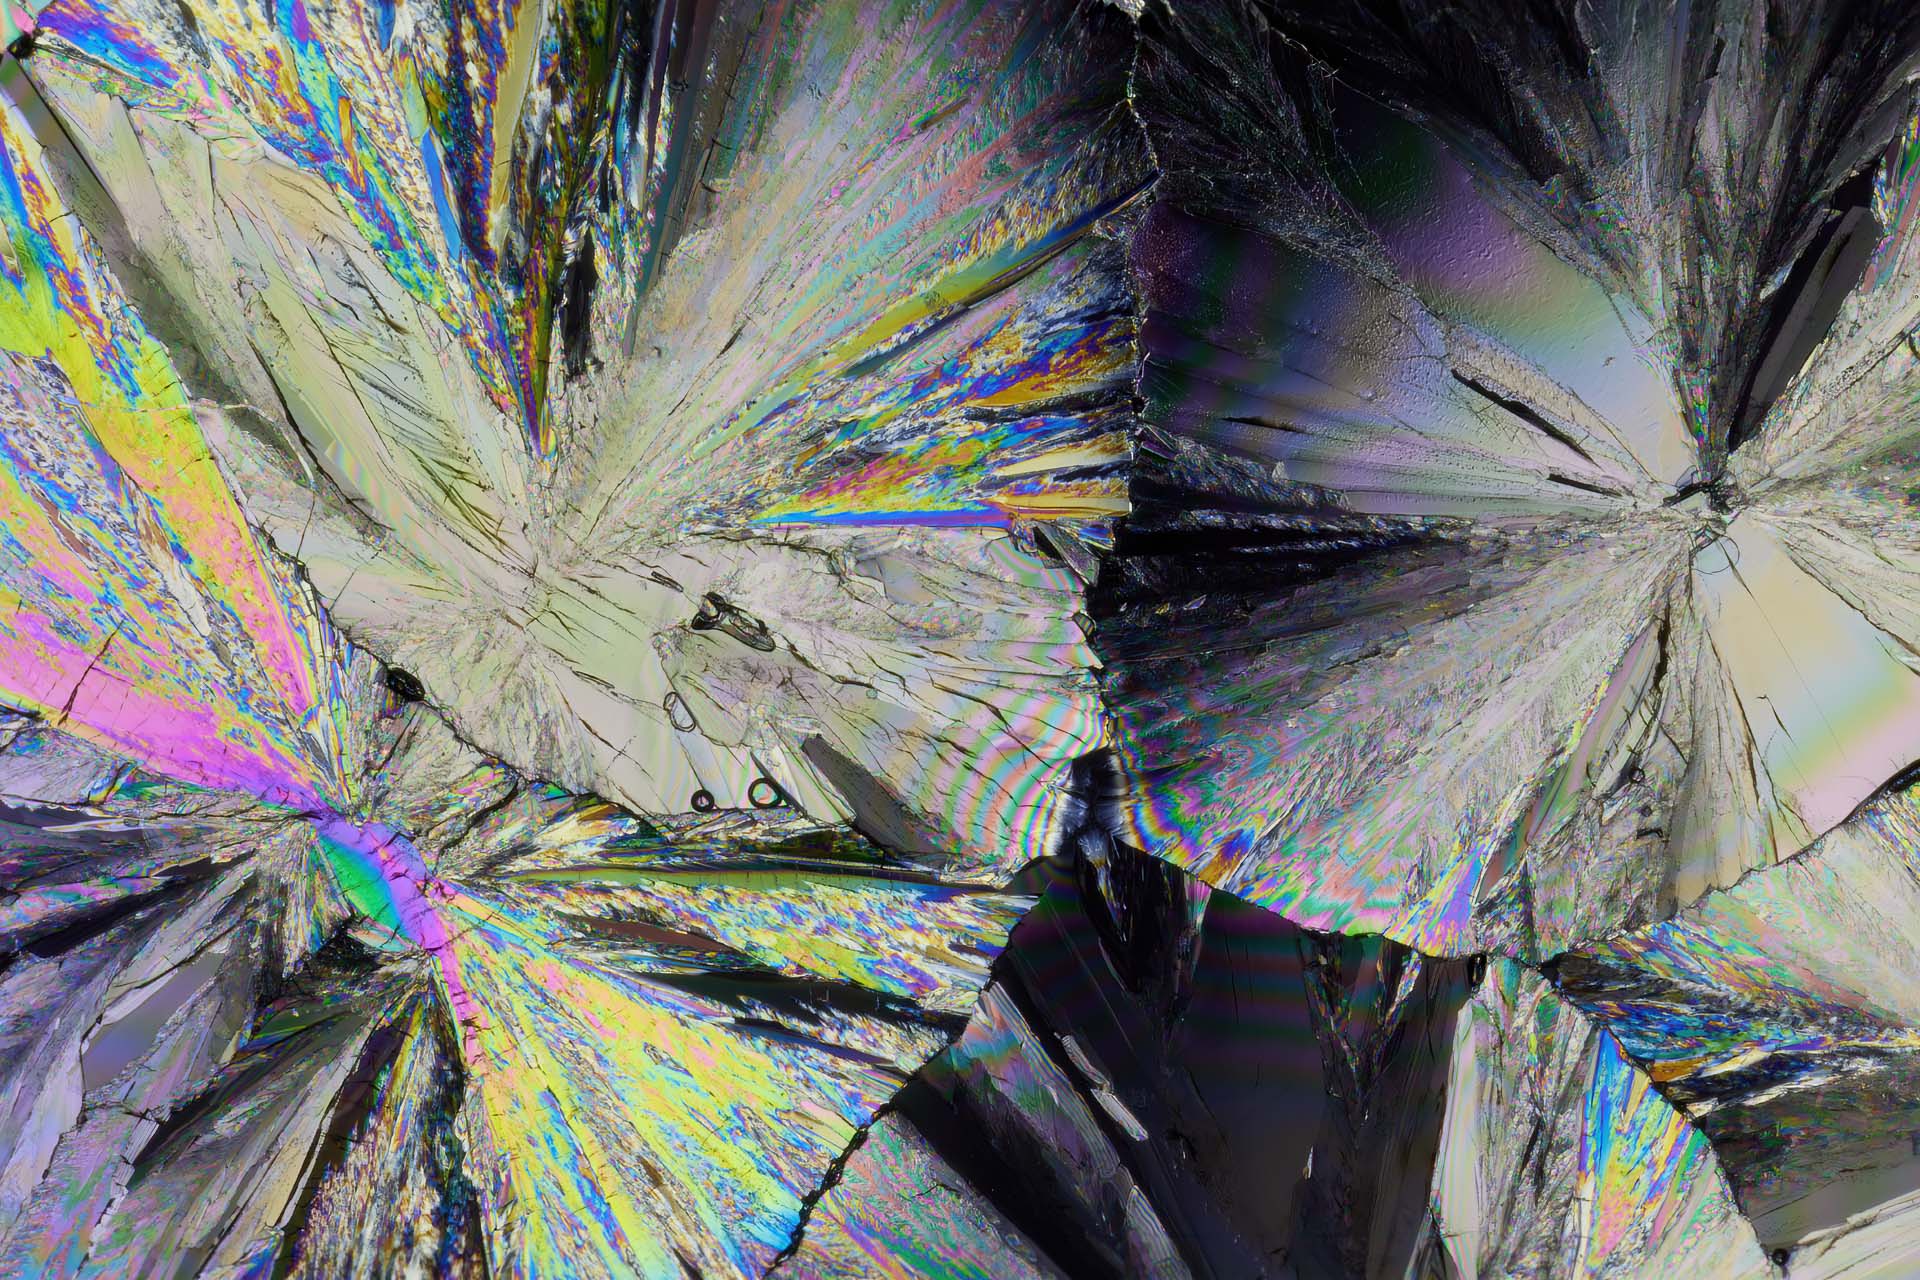
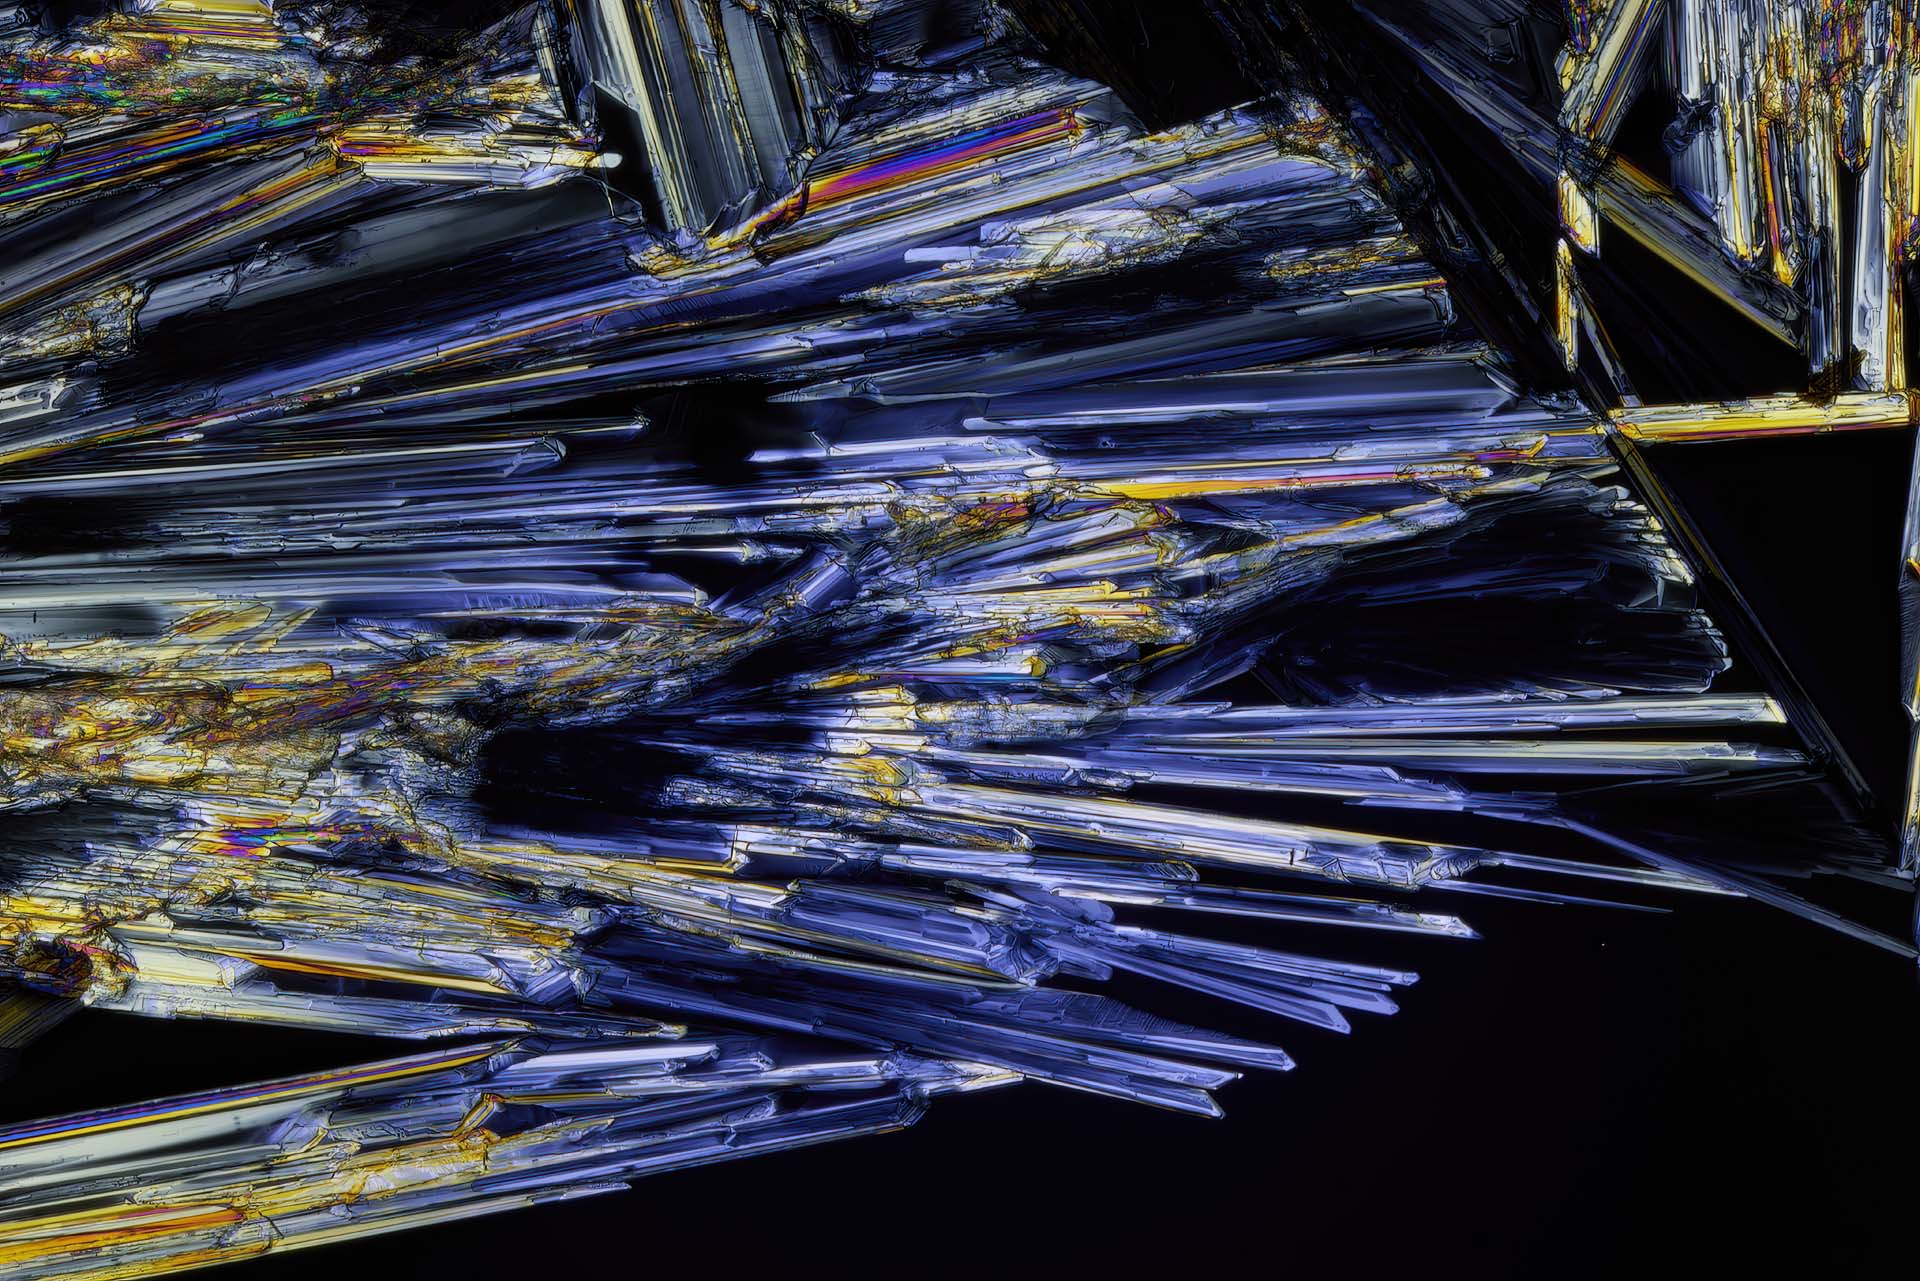
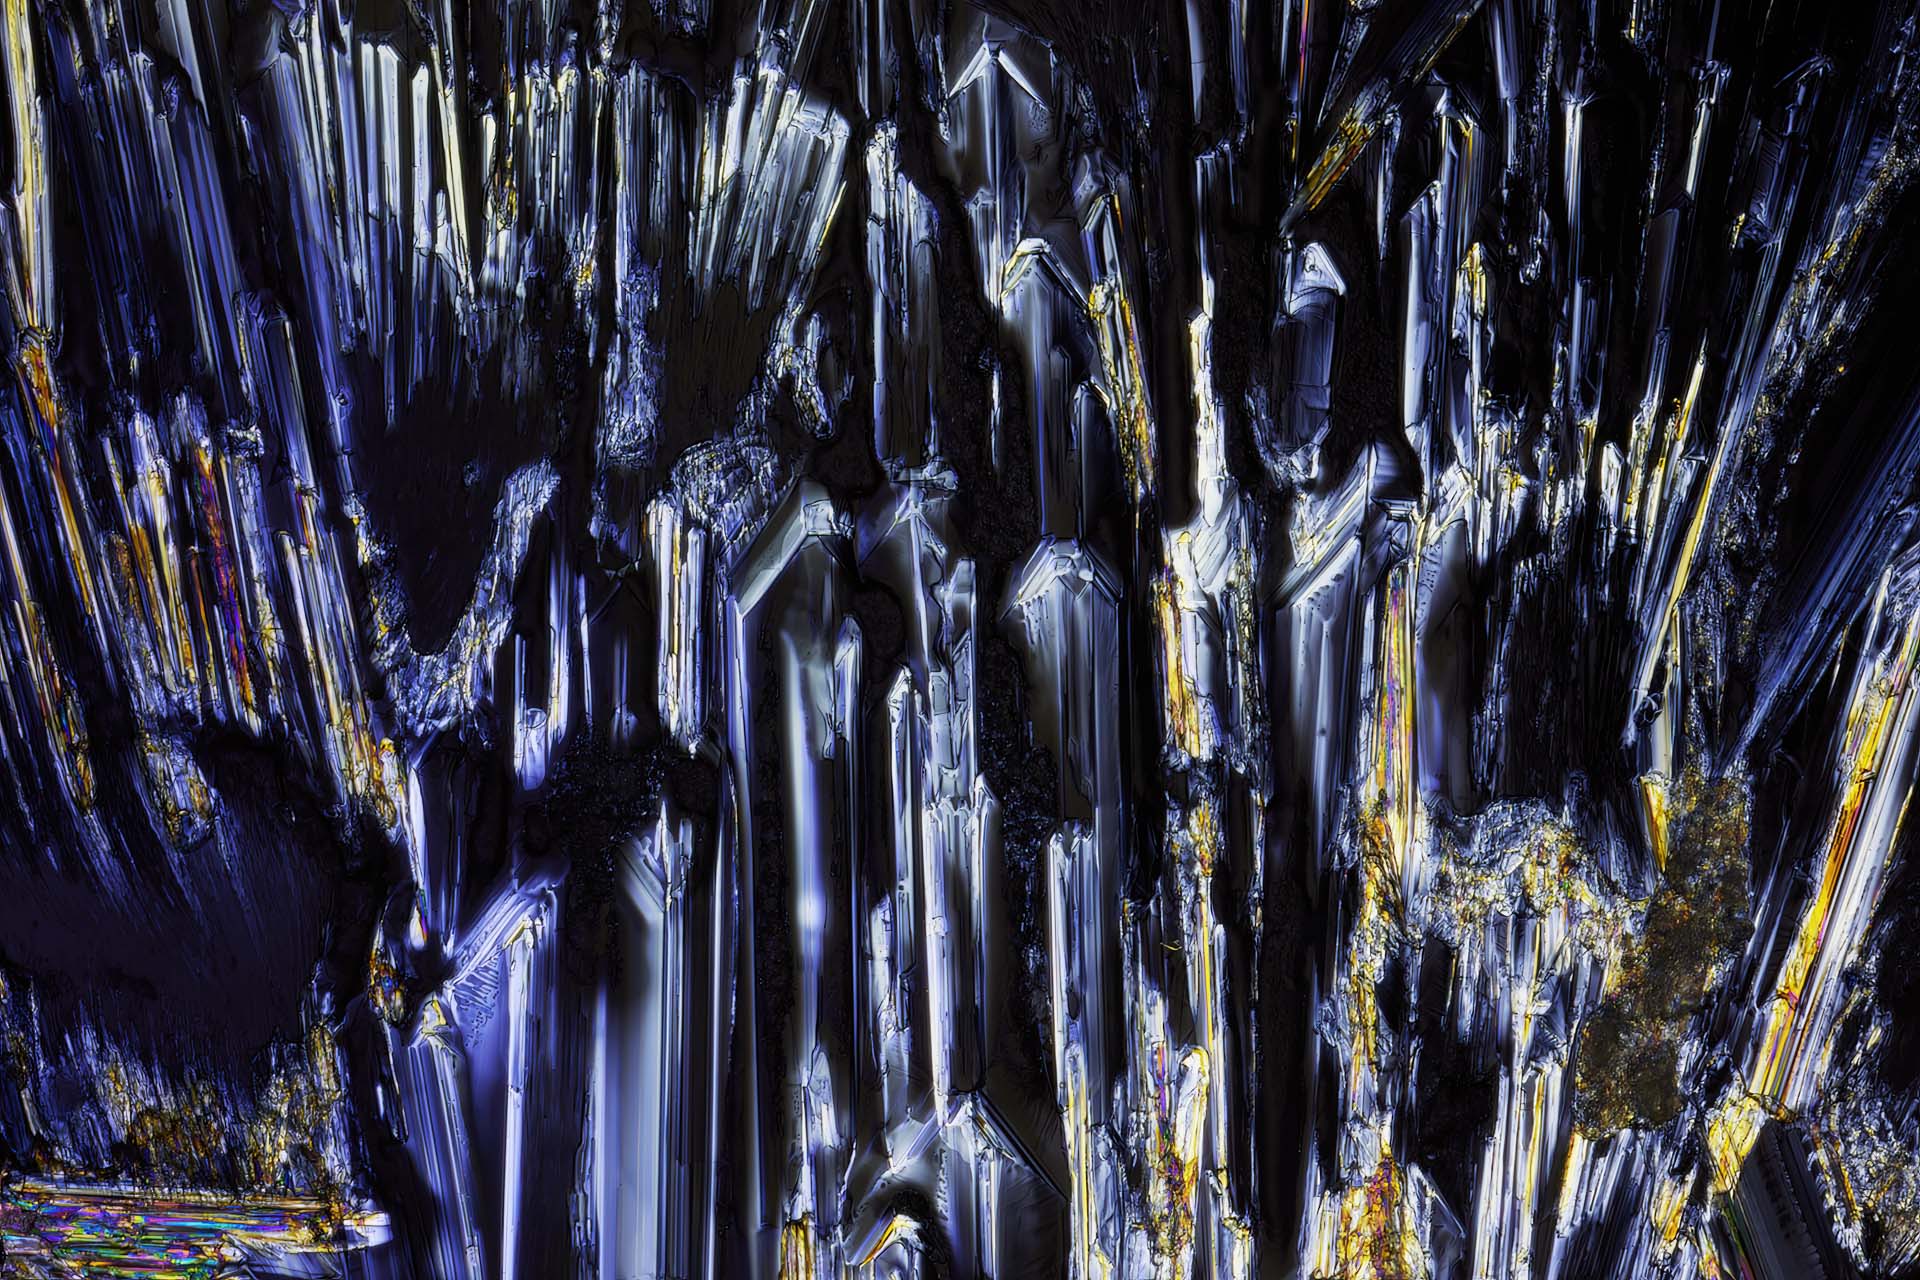
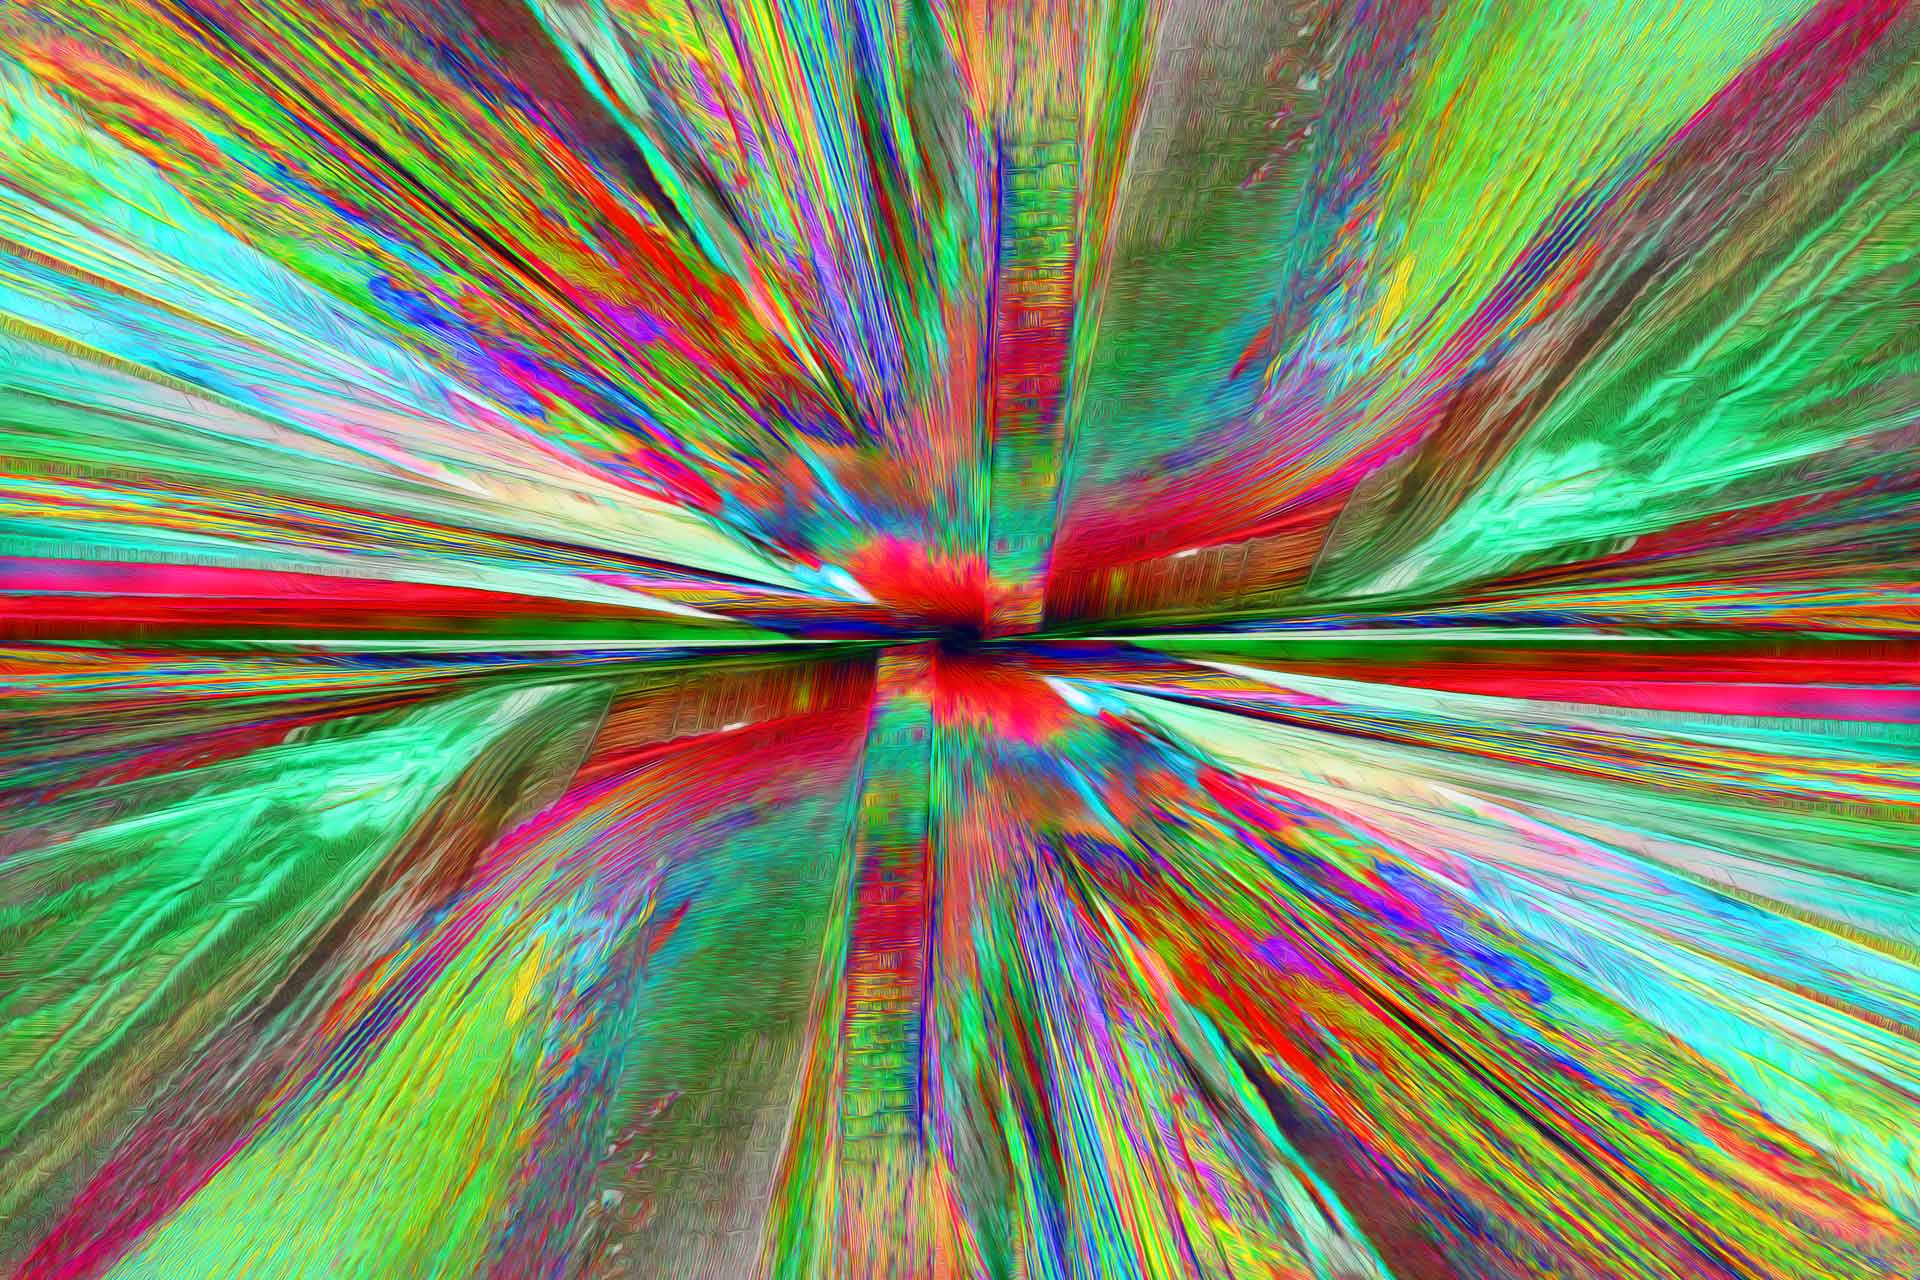
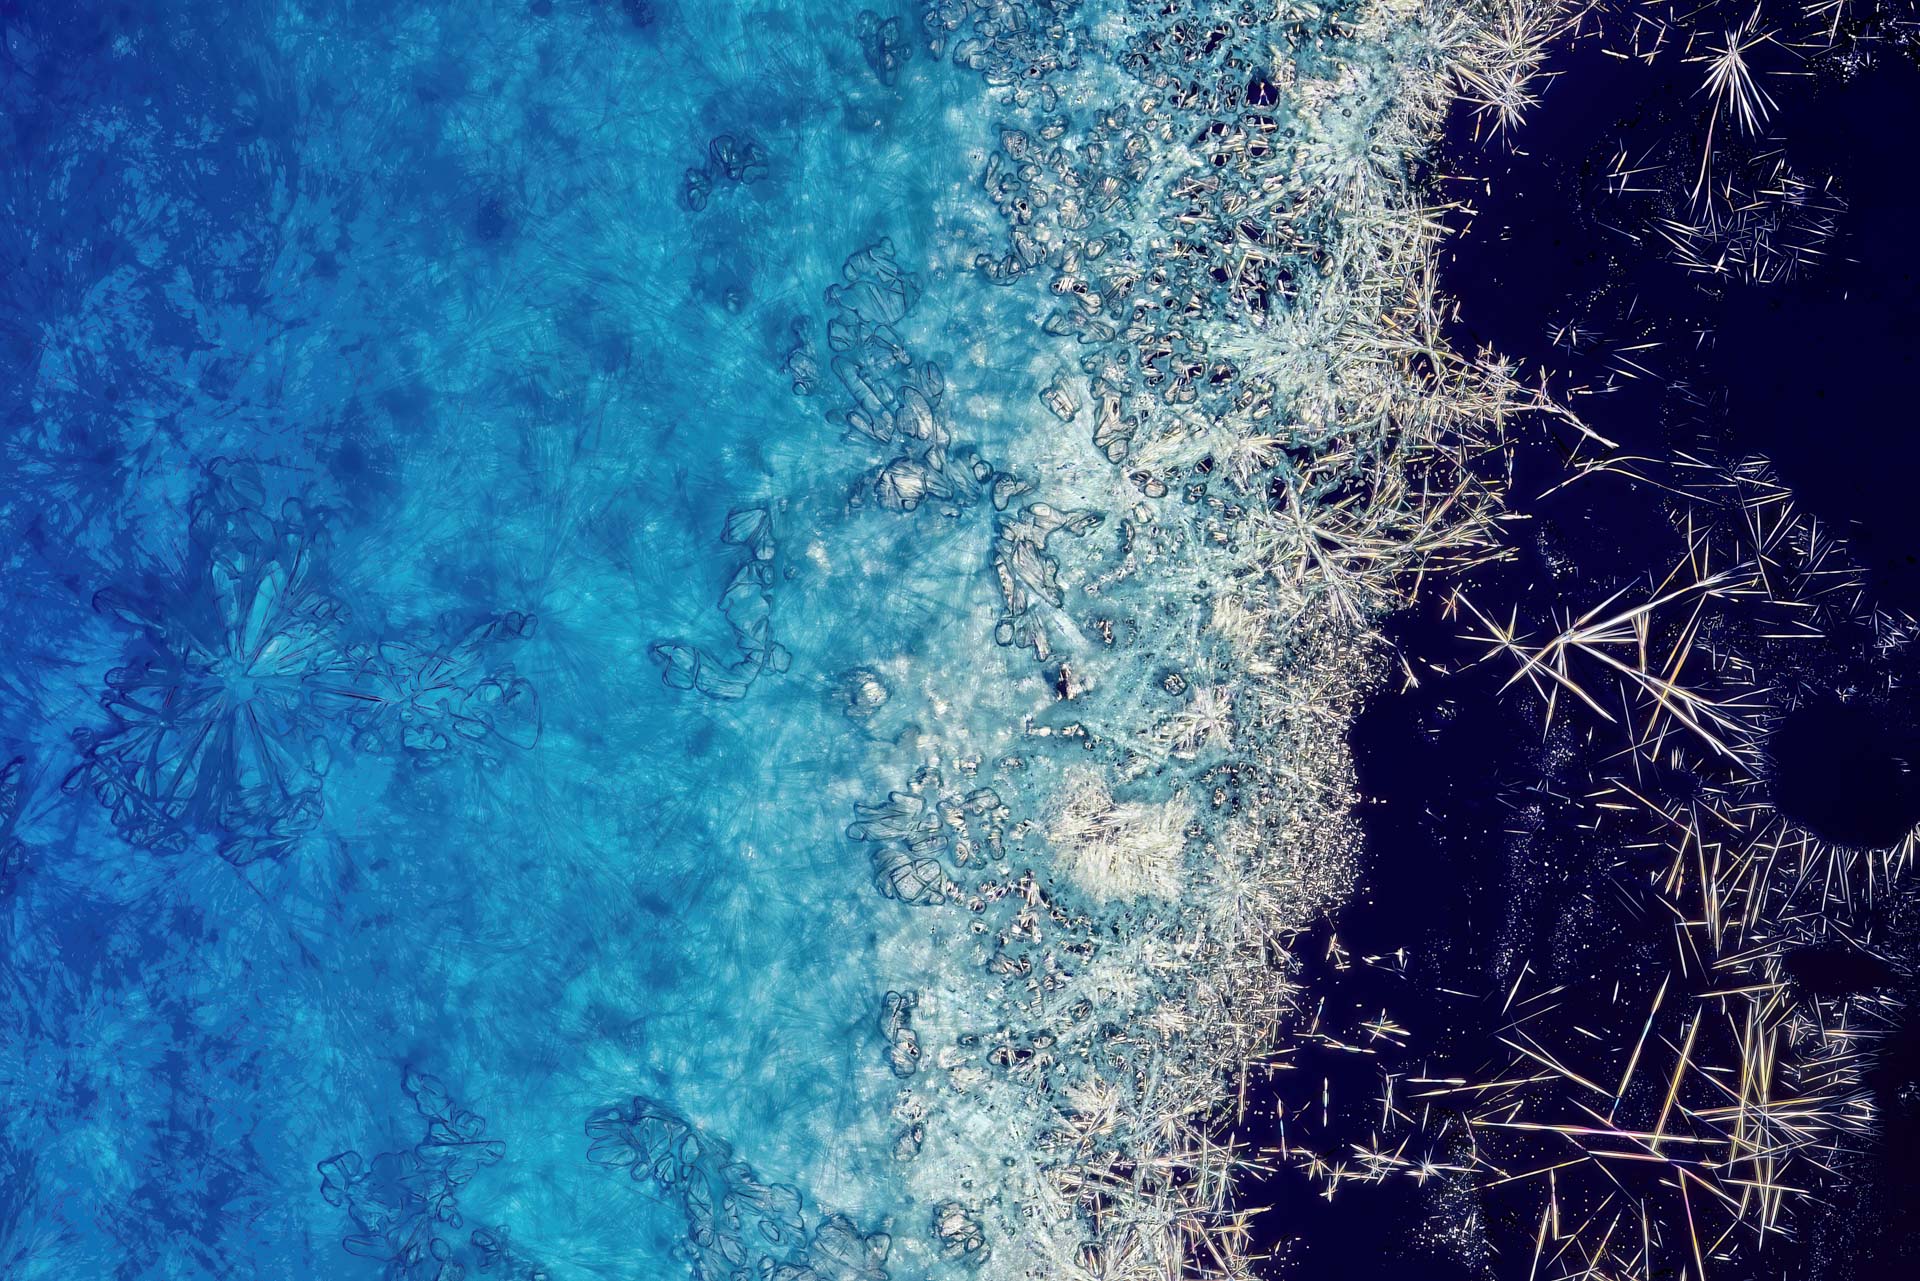
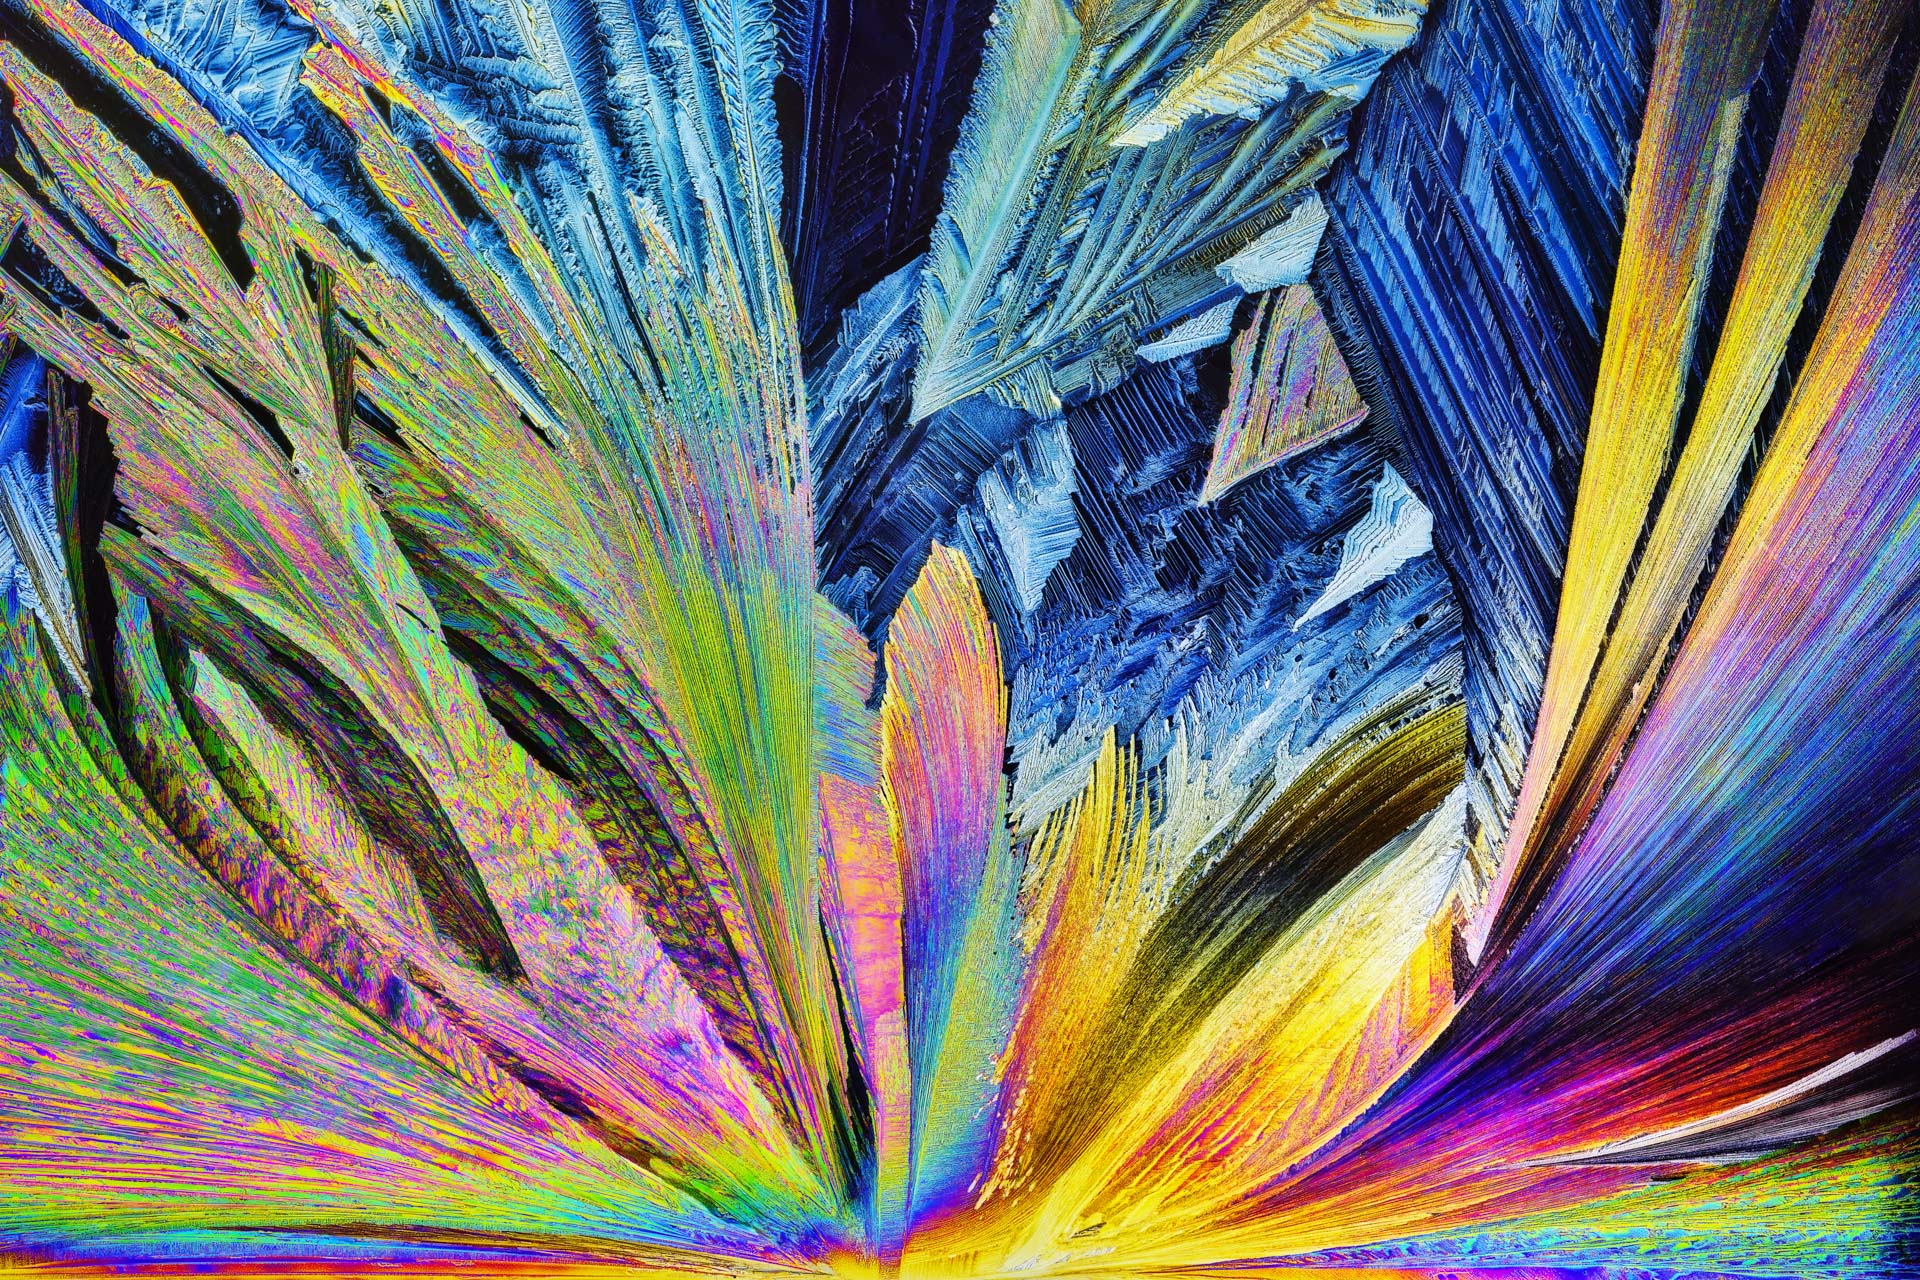
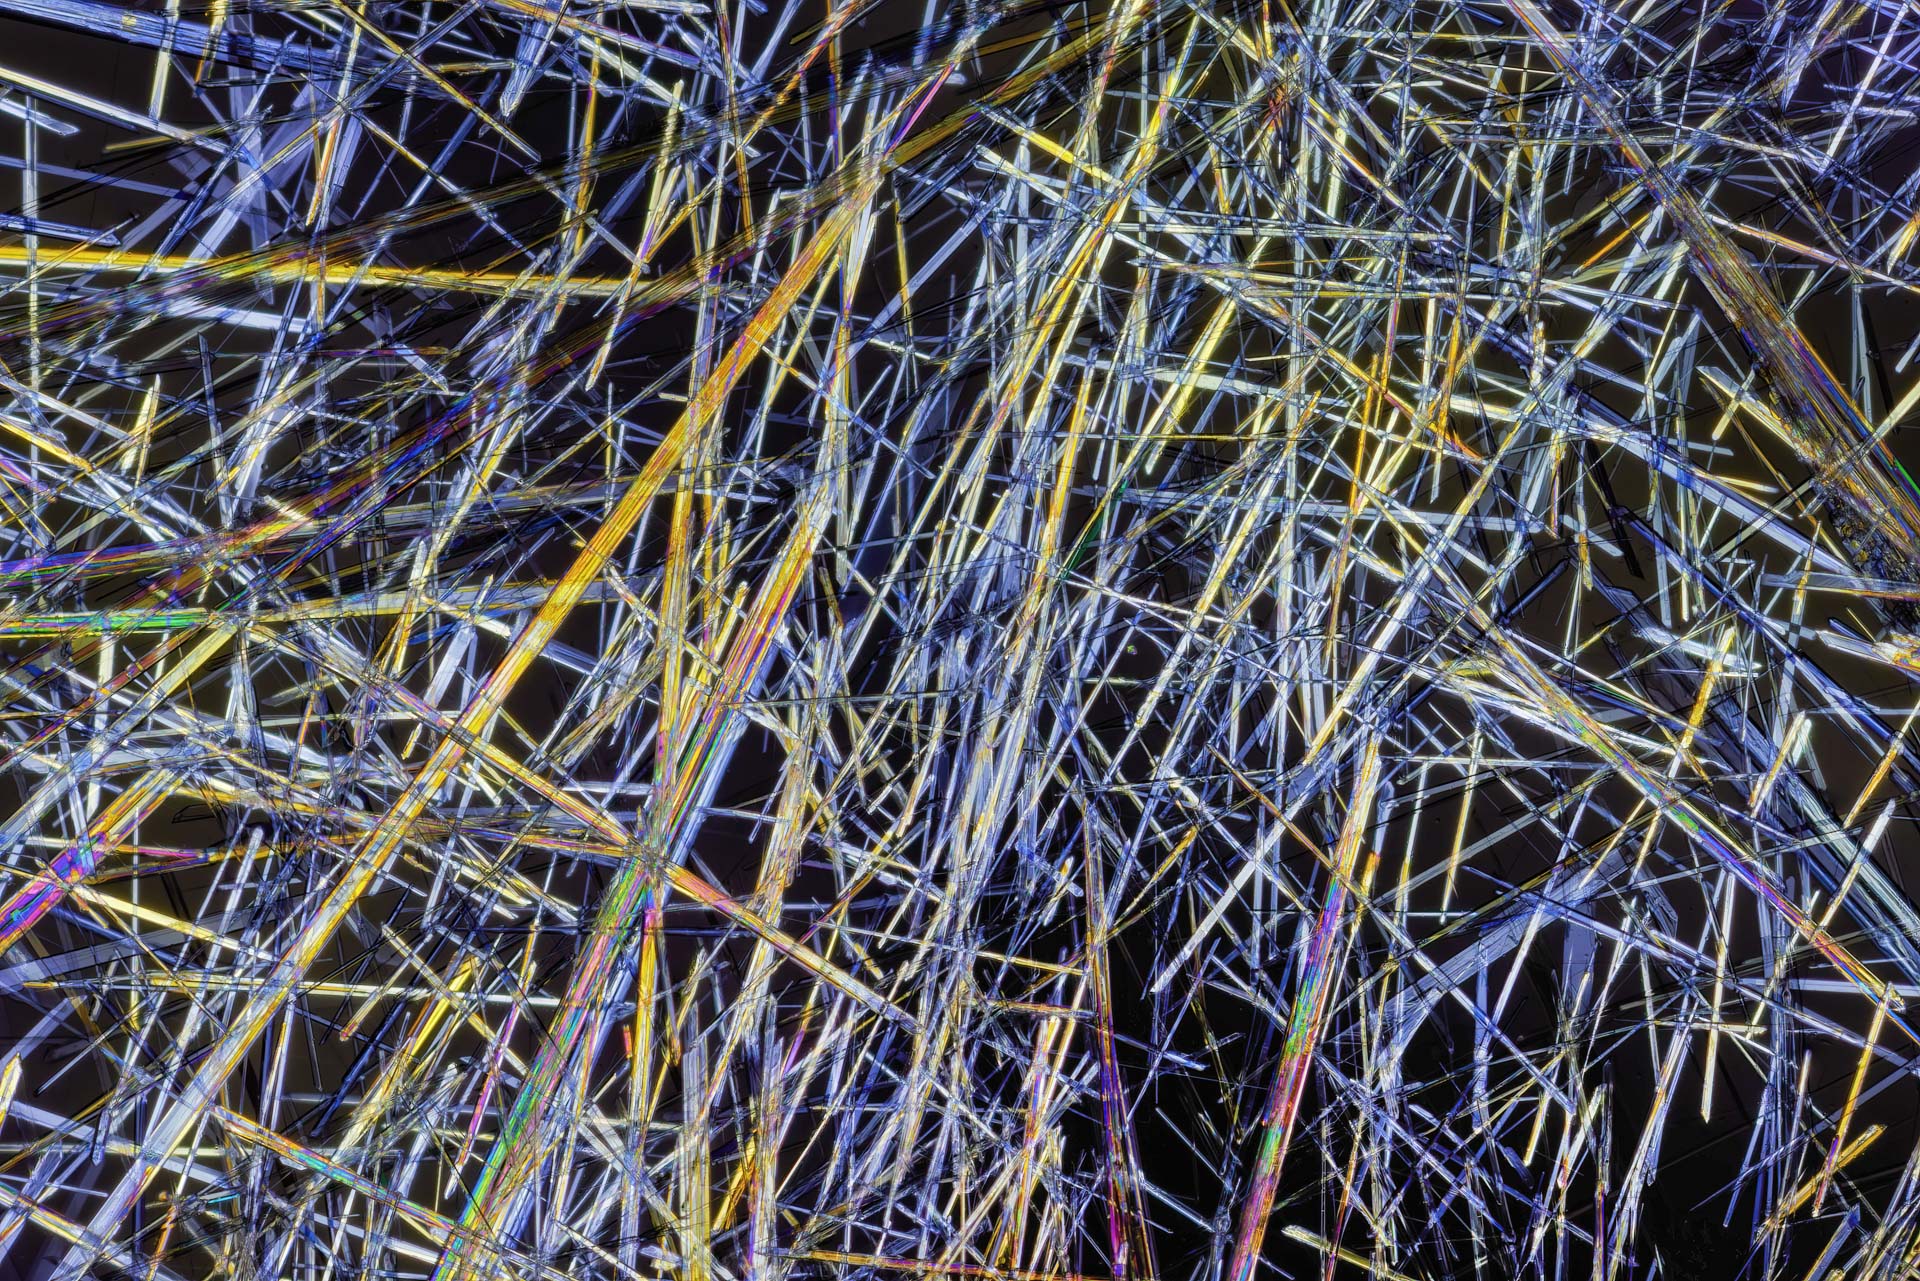
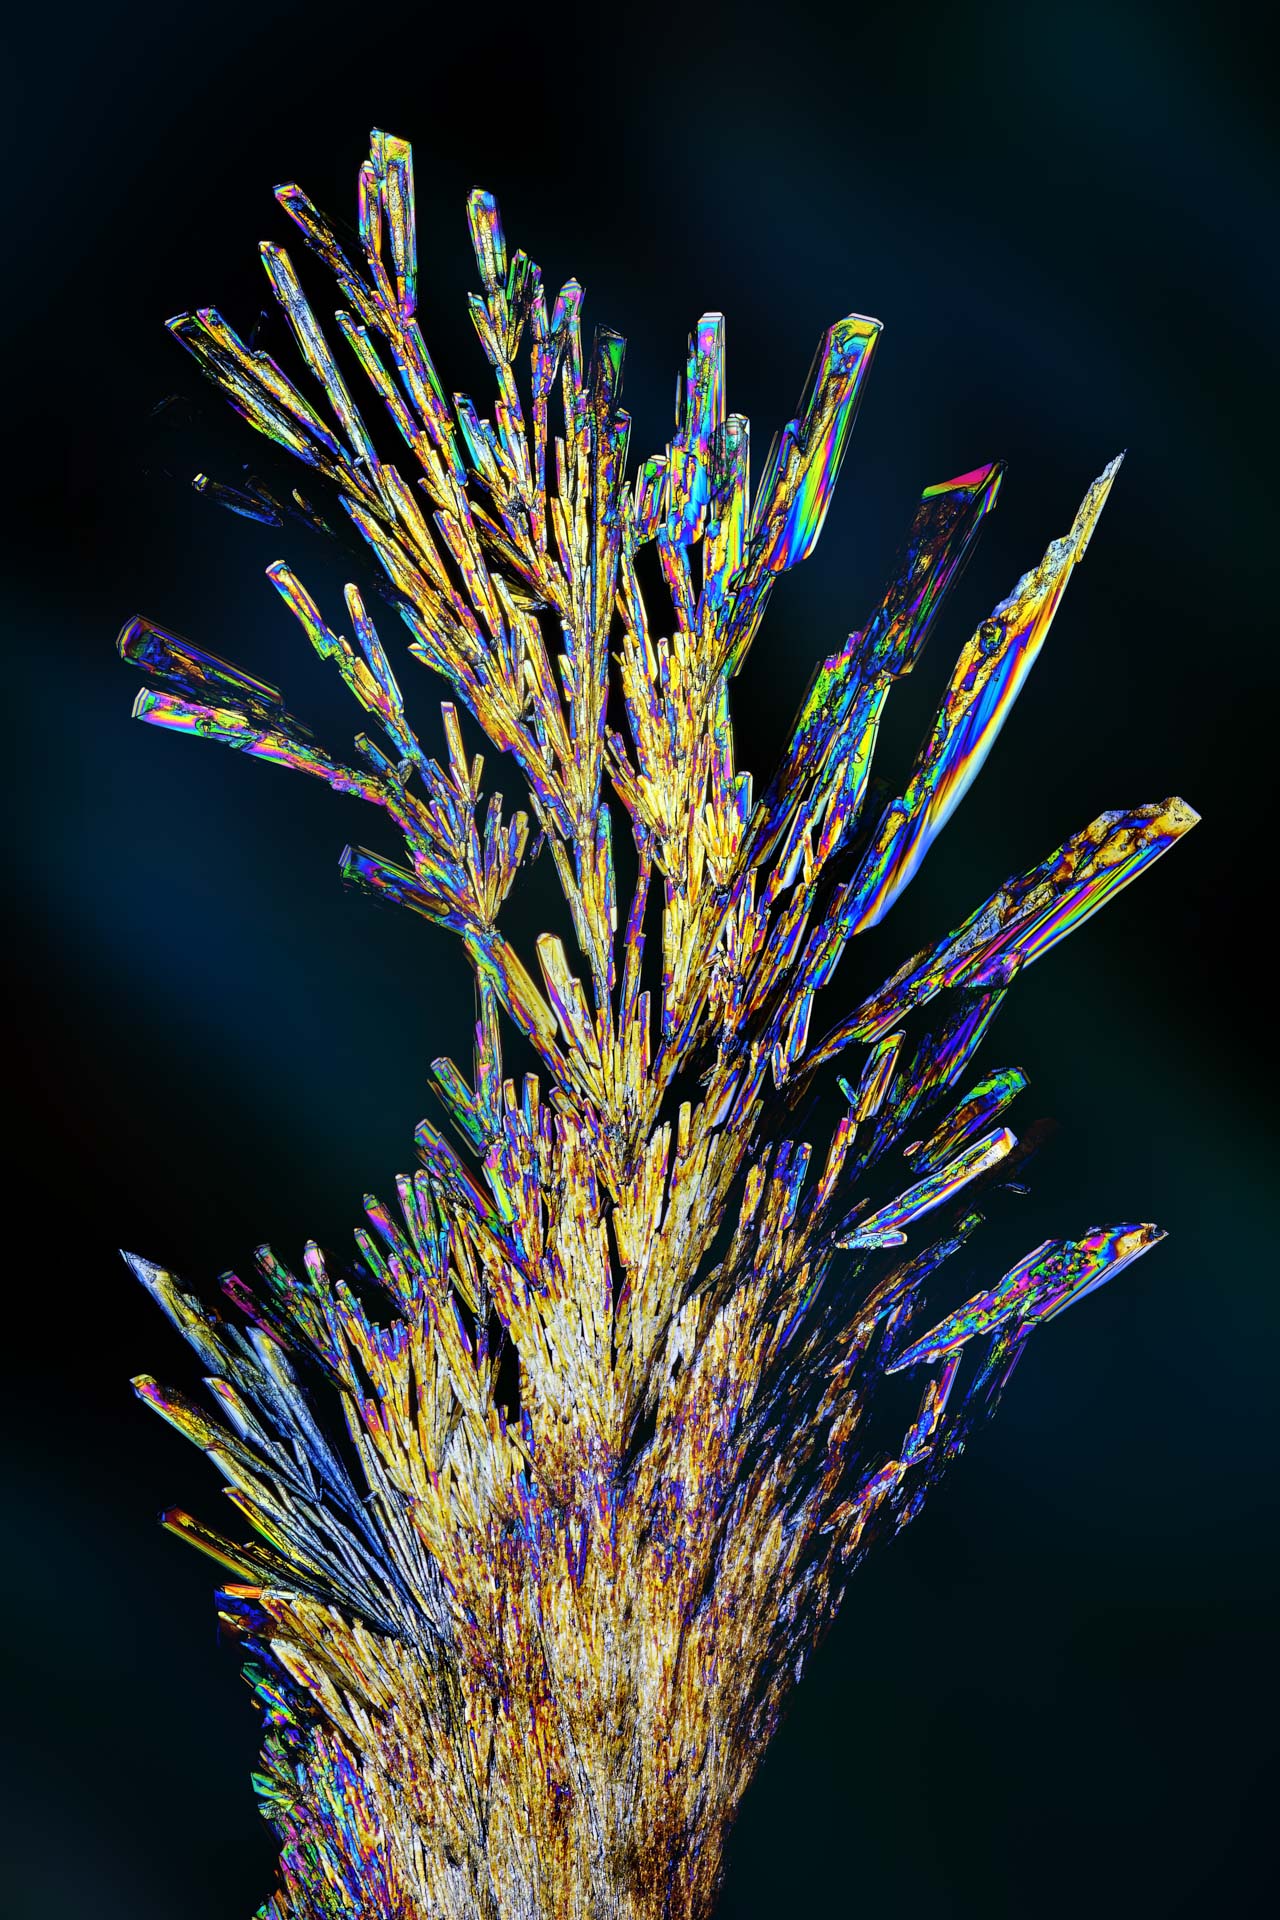
The following images are my own microphotographs of crystallized substances in polarized transmitted light. Differences in concentration, crystallization, layer thickness, and orientation each create new shapes and colors.