
Higher Resolutions with Pan and Tilt
Currently, higher resolutions are mainly achievable through upscaling. This can be done either with Midjourney's methods or via third-party providers like Topaz AI. The problem is that the native resolution of the original image does not increase. Pixels are added and sharpened using various methods. Qualitatively, with some critical control, a 4x resolution can be achieved.
However, it would be better to have the details already in the source image and then not upscale at all, or only by 2x.
This is exactly what you can achieve with Pan and Tilt, and you also benefit from the advantage of being able to better control image composition.
The creation takes a little longer, but the results are worth it.
Pan and Tilt in Midjourney
With version 5.2, not only were the Zoom functions added, but also, quite inconspicuously, four arrow keys.
Clicking one of these arrows expands the image in the specified direction. So, if you select the right arrow, the square image becomes a rectangular image with more content in that direction. With each expansion, you get four choices, allowing you to determine the additional image content.
If you expand to the right or left, the newly generated image can only be expanded further to the right or left. The same applies analogously to expansions upwards and downwards.
It's interesting that the resolution also expands. So, technically, it's a panorama function that creates new content and independently performs stitching (panorama composition).
This step can be repeated as often as desired, making the panorama progressively wider or taller.
Tips for Higher Resolutions with Pan and Tilt
If you want to create a vertical format, start with the widest possible portrait panorama, e.g., with an aspect ratio of 16:9 or 25:10.
Now you can repeatedly add content upwards or downwards, gradually building up the larger image. With each expansion, you also have the option to add different content.
The same applies to horizontal panoramas. There, you start analogously in portrait format.
Pan Function, e.g., for Creating High-Quality Interiors
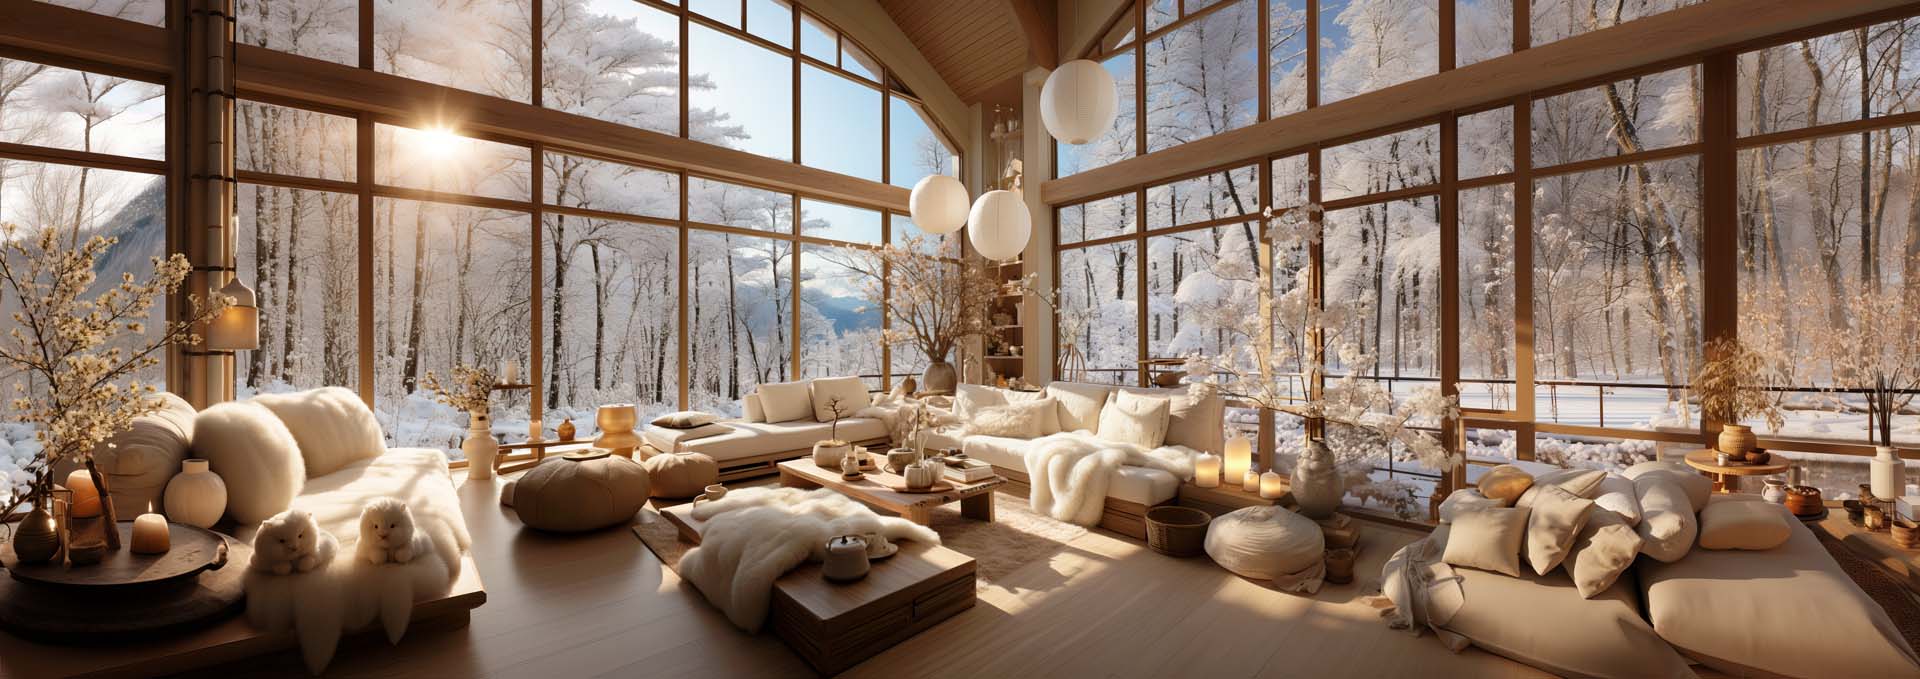
The following portrait-oriented source image was shifted seven times to the right or left. The native resolution, without upscaling, thus increased to 3712px x 1312px.
In the final image, a bonsai on the table was replaced and the cushion corrected in Photoshop.
Tilt Function, e.g., for Creating Exceptional Portraits
I originally planned the image "Golden Globe" as a web banner. By expanding it upwards and downwards, an exceptional portrait emerges. Only the fingers didn't quite fit. These were replaced with a golden globe using Photoshop Beta.
With each expansion, new ideas emerged. Barefoot, shoes, iPhone, globe... in the end, a very beautiful image always results, offering a better idea and execution than a single image.

Adjust Image Content and Message with Each Expansion
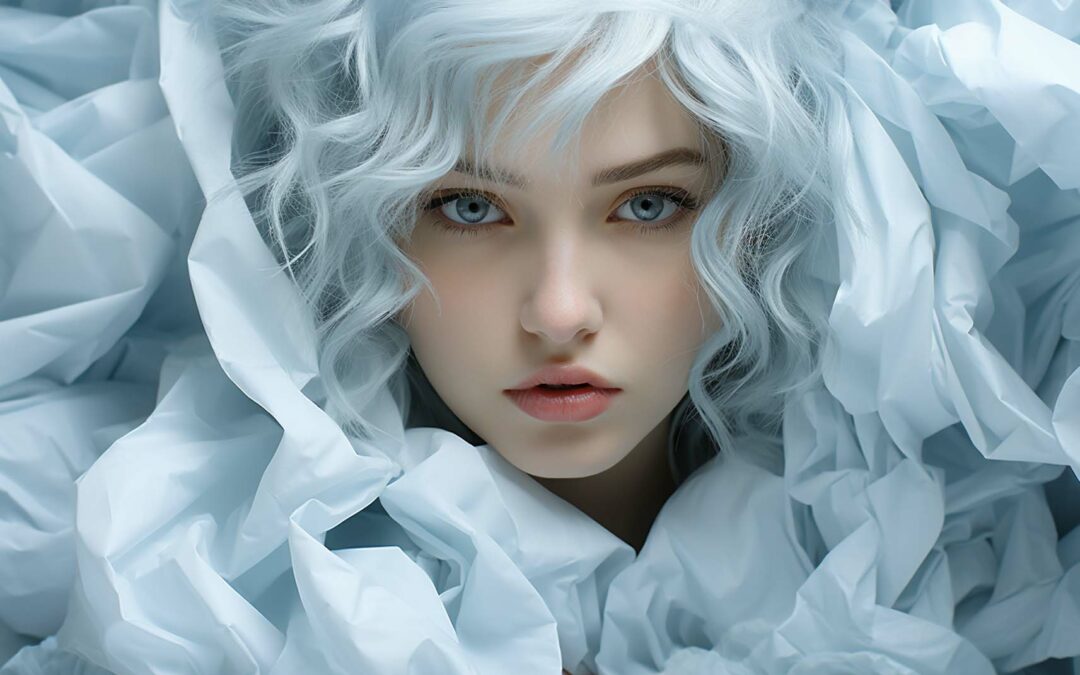
"White City" demonstrates how the image can be altered with each expansion. This allows for the creation of various versions of an image.
From Horizontal Banner to Vertical Image
What Midjourney creates with too much Pan and Tilt is always surprising. It seems to develop a new idea at some point and adds unpredictable content. I've seen head over head, image over image, or, as here, a head underwater.
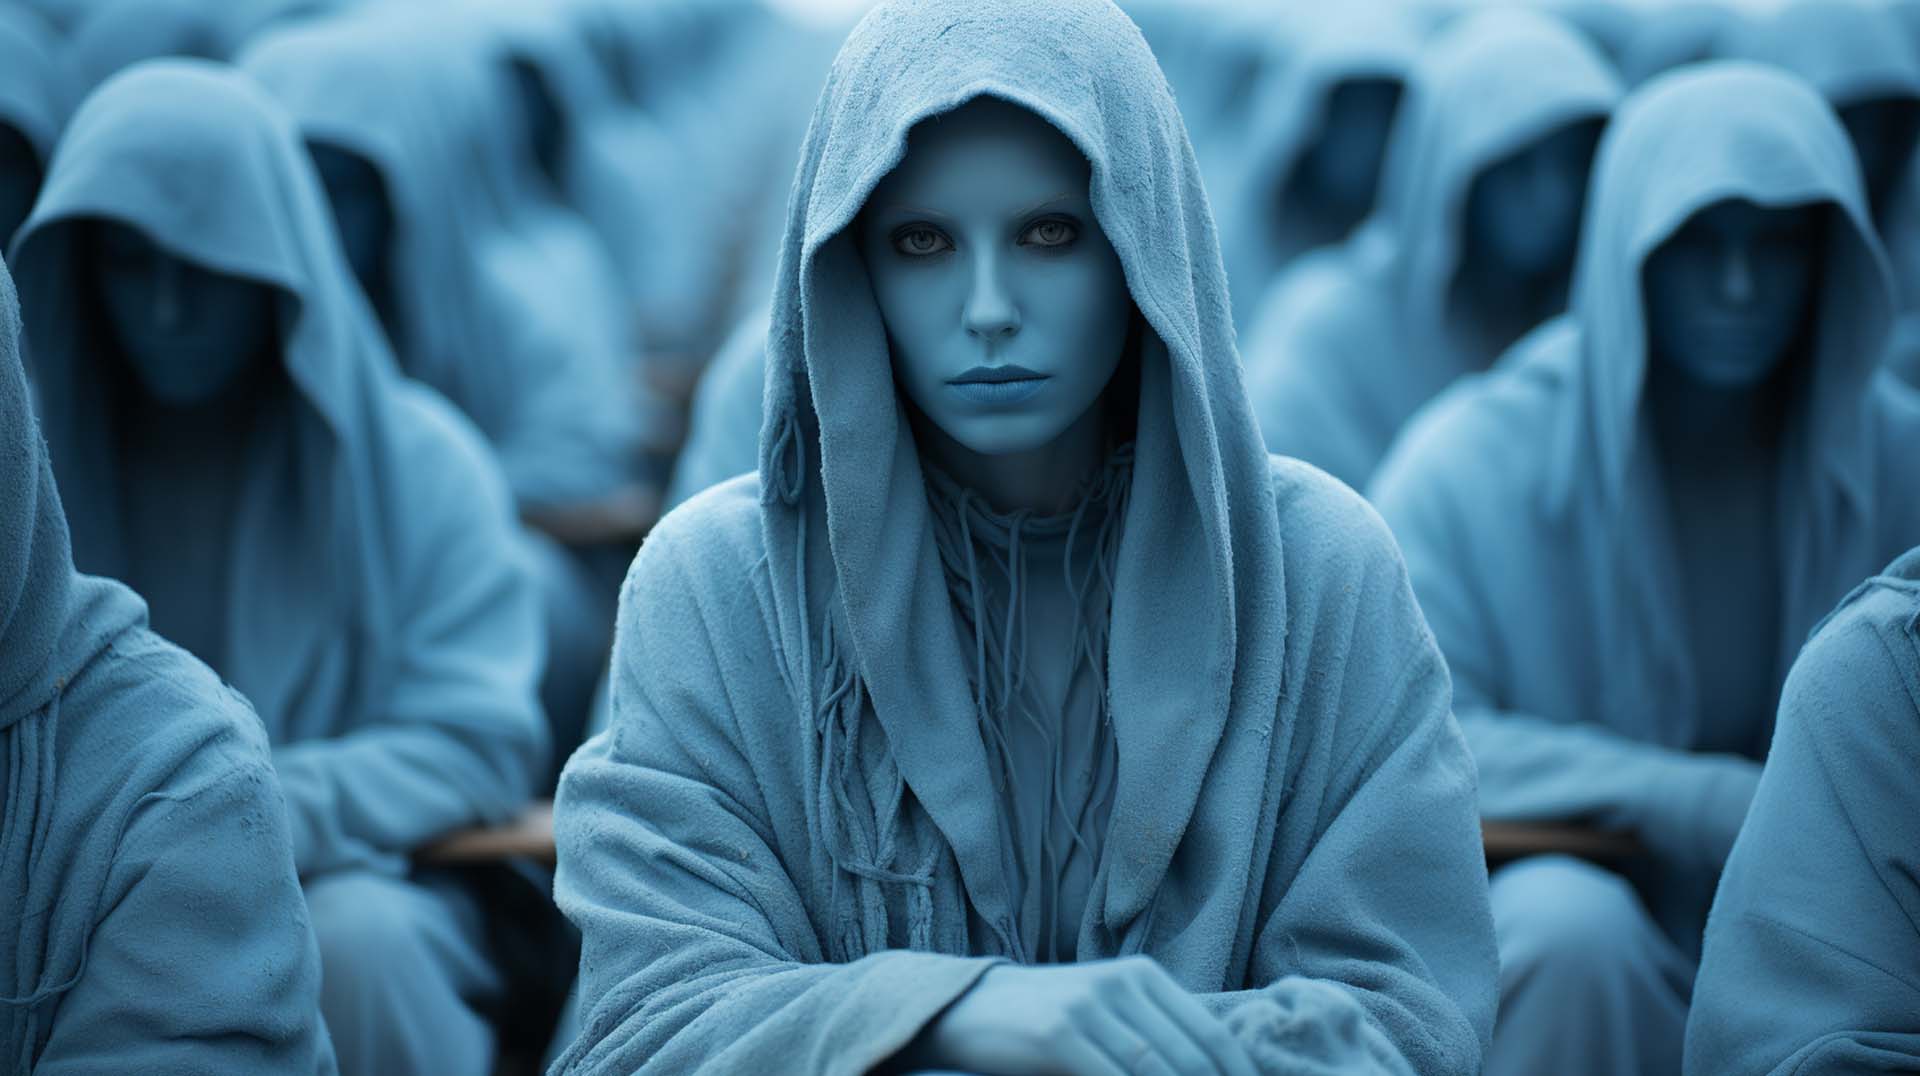
Tilt and Pan: The Better Zoom?
Yes, because Zoom Out unfortunately does not increase the resolution. However, Zoom expands the image in all directions. So, if the content is generally too large, a combination of Zoom Out and Tilt or Pan is suitable. It requires some testing and experience to choose the correct proportions for the source image.
Are Fast Hours Required?
Yes, since the creation must be done in several steps, a long waiting time is disruptive. However, after a few months of experimenting with Midjourney, you usually always have Fast Hours available. So, if I've created a banner and feel it's suitable for a panorama, then I start.
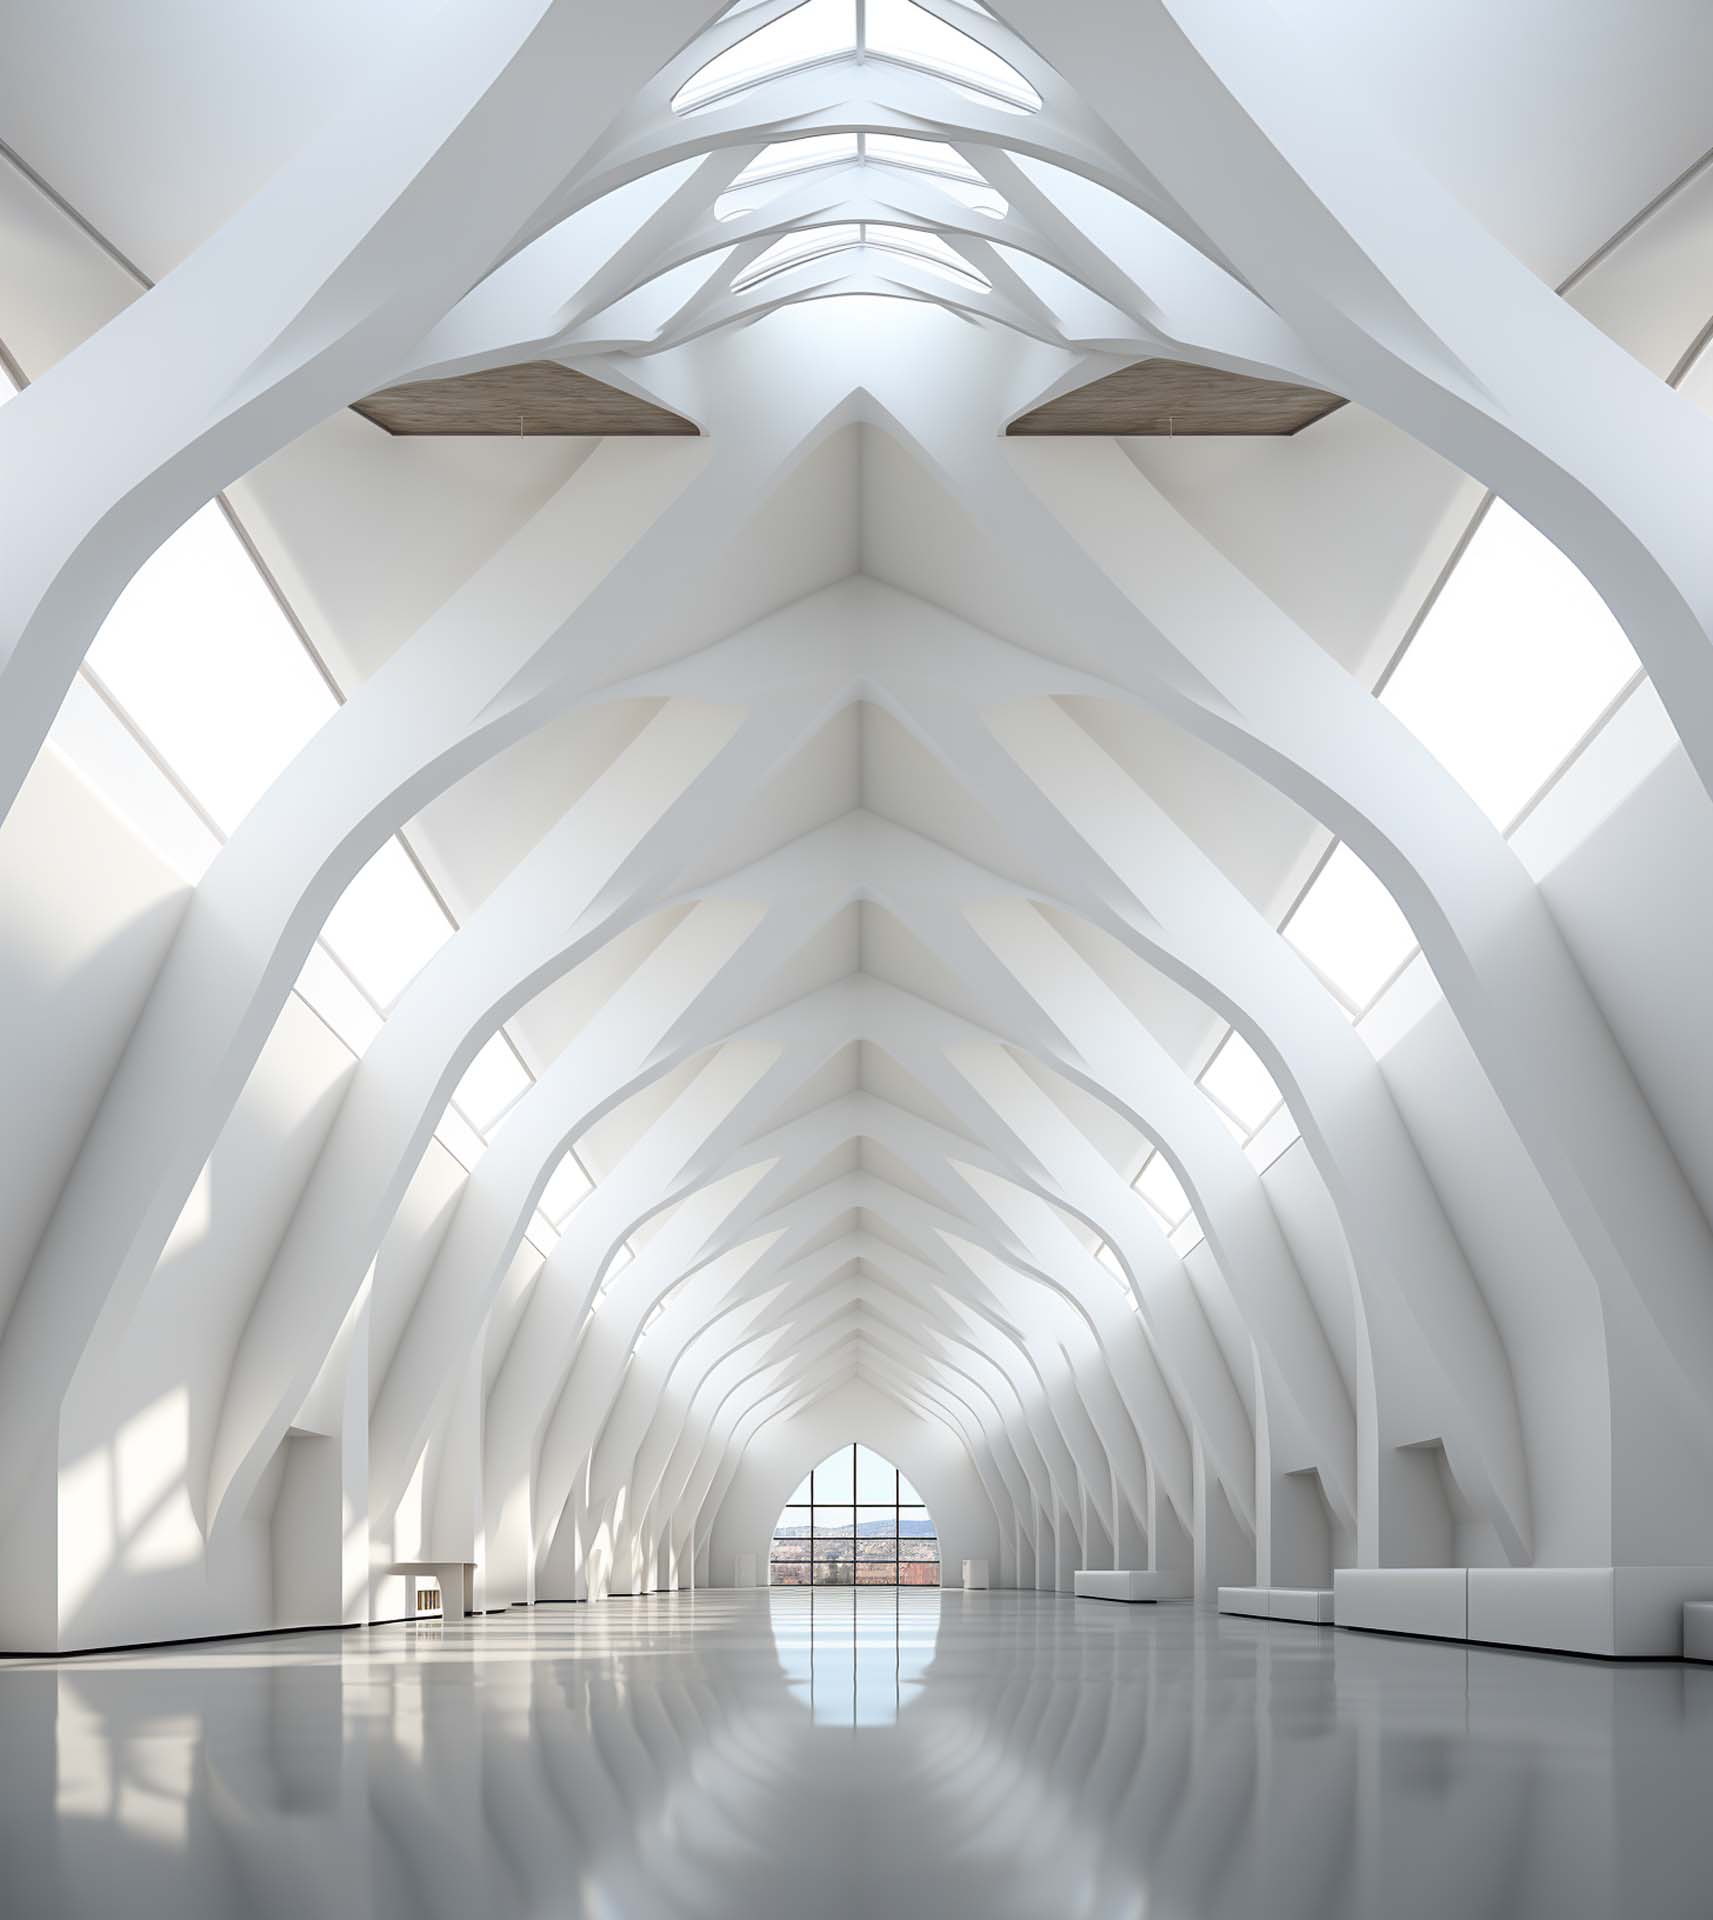
Better Architectural Details in Midjourney
For most motifs, Tilt or Pan is not strictly necessary. However, for architecture and interiors, it offers great advantages. Here is another classic example of the technique in typically clean architecture.
Conclusion:
Tilt and Pan in Midjourney are very powerful tools that impact not only quality but also the idea and composition of the image.
The examples shown here were not upscaled but reduced to 1920px. Unless otherwise stated, nothing in the images was corrected in Photoshop.
Pan and Tilt are Far More Powerful Than Assumed
Having primarily demonstrated the function here, I would now like to show further, already finalized images. It is practically suitable for all styles. I first want to show the example of Welder Retro Casting, which was created in the Brutalist style. Starting from the waiting welder in a petrol-colored jacket, at least 3 different final images were created. With each expansion, you have the choice of how the image develops further. The prompts can also be changed so that no further welders are generated. The same was done in the horse race example; the prompt on the left and right contains Rocks and Dust, bringing the image to a conclusion.
The images are currently finalized in Capture One. Here, I have created custom presets for Version 4 and 5 that optimize the photos' color tone and brighten the mid-tones. Overall, Version 5 is already very good and requires fewer adjustments than Version 4.